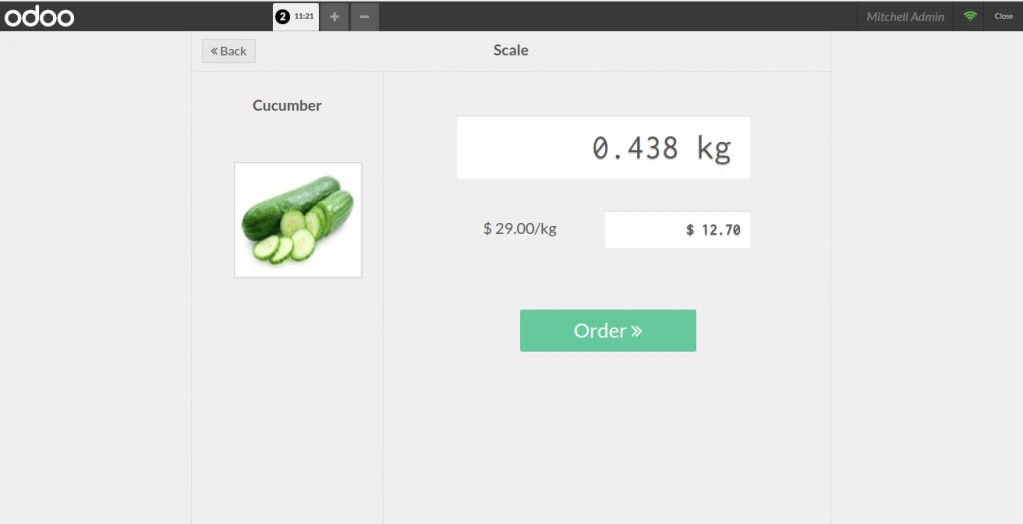
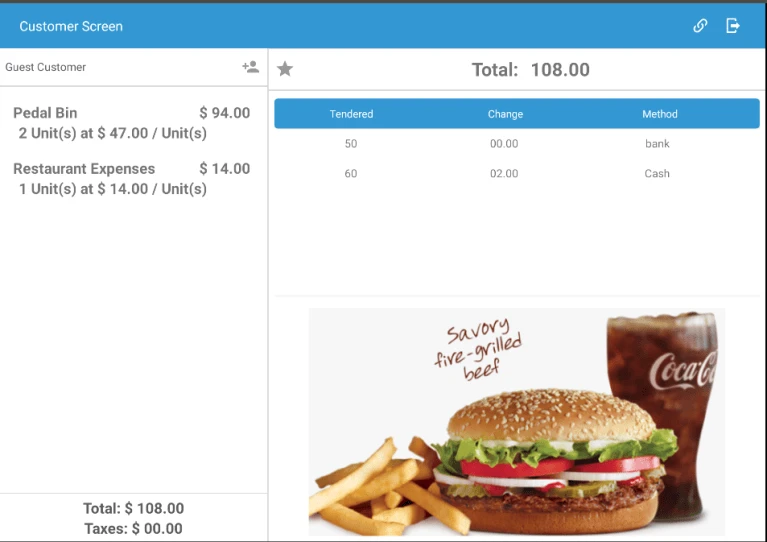
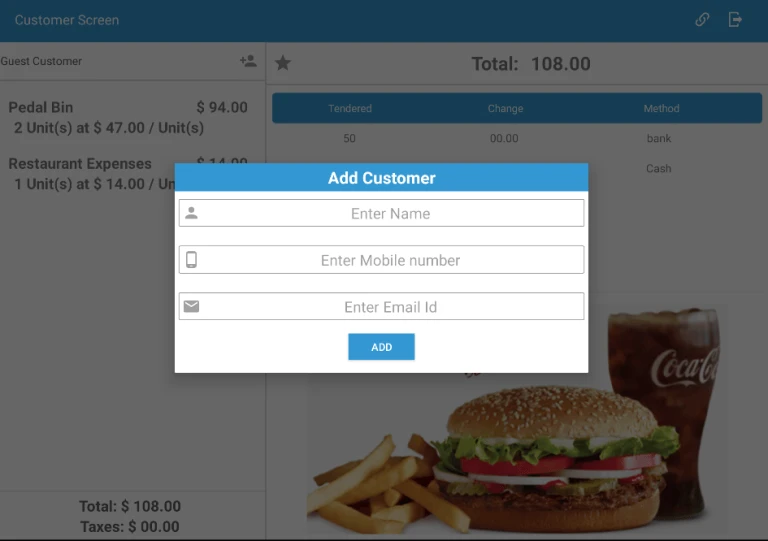
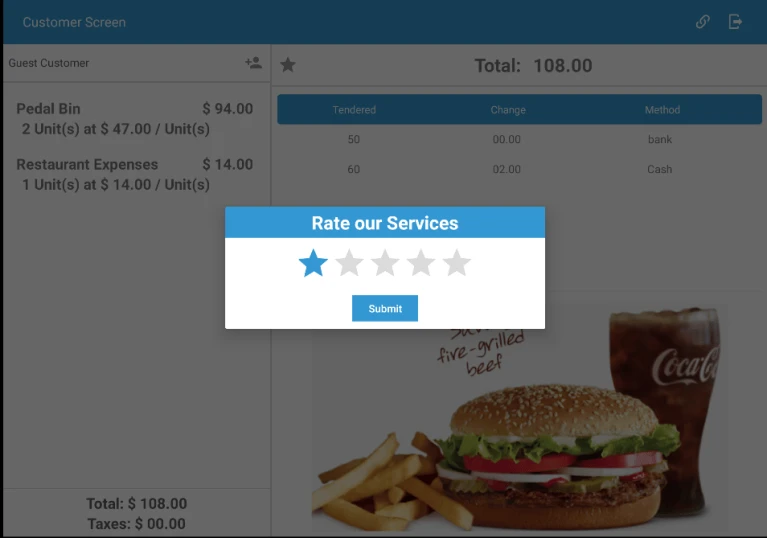
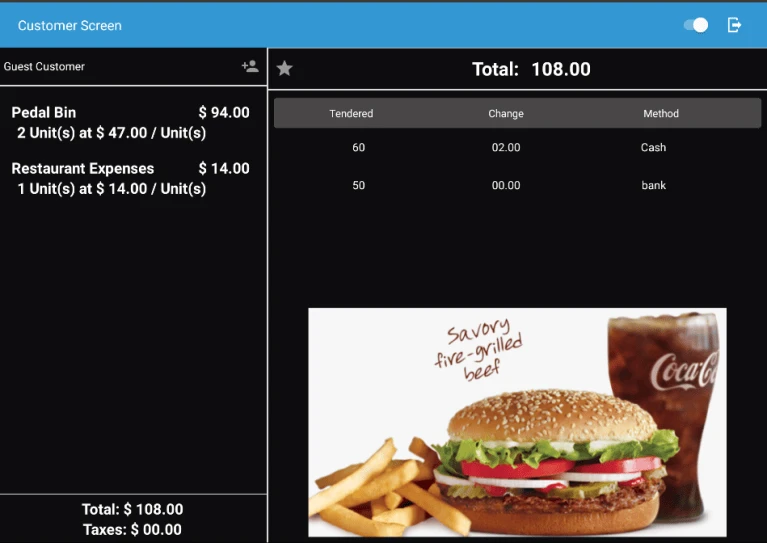
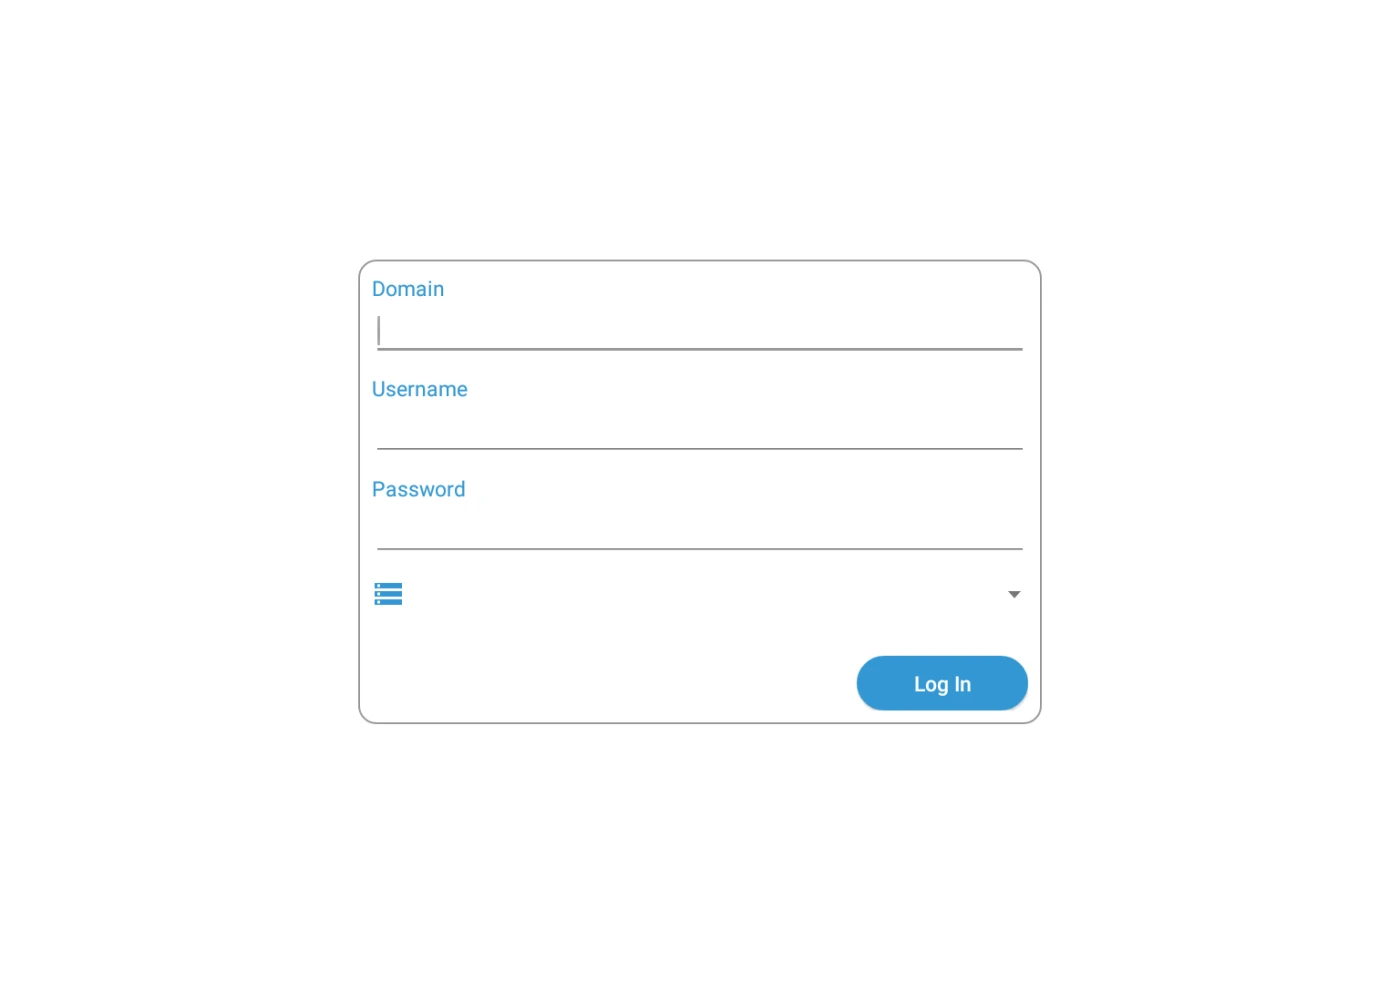
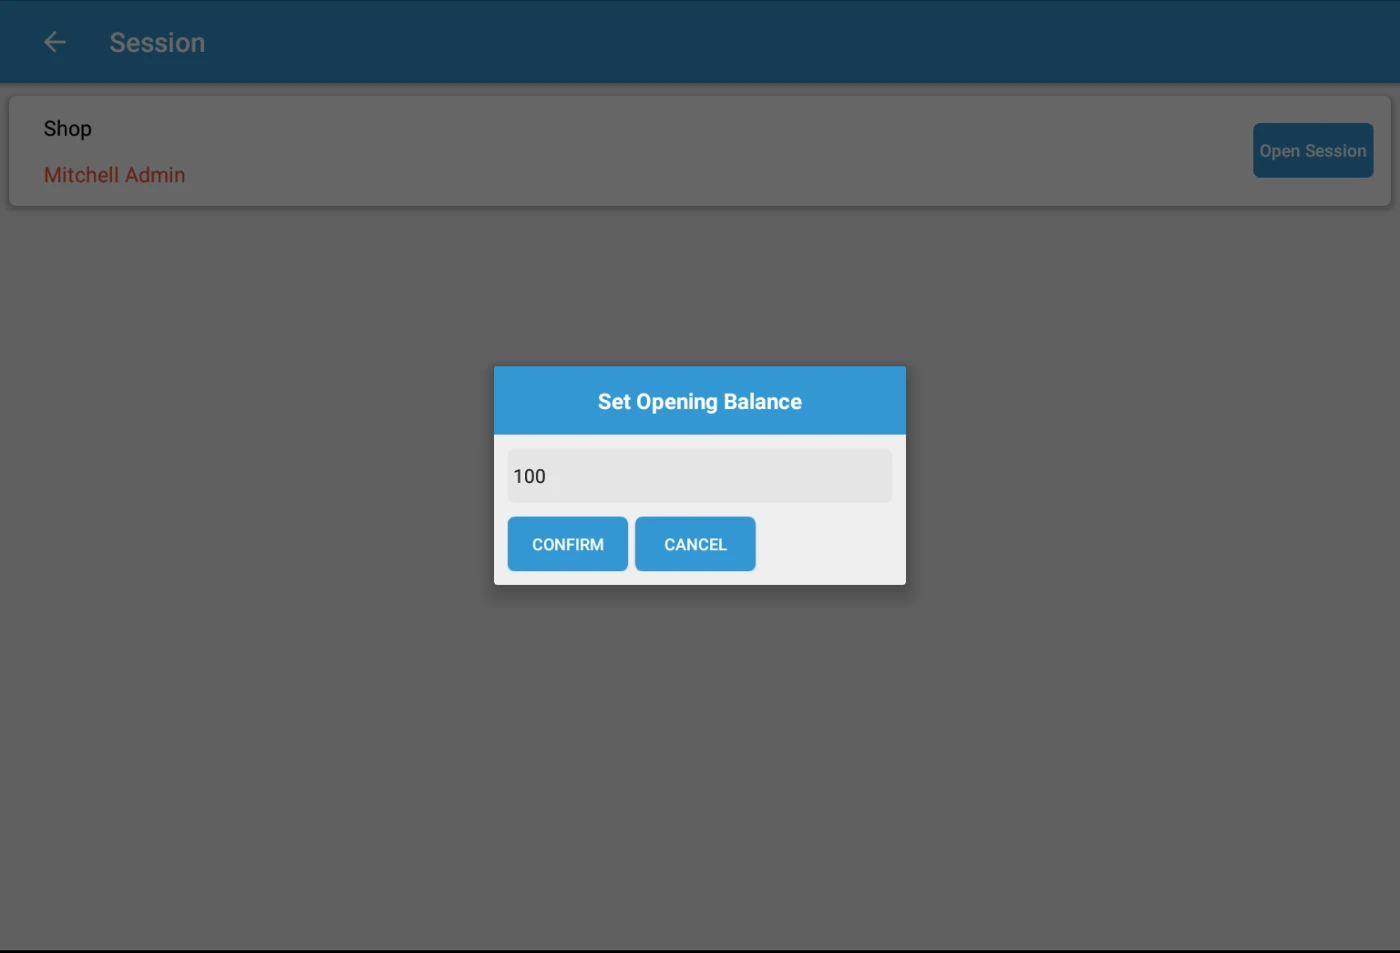
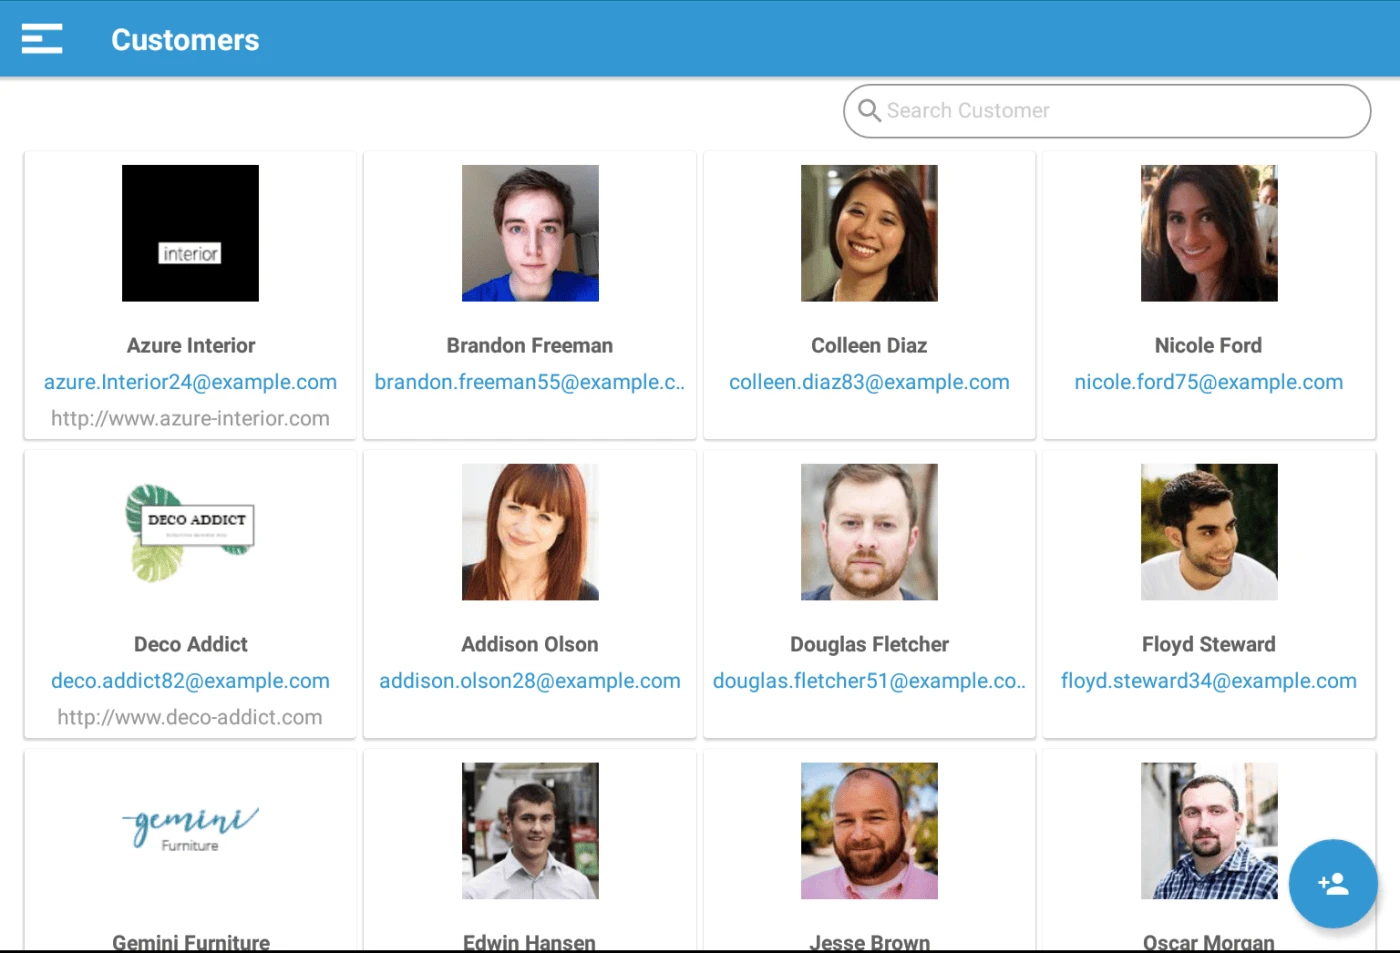
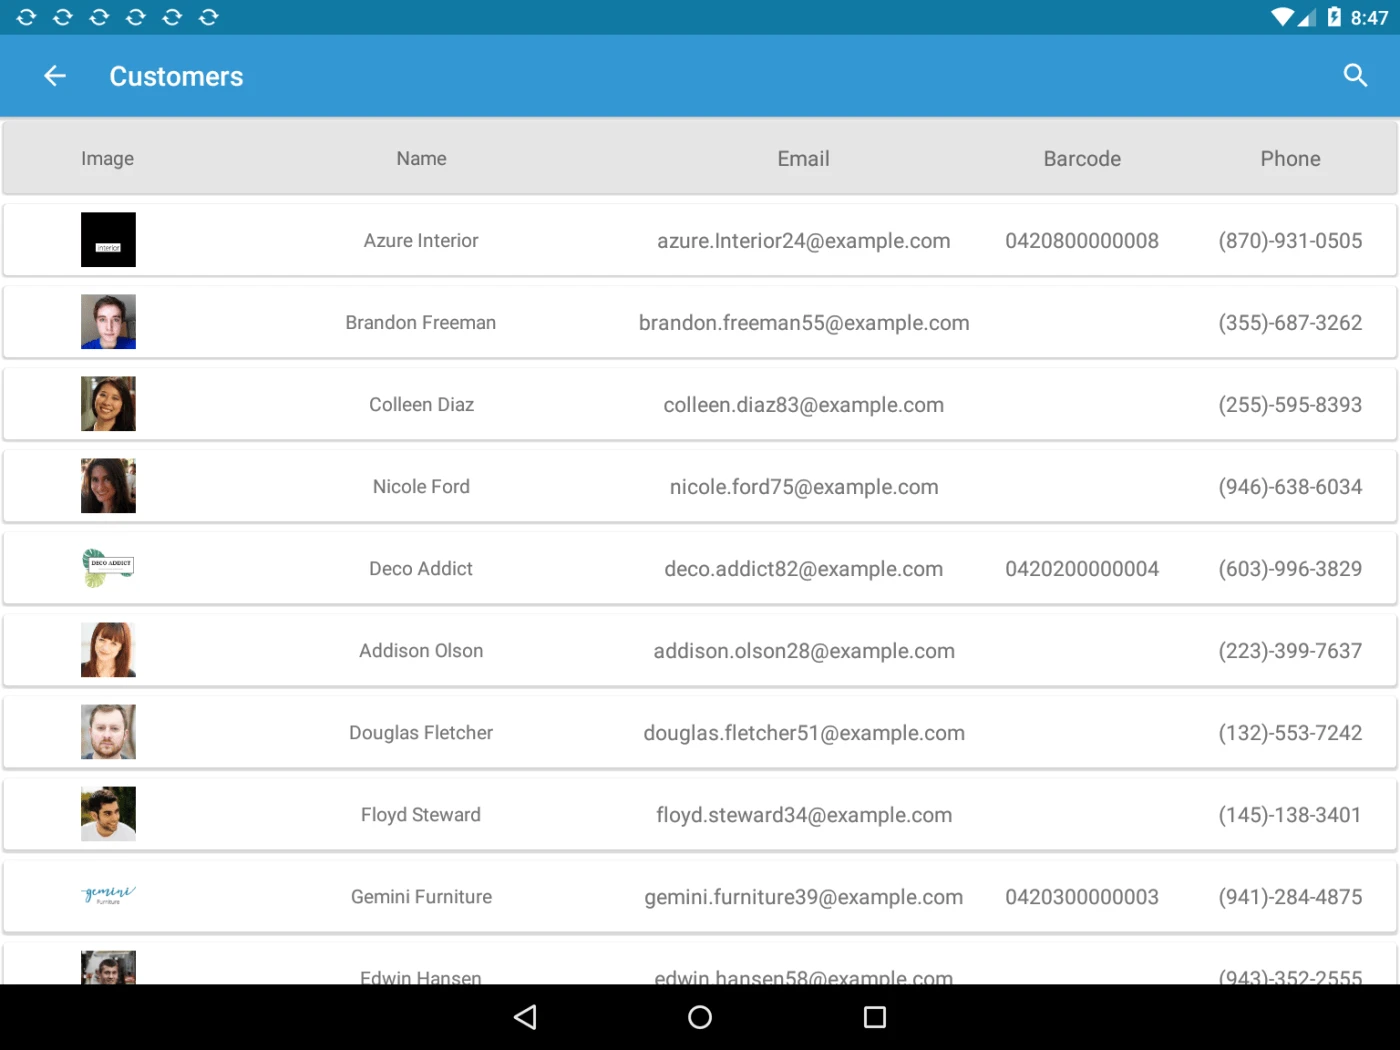
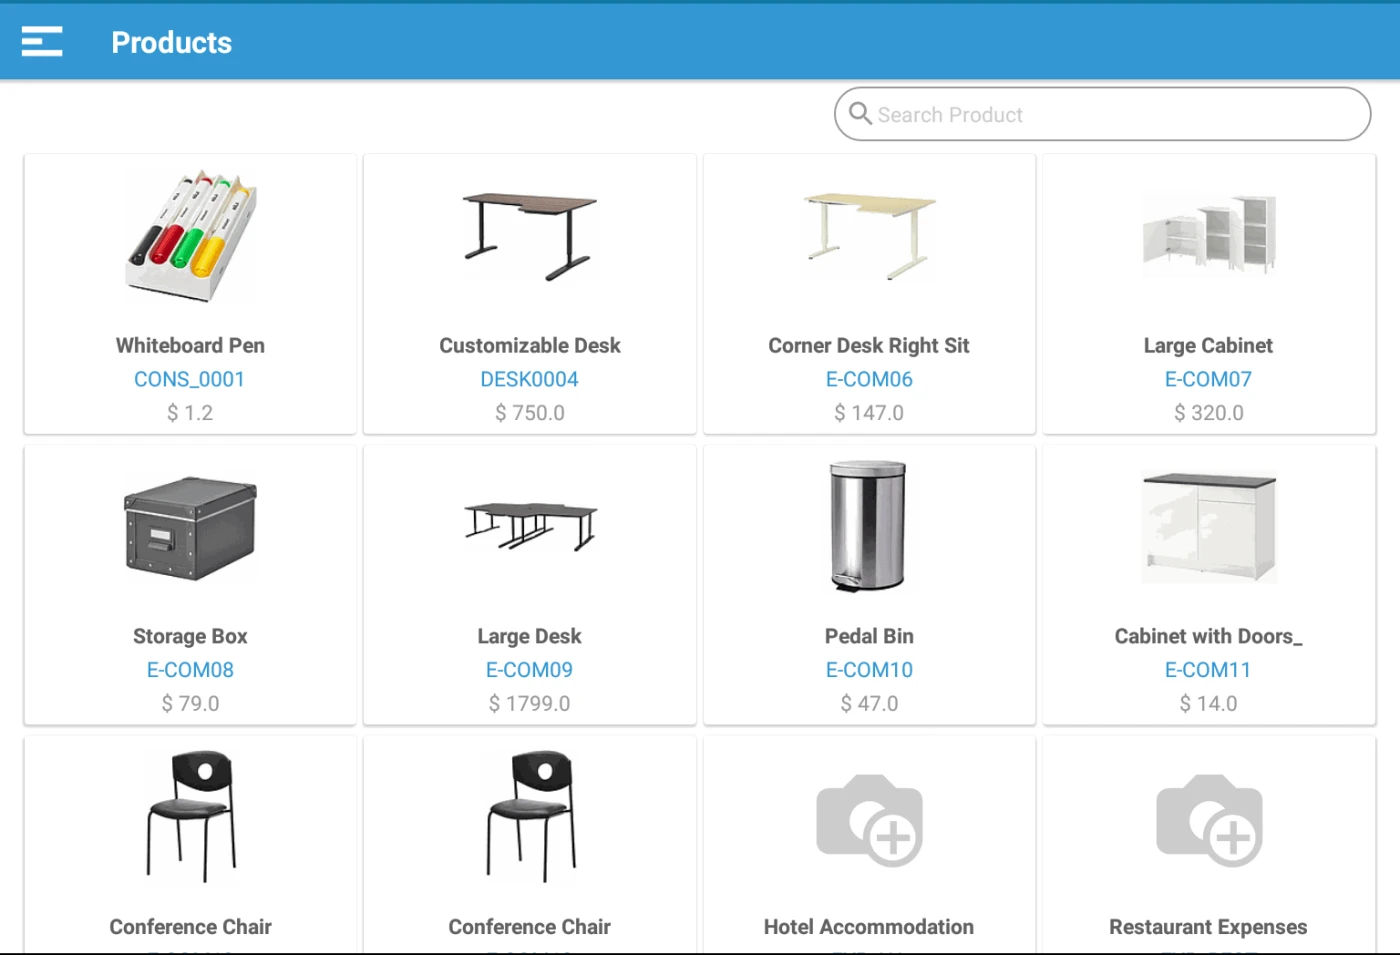
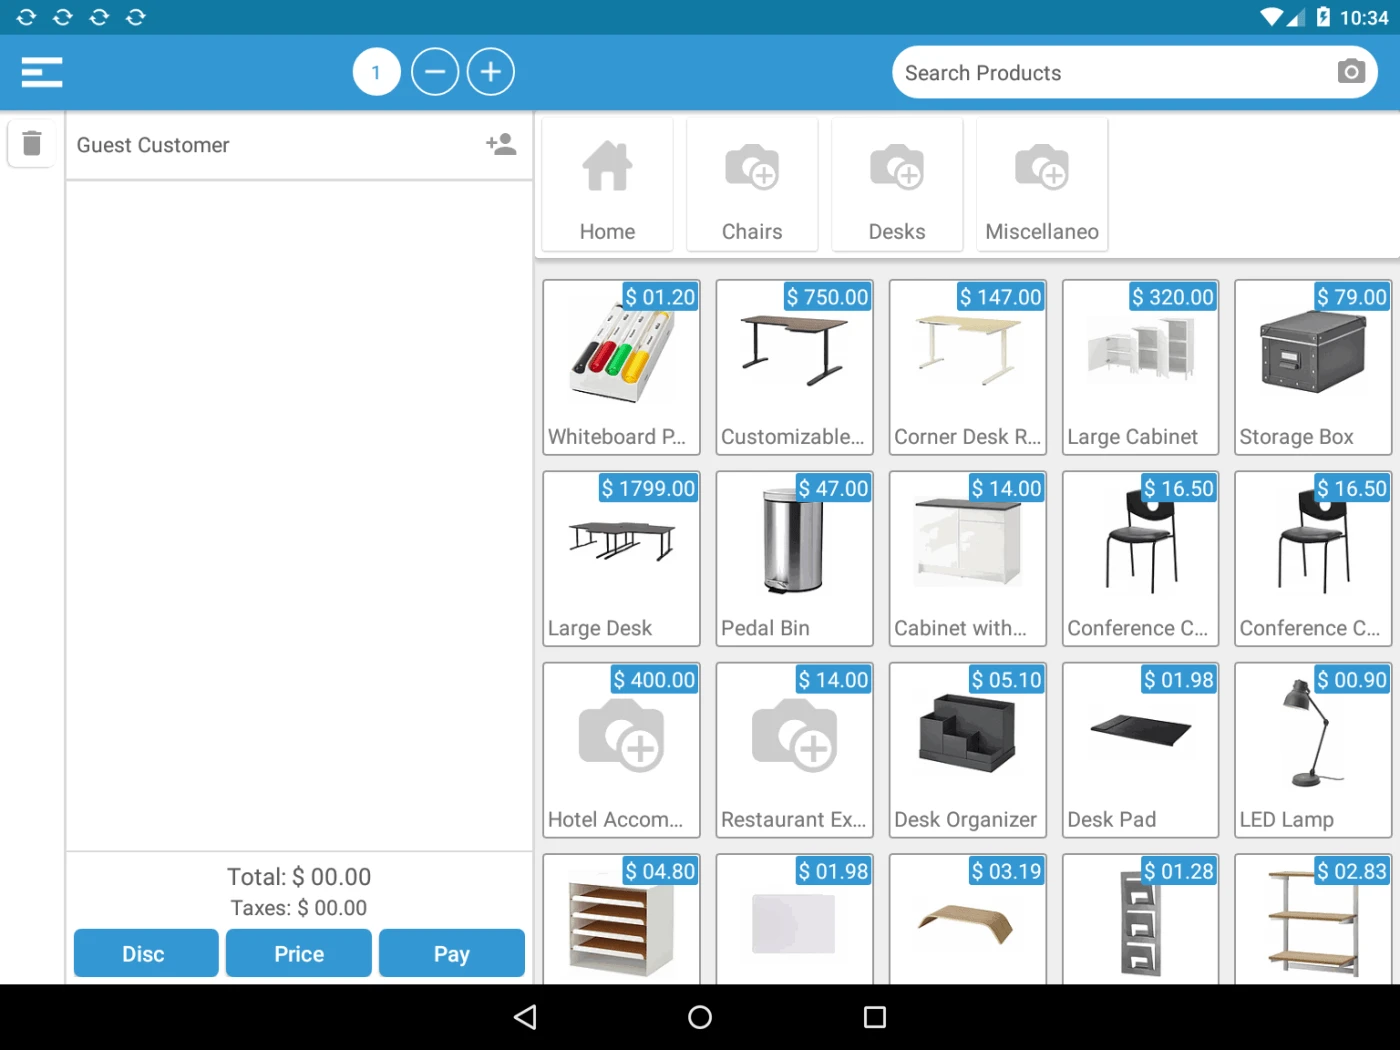
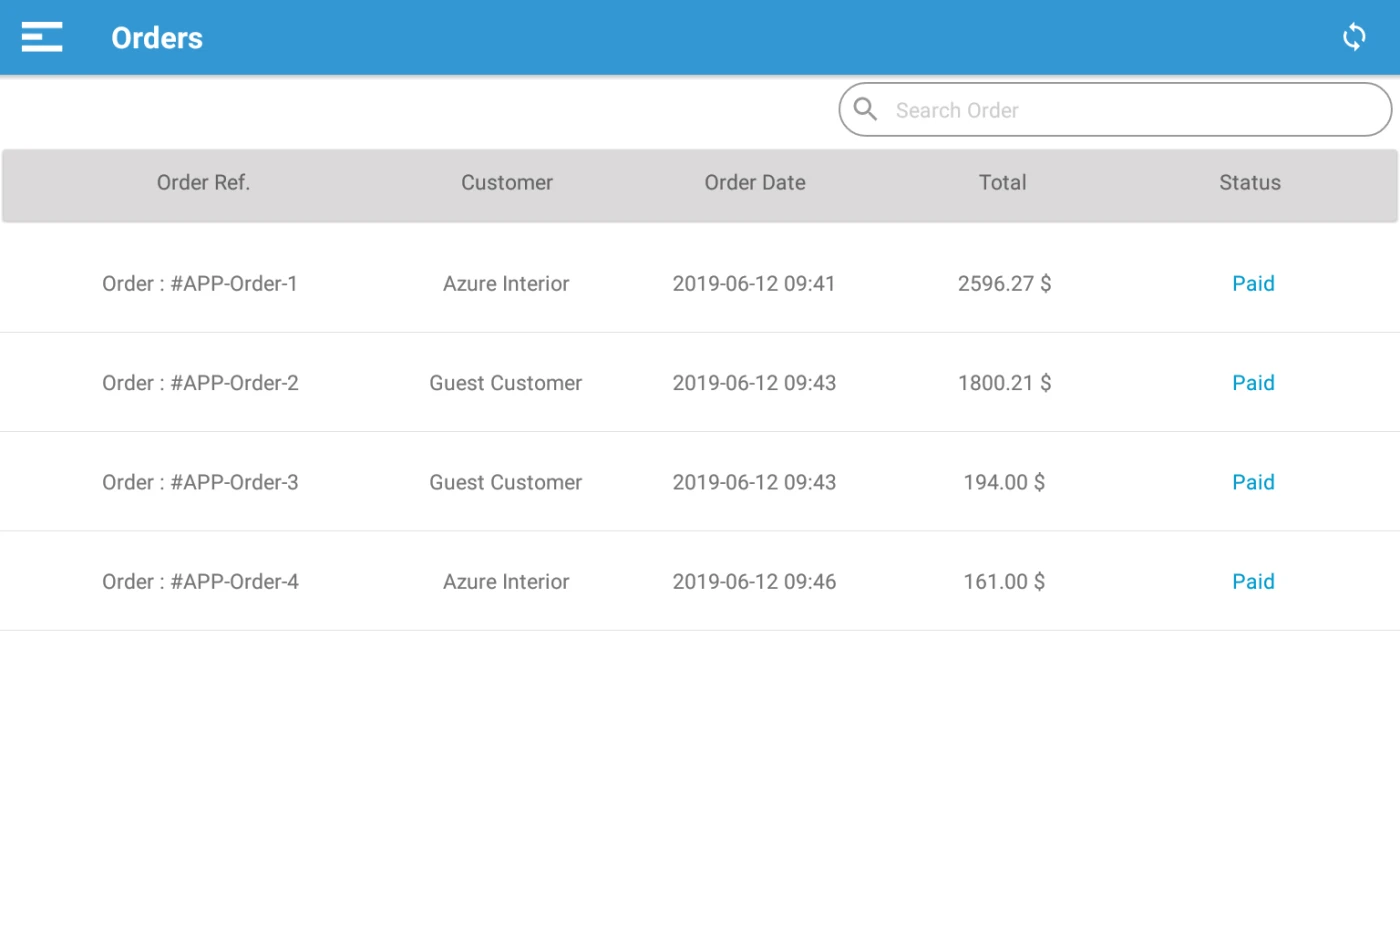
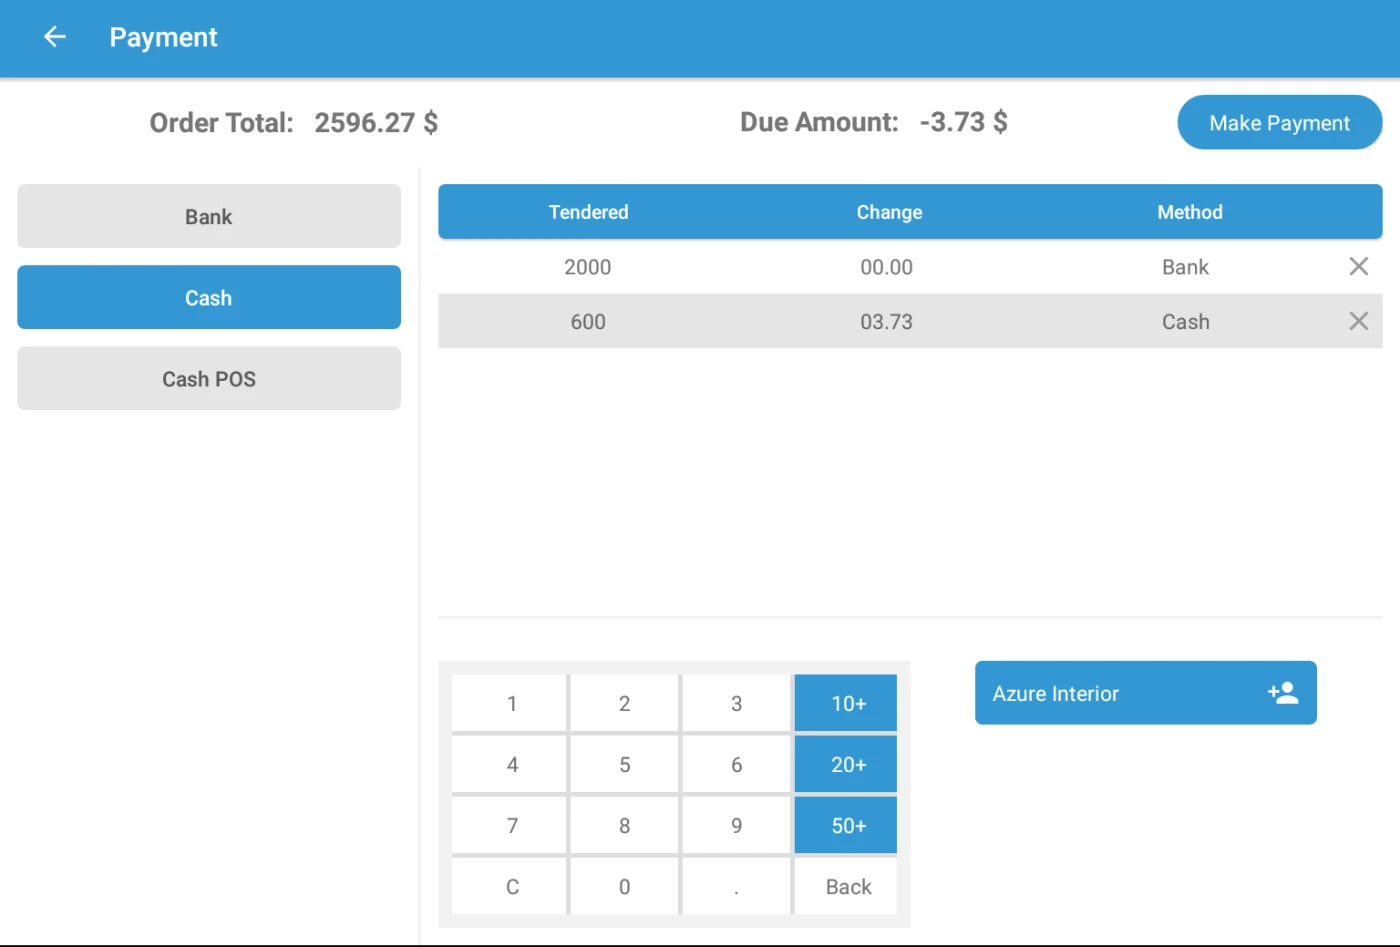
Scale Screen
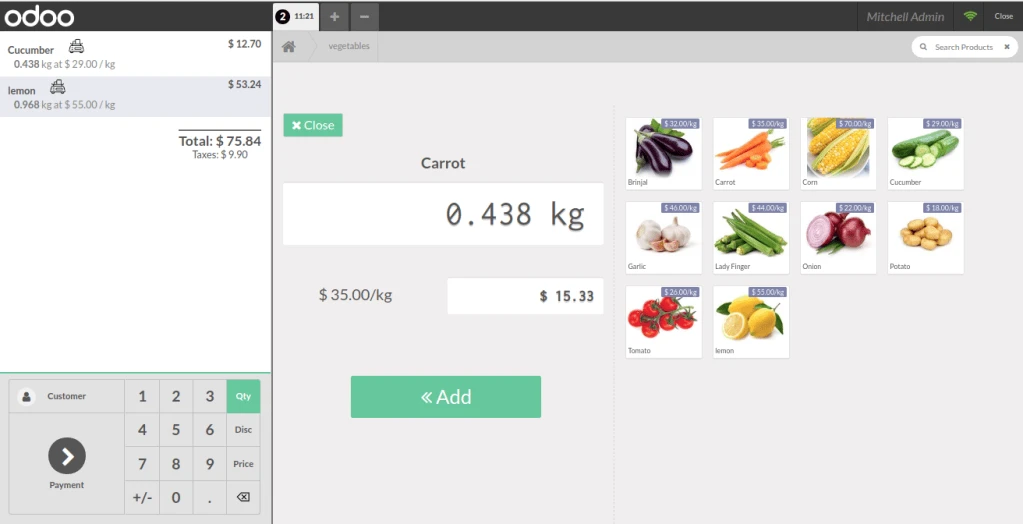
– You can set and change the weight for the product by clicking on the product or button in orderline.
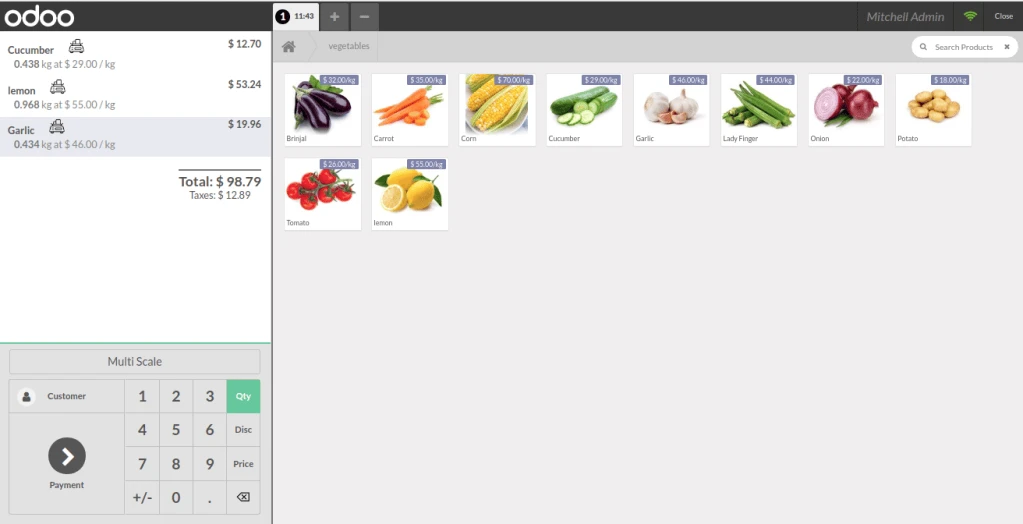
Multi Scale Screen
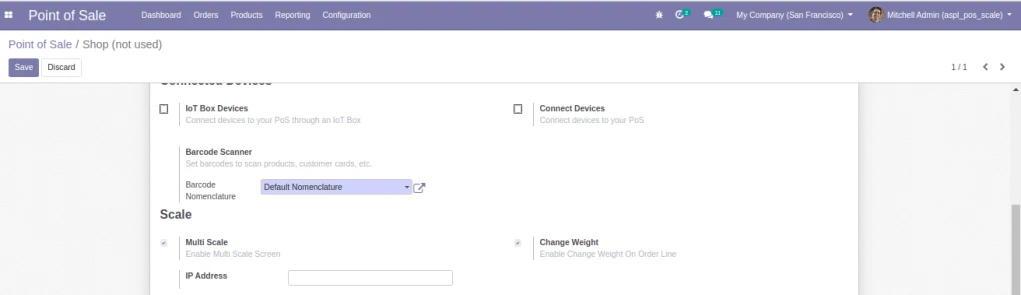
– Once you enable functionality of multiscale from point of sale configration then you can add multiple products to the cart directly as below.
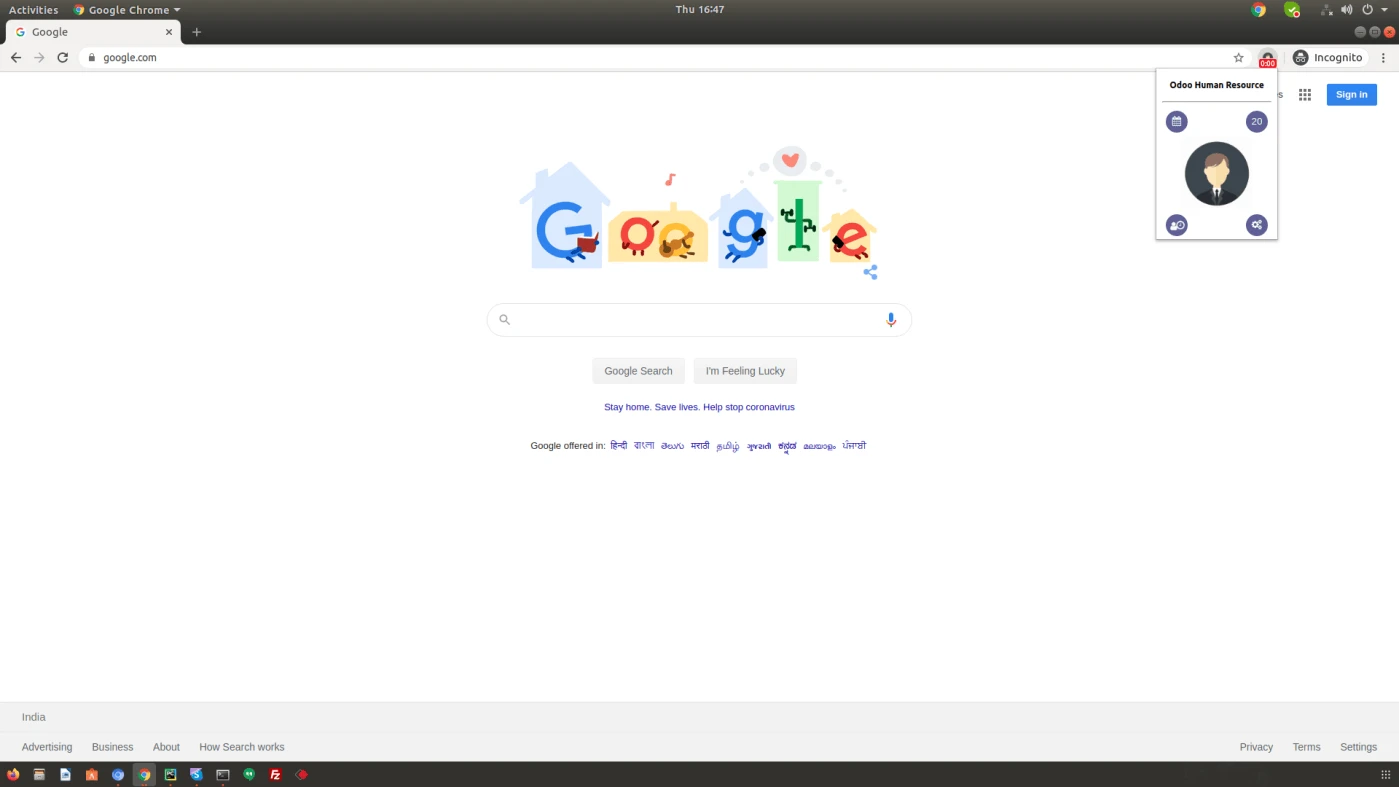
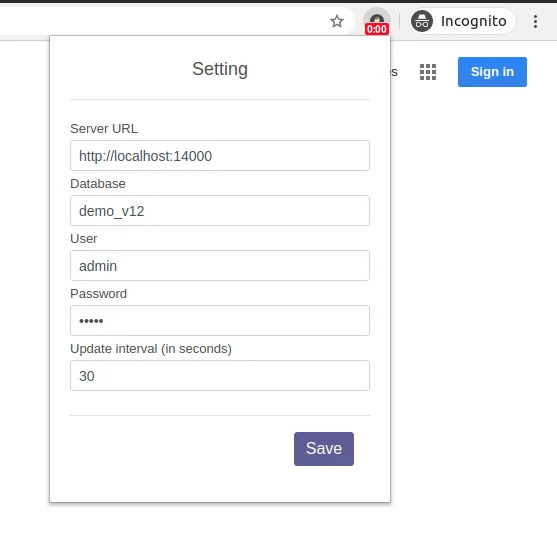
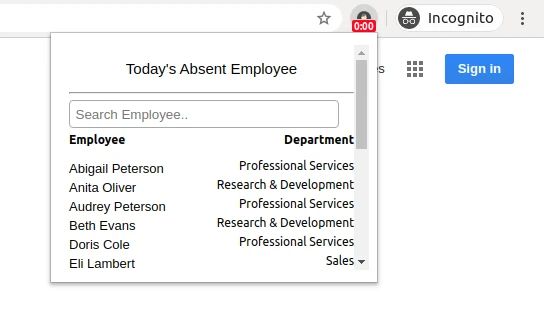
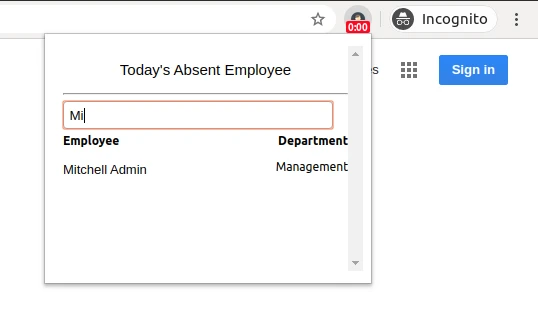
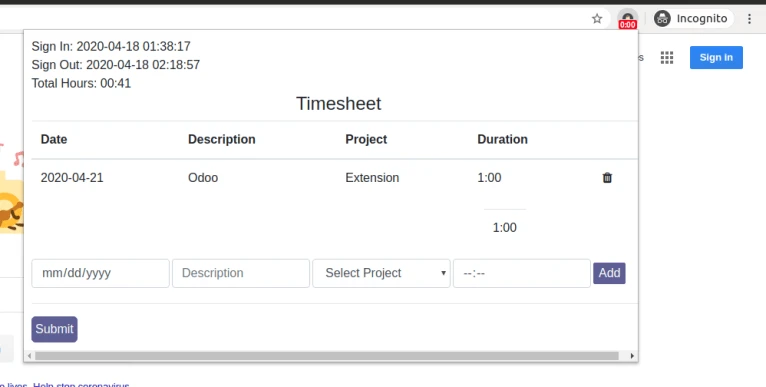
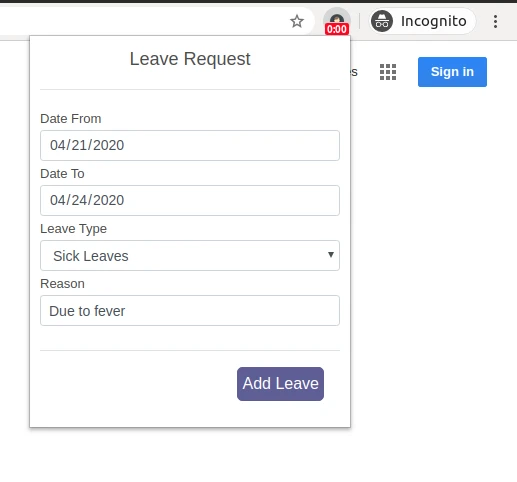
A chrome extension (browser extension), also called a plug-in, it enhanace browsing experience. This extension connects with Odoo ERP and simplify daily process with easy steps and simple user interface.
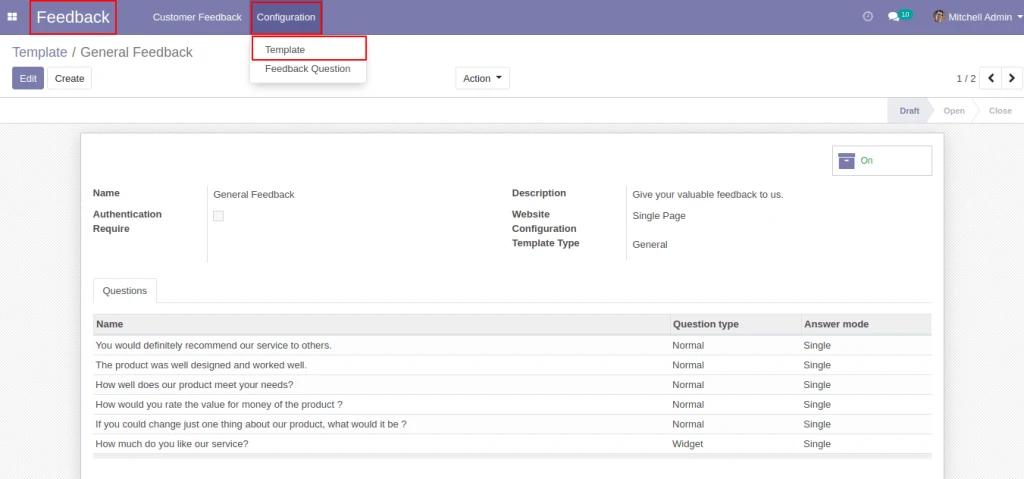
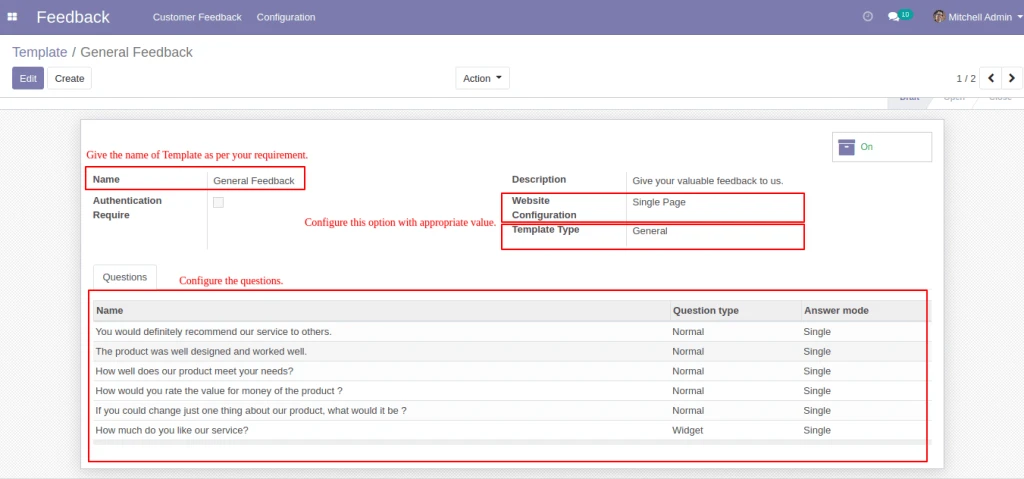
In Feedback > Configuration > Template, configure the template..
Feedback Template Configuration
Into Template configure all the option with appropriate value like Name, Website configuration, Template type and Questions. When you Select the Single Page in Website Configuration then all the Question will come in one page.
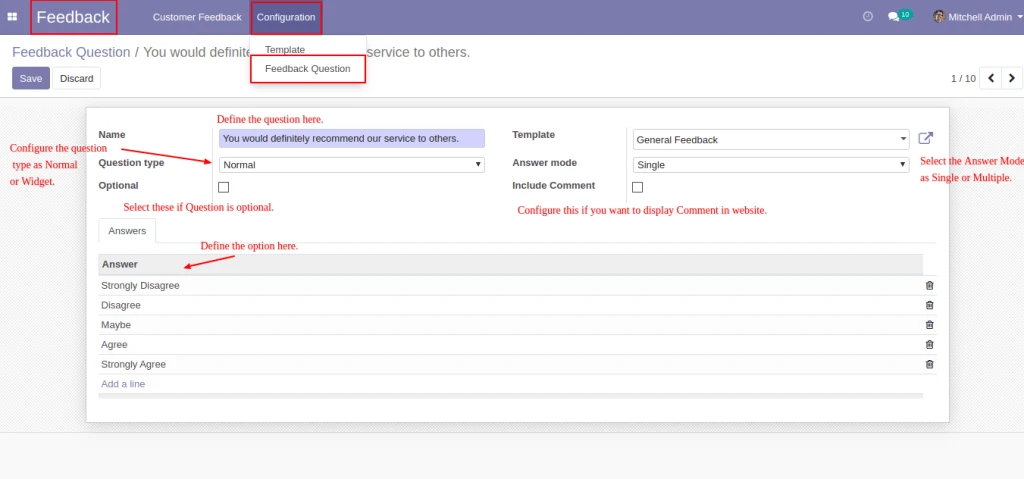
Template Question Configuration
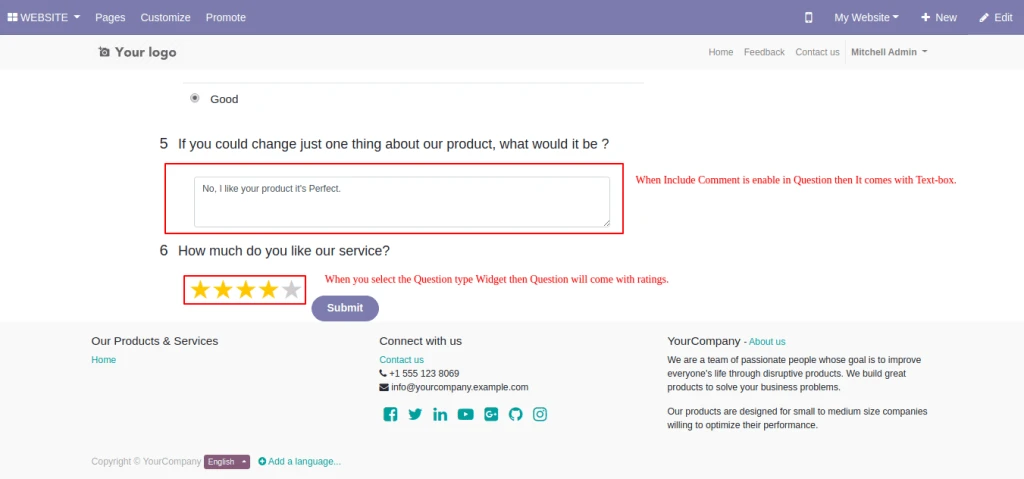
In Feedback > Configuration > Feedback Question, Configure the Question with appropriate value like Question, Template, Question type Normal or Widget, Answer Mode Single or Multiple, Question will Optional or Required and If you want to include the comment then enable the Include Comment option.
Feedback Question Configuration
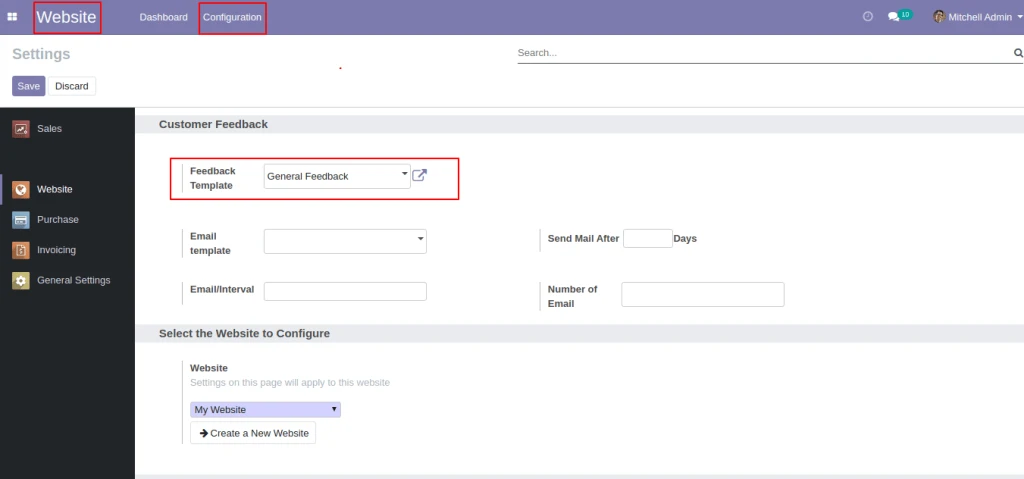
In Website > Configuration, under the Customer Feedback, set the option for Feedback Template. Based on this configuration the Feedback Questions are display.
Website Configuration
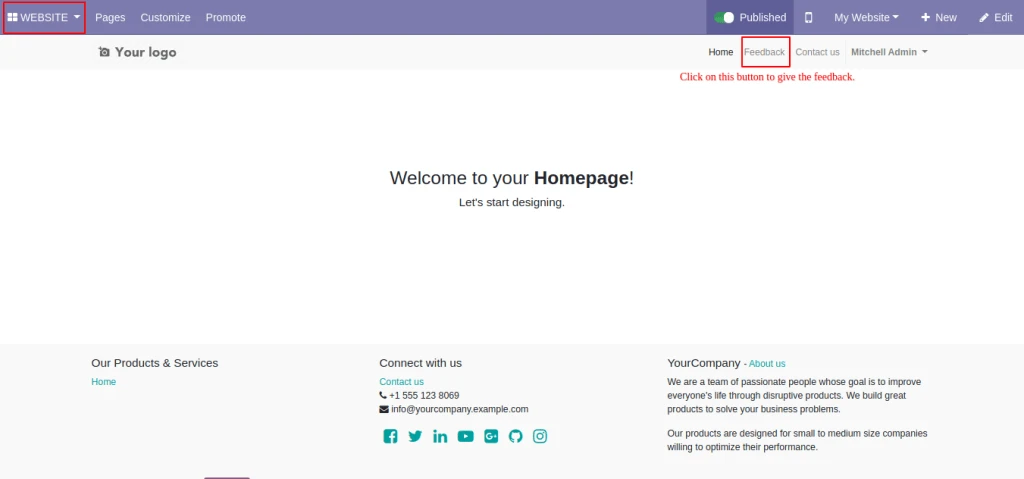
Now Go into the website and Click on “Feedback” Menu to Give the Feedback.
General Feedback Website
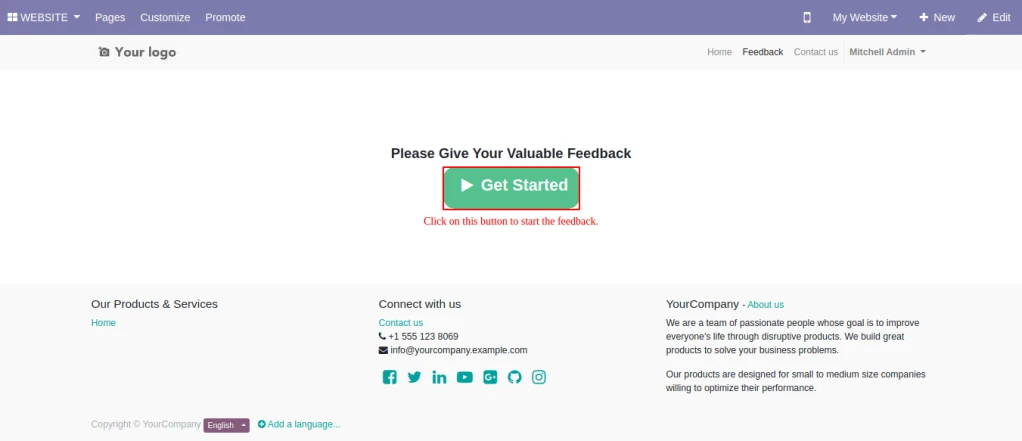
Now Click on “Get Started” Button to start feedback.
Feedback Get started
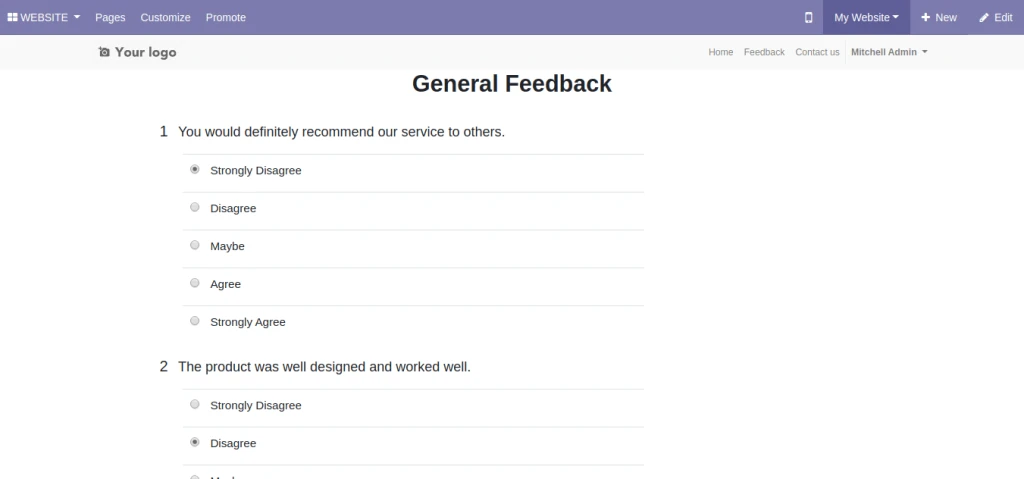
When you click on Get Started Button Question will come which you configure into the Template.
When you select the Question type Normal and Answer Mode Single Question Will come with radio button and you will submit only one answer.
Question Website
When you select the Question type Widget Question Will come with Ratings.
Question Website 2
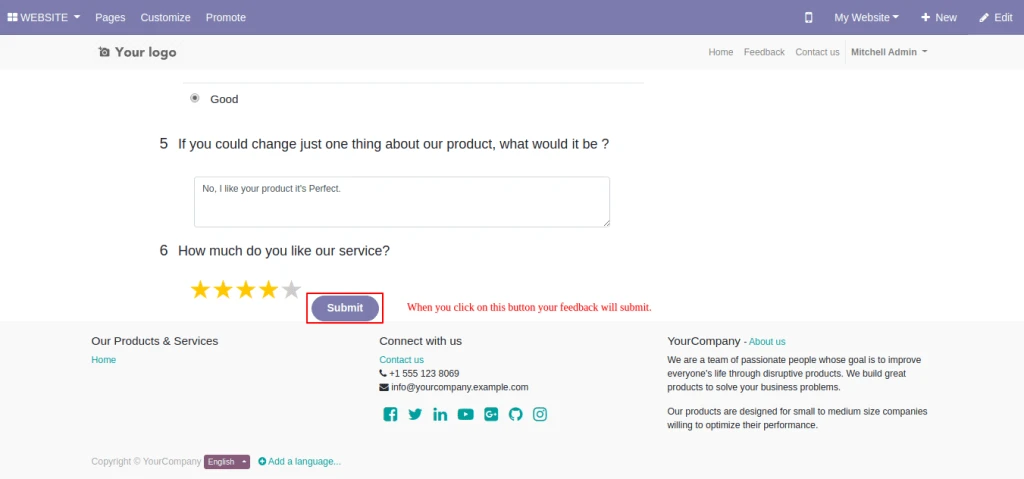
When you click on “Submit” button your feedback will submit.
Submit Feedback
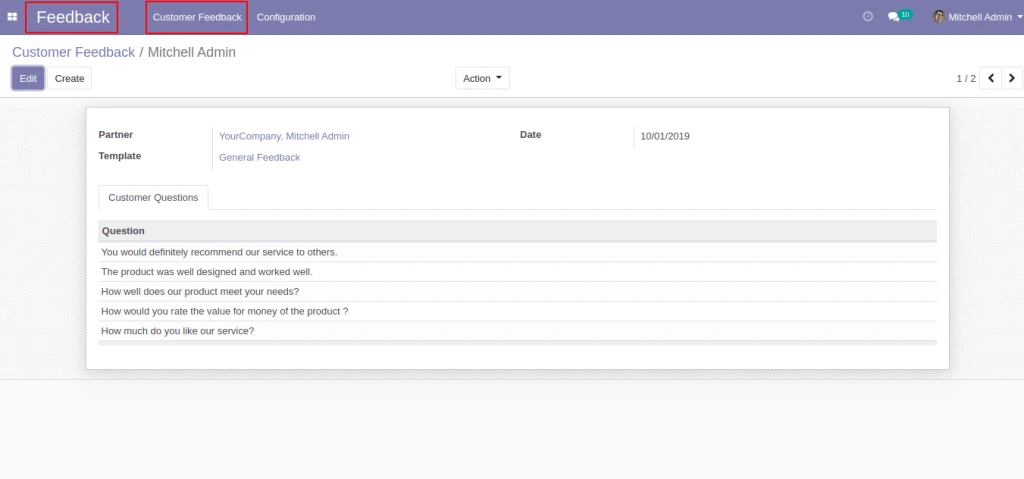
After Submitting the feedback it will Store into the Feedback > Customer Feedback.
Store Submit Feedback
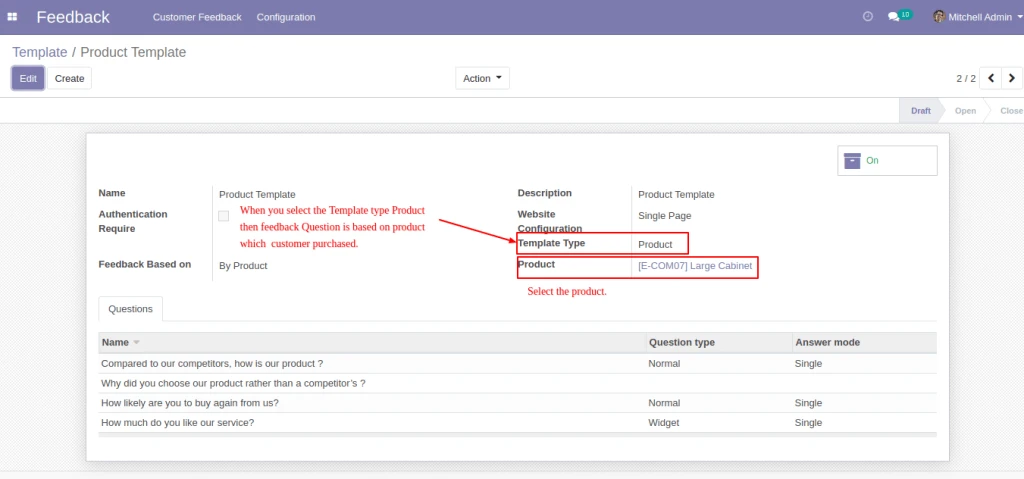
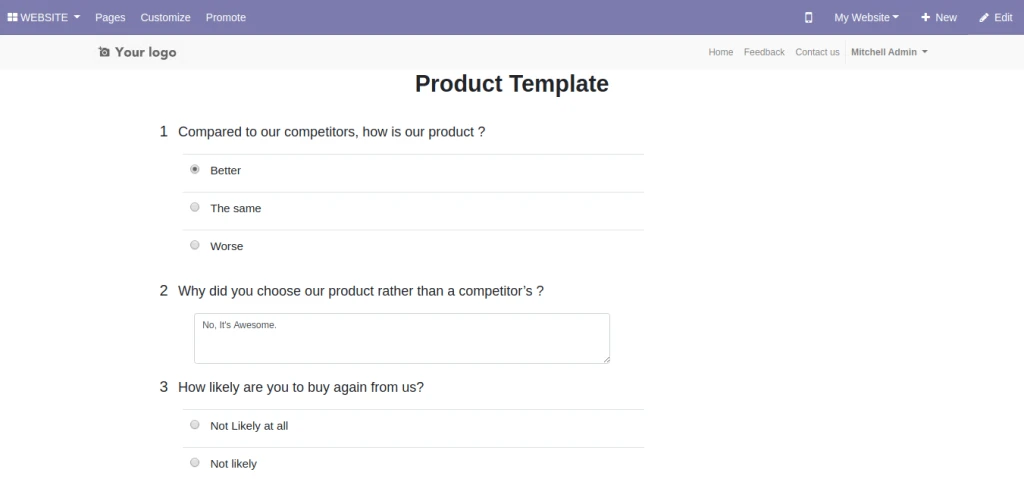
When you select the Template type as Product then feedback question will come based on Product.
Product Feedback Template
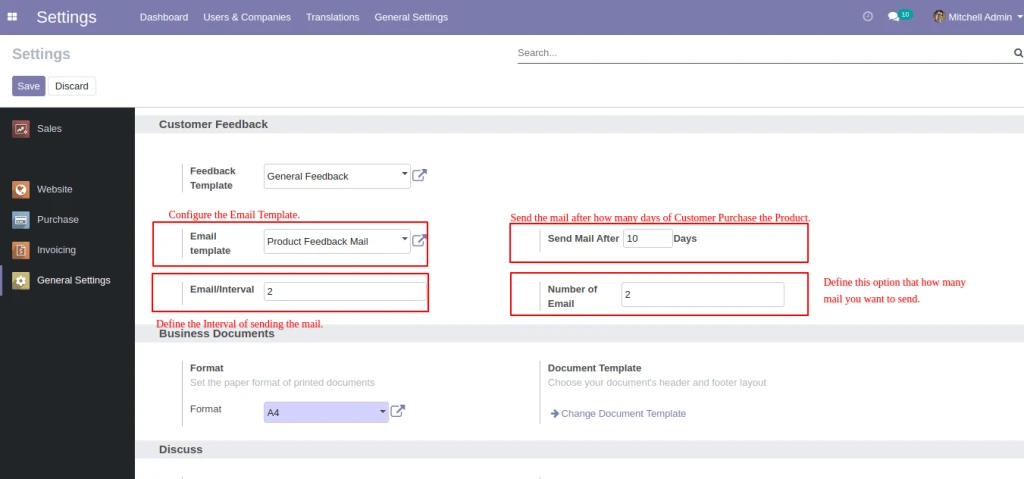
Configure the Mail template, Send mail after How many days of Customer Purchase the Product, Number of Mail that you want to Send and Interval and Cron will run everyday and send the mail to the customer based on your configuration and customer can give the feedback from mail.
Product Feedback Configuration
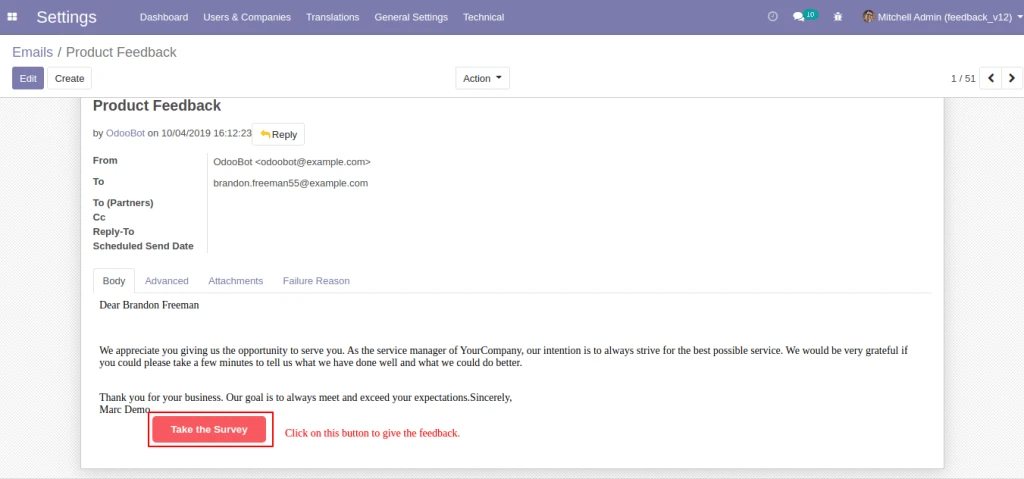
By clicking in Take the Survey button, Feedback will Started and after that same procedure will follow as General Feedback.
Customer Feedback Mail Feedback Get started Customer Product Feedback Answer
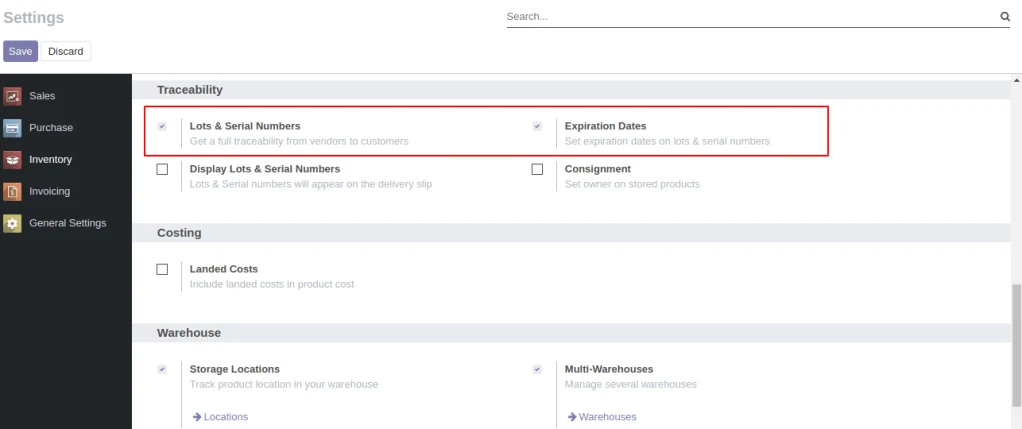
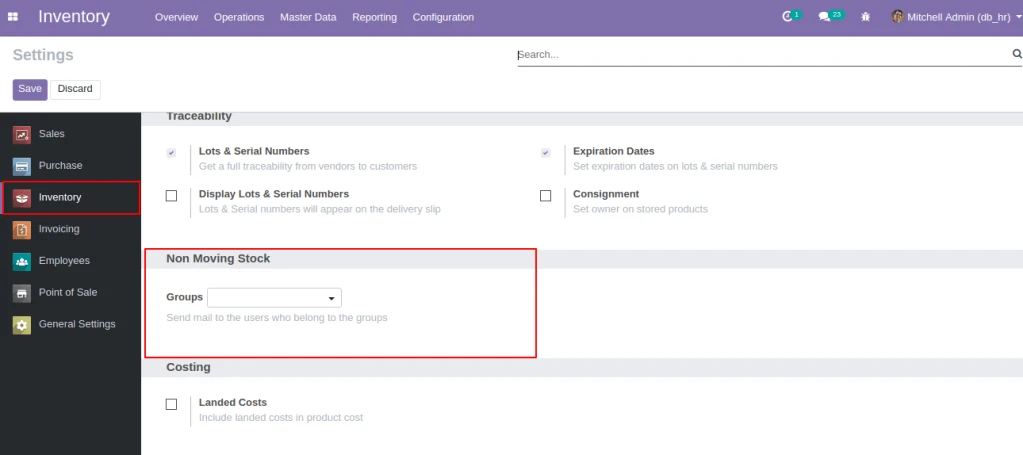
User need to enable Lots & Serial Numbers and Expiration Dates from Inventory/Settings/Traceability.
Configuration
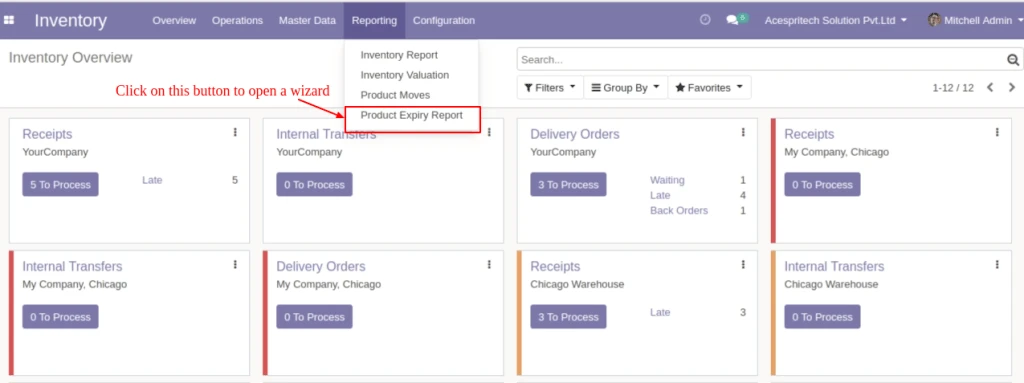
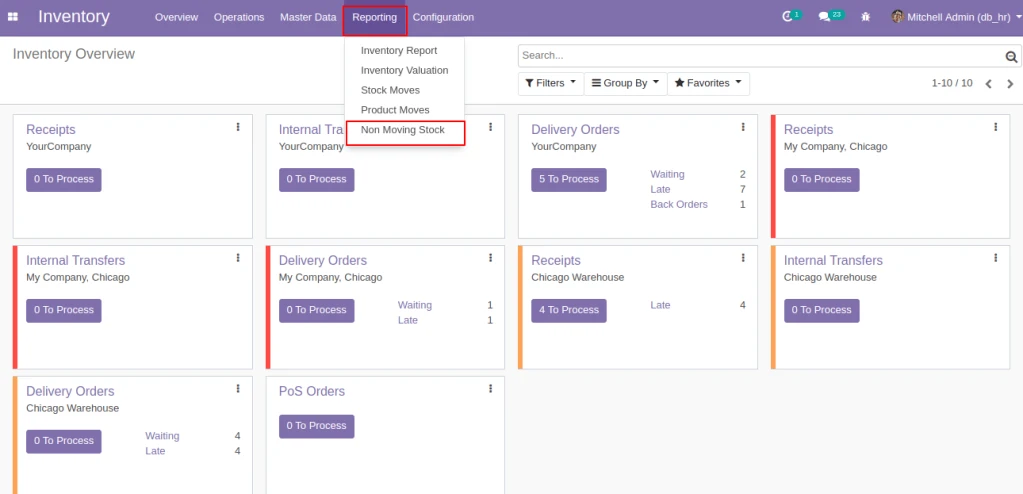
After selecting select the “Reporting” tab and then select the “Product Expiry Report” menu to open a wizard.
Product Expiry Report Wizard
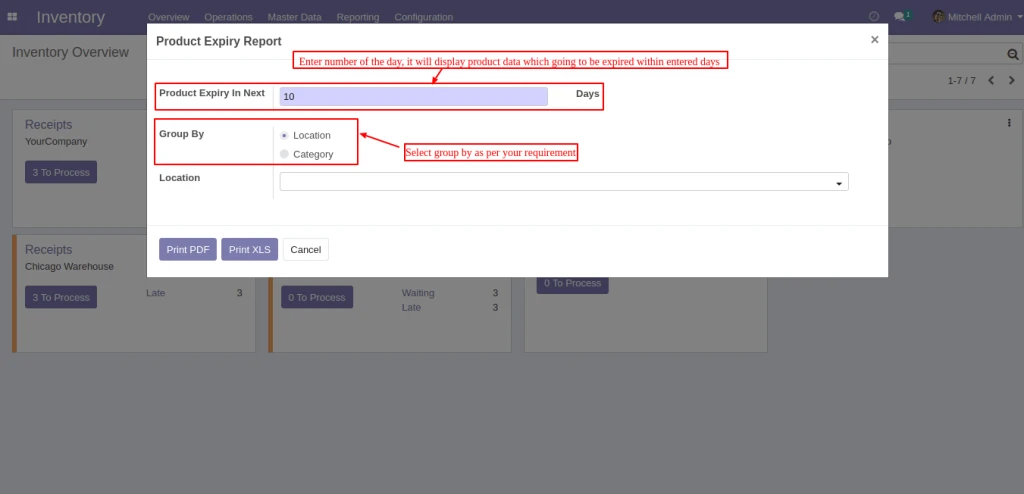
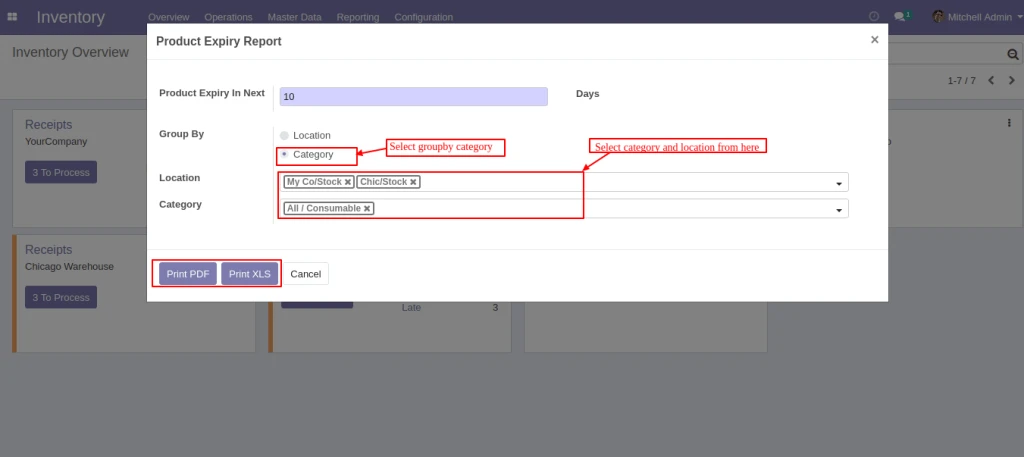
Enter “Generate Report For(Days)” for display products which are being expiring expiring during entered days.And select “Group By” option by which you want to do group by of data.You can group by(Location) or group by(Category)
Product Expiry Days
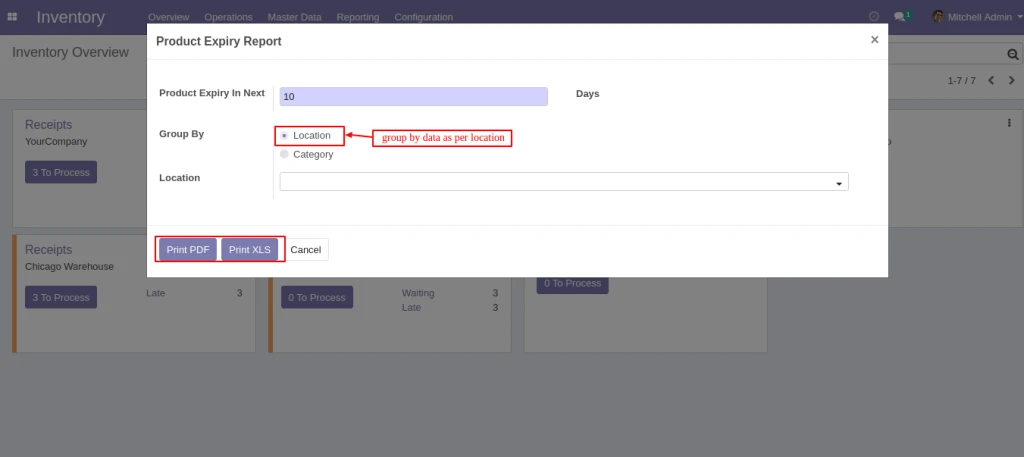
If you want to display data of specified location then select locations in “Location” field.If you want to display products of all locations which products are available then select nothing in “Category”. To print report click on “Print PDF” or “Print Excel” button.
Group by Location
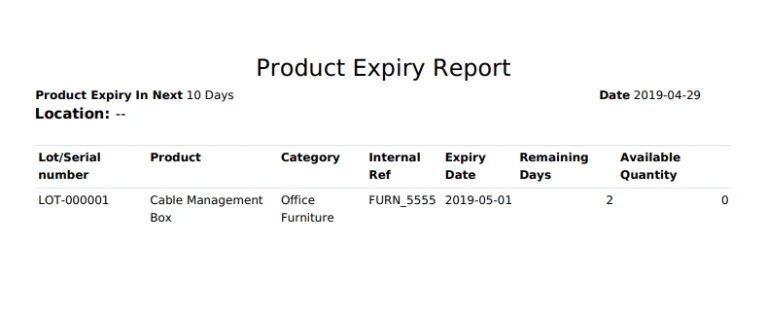
Display products which are group by “Location”.
Product Expiry Report
If you want to display data of specified category then select group by(Category) option and select categories in “Category” field.If you want to display products of all categories which products are available then select nothing in “Category”. To print report click on “Print PDF” or “Print Excel” button.
Commission calculation based on Product, Product category, Agent
Manage the commission based on Product Sell Price, Product Profit Margin.
Manage the commission payment.
How to use
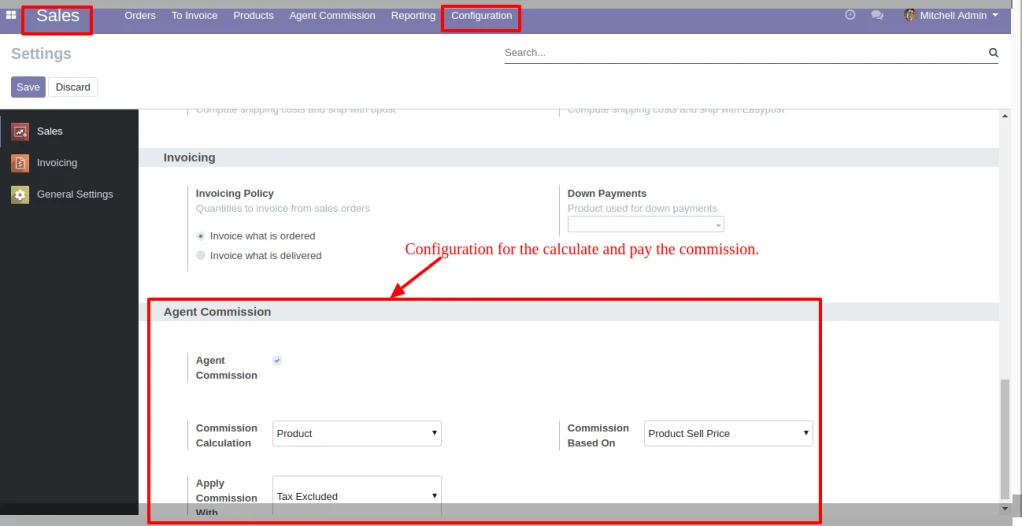
In Sales > Configuration, under the Agent Commission, set the option for Commission Calculation, Commission Based on and Apply Commission With. Based on this configuration the commission is calculate and paid.
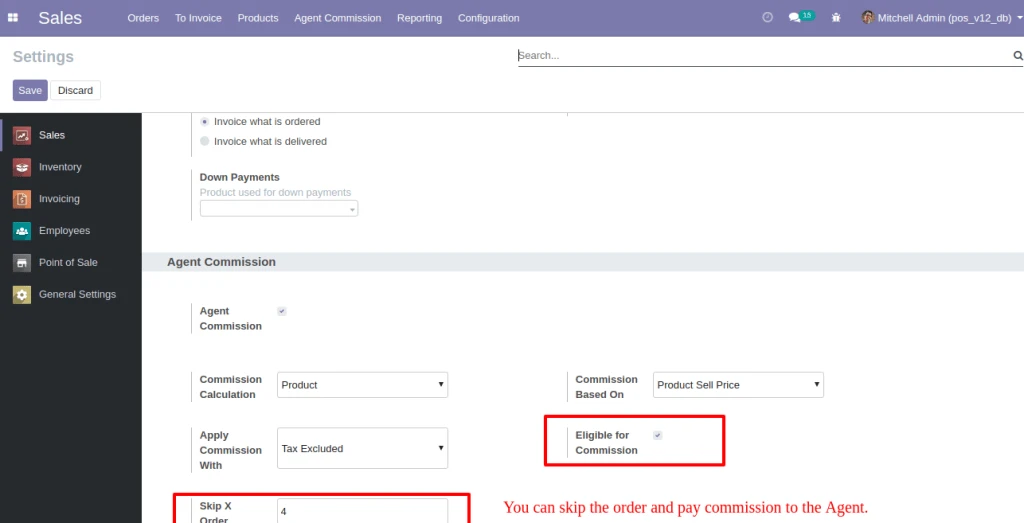
User can set the order that you want to skip. Based on this configuration the commission is calculate and paid.
Sale Configuration Skip Order
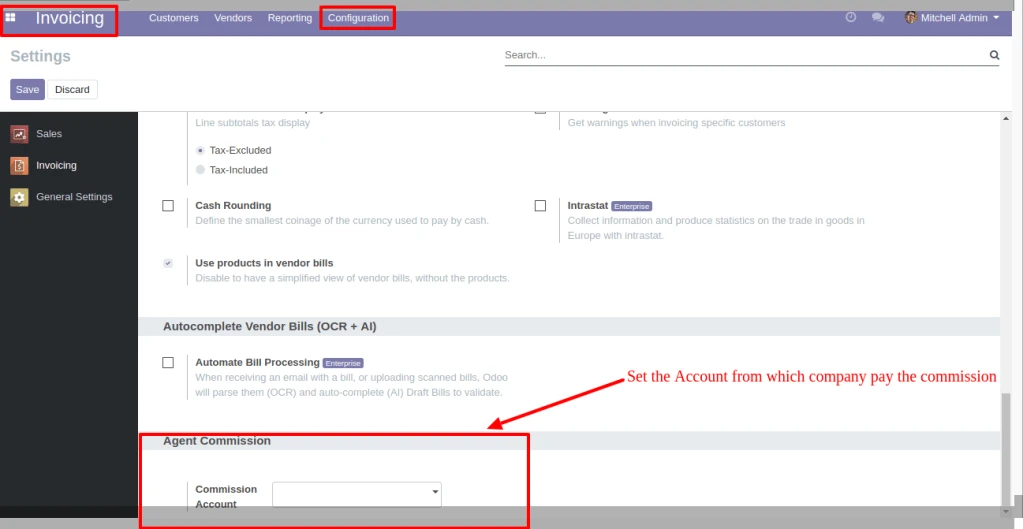
In Invoicing > Configuration, under the Agent Commission, set the option for Commission Account. Based on this configuration the commission is paid.
Invoice Configuration
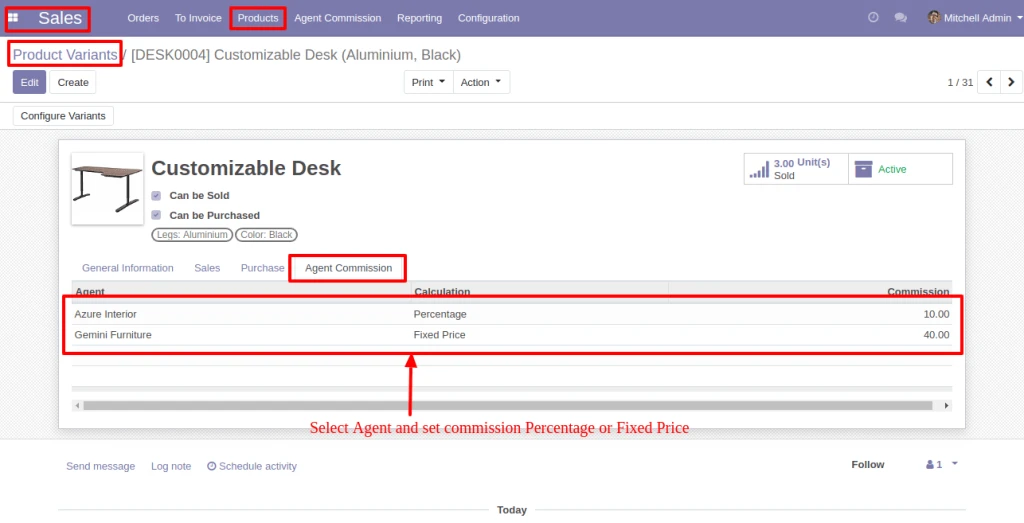
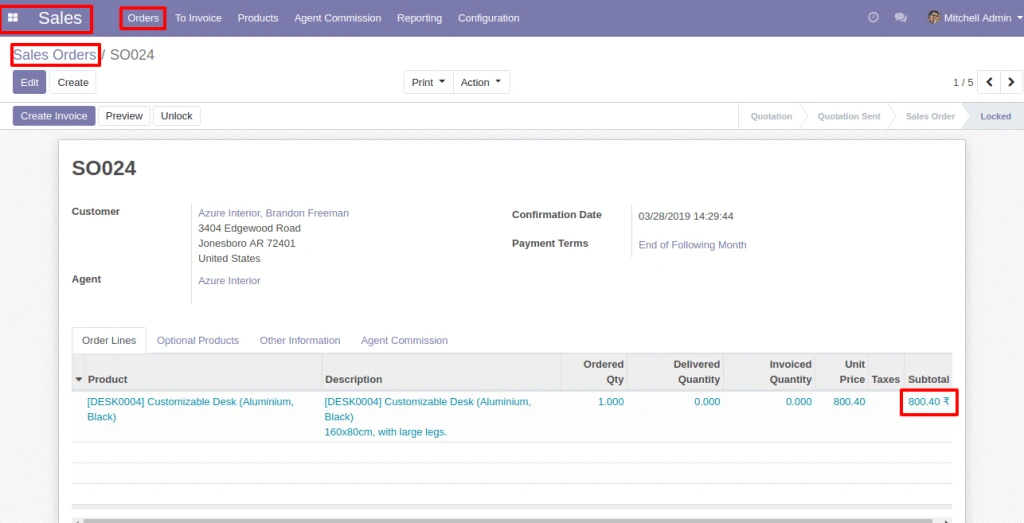
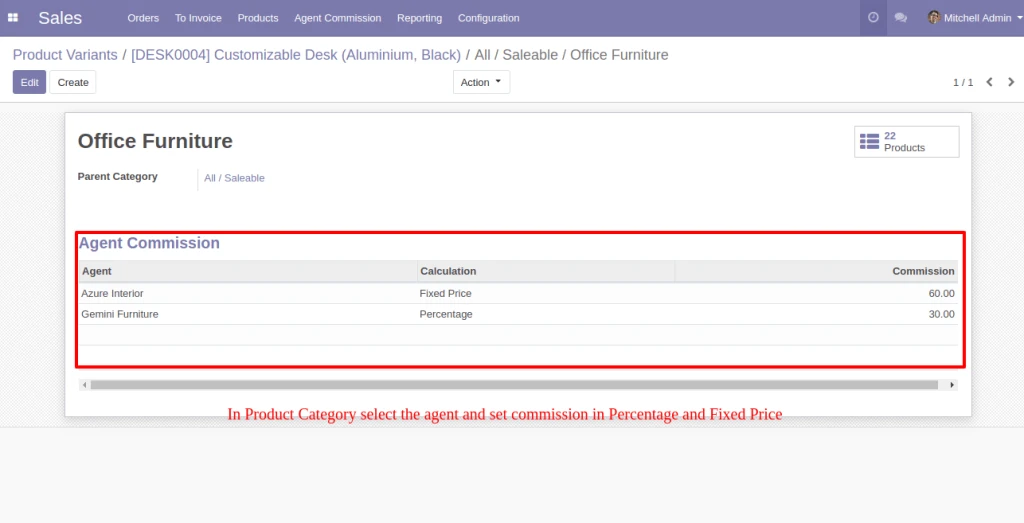
In Products, below the Agent Commission tab, select the Agent and set Compute Price as Fixed price or Percentage. The same configuration is also available in the Product Category and Customer.
If Agent is selected in Sale Order, he will be eligible for commission as per the Configuration.
Product Variant
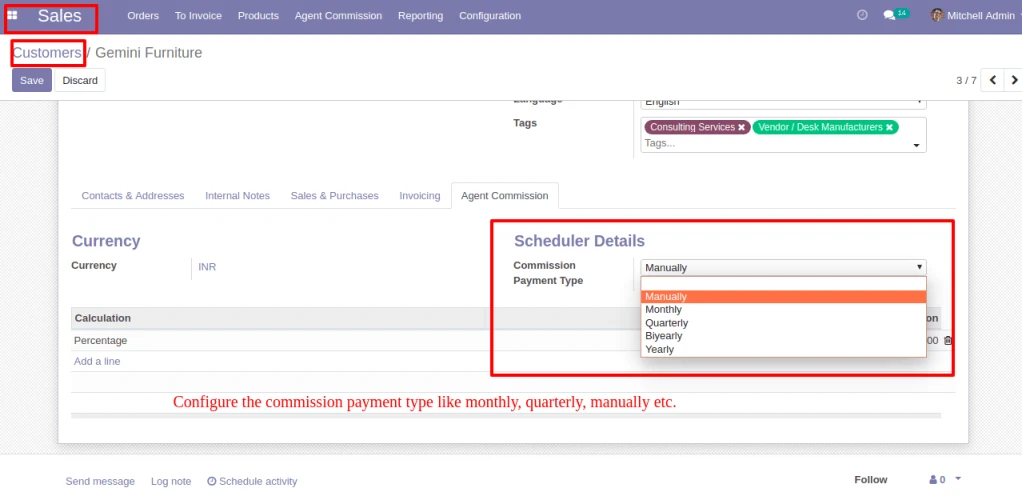
In Customer > Agent Commission, Configure the Commission Payment type like monthly, quarterly, manually etc.
Payment Type
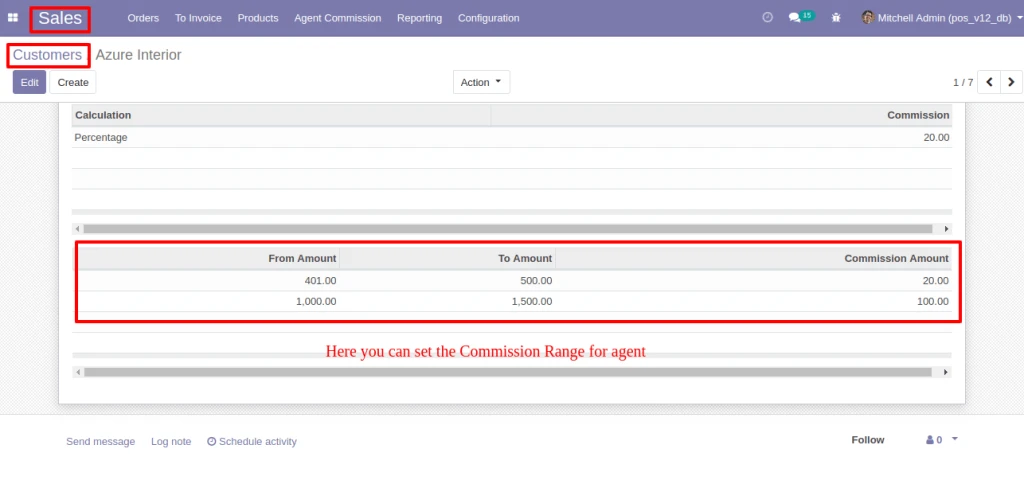
In Customer > Agent Commission, Configure the Commission Range, If Sale Order amount is between the range then Agent get commission which is configured.
Commission Range
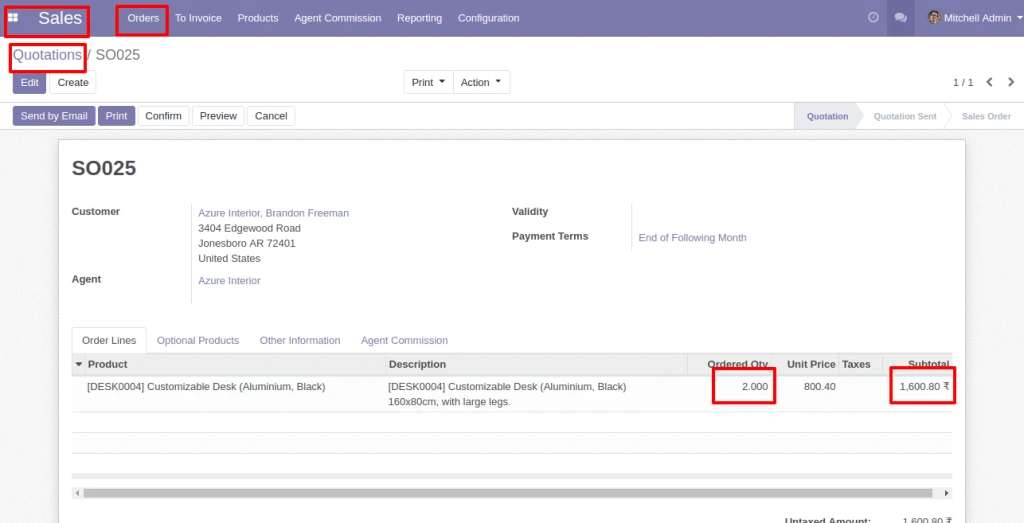
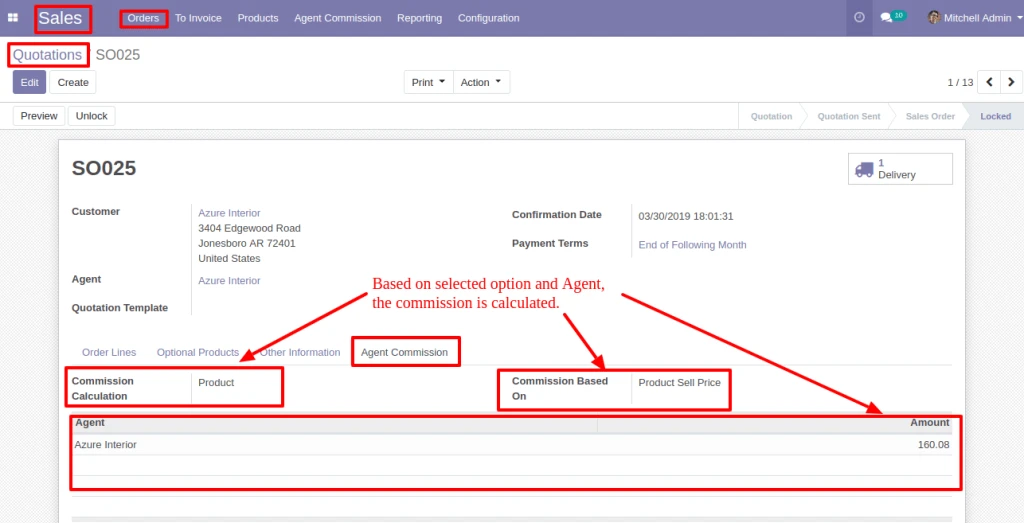
In Sale Order, below the Agent Commission tab, based on the Agent and commission calculation option, Commission is calculated.
Sale Order
If commission is based on ‘Product/Product Category/Agent’, Commission will be calculated for each Order Lines.
Product CategoryProduct CategorySale Order Commission
Note : If Commission is based on ‘Product/Product Category’, Commission will be calculated as per quantity for each order line.
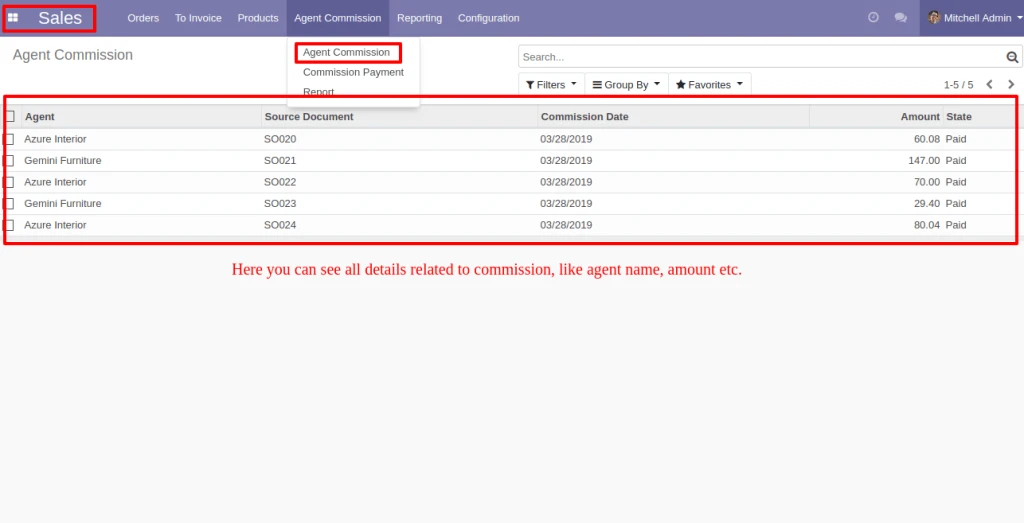
Into Agent Commission menu, you can see the Commission detail.
Agent Commission Details
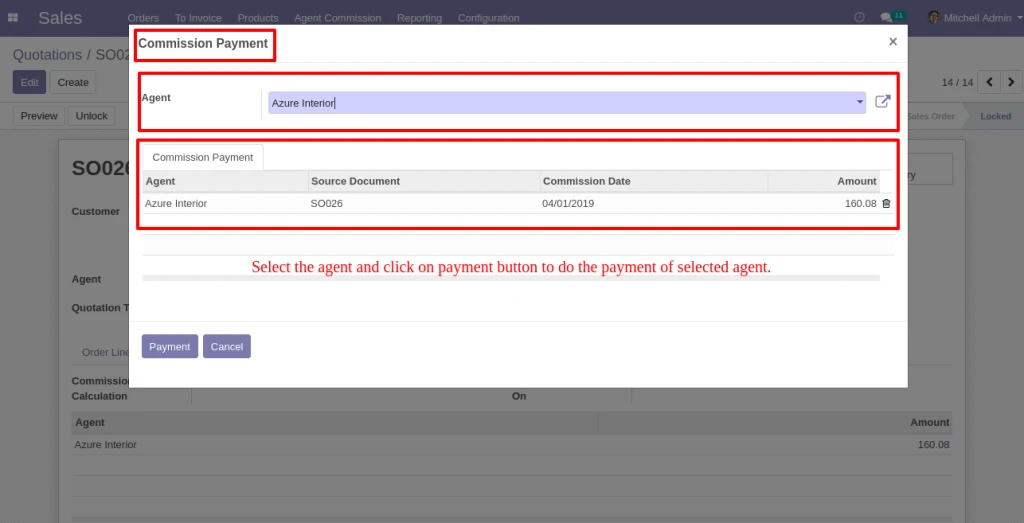
By Clicking on the Commission Payment, Vendor Bill can be generated by filterring Commission records.
Agent Payment
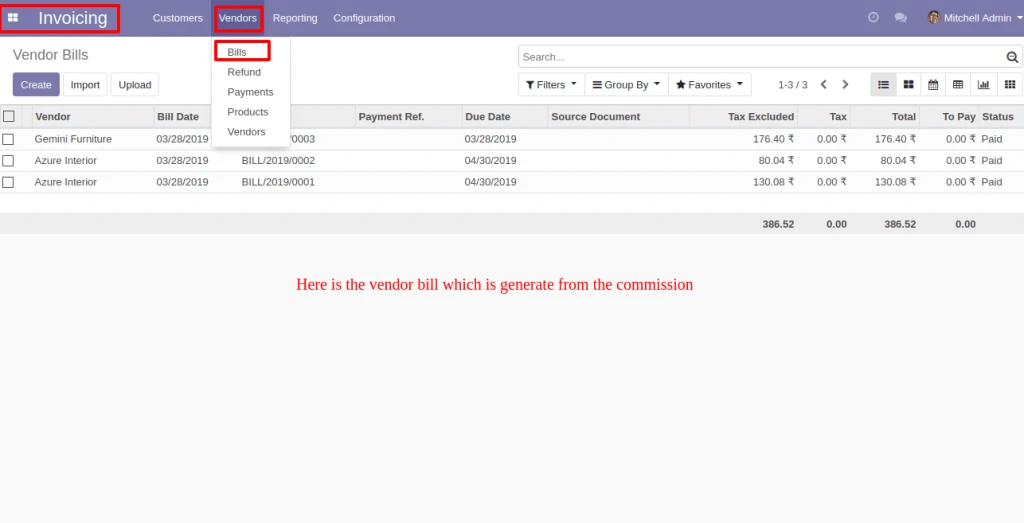
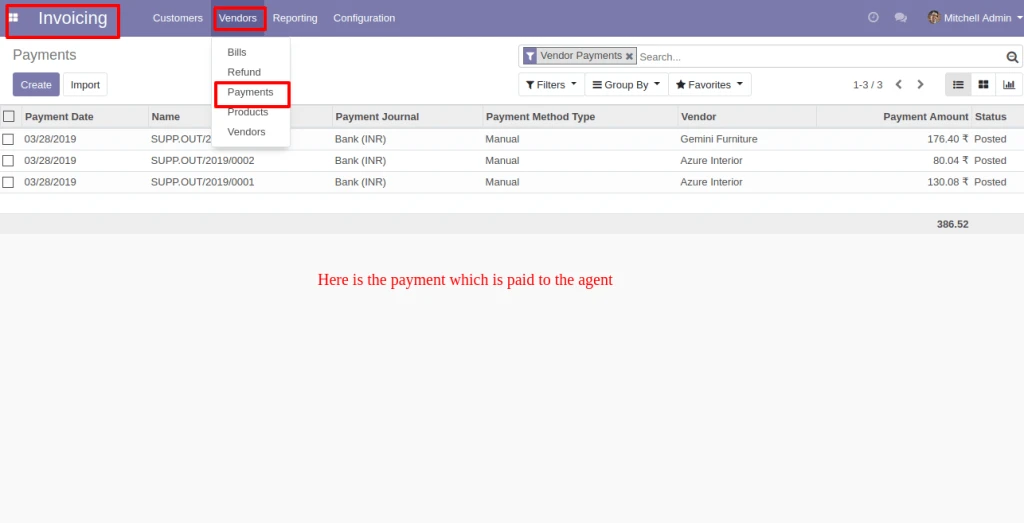
Here below is the Vendor bill which is generate from the Commission and related payment also be created.
Vendor BillPayment
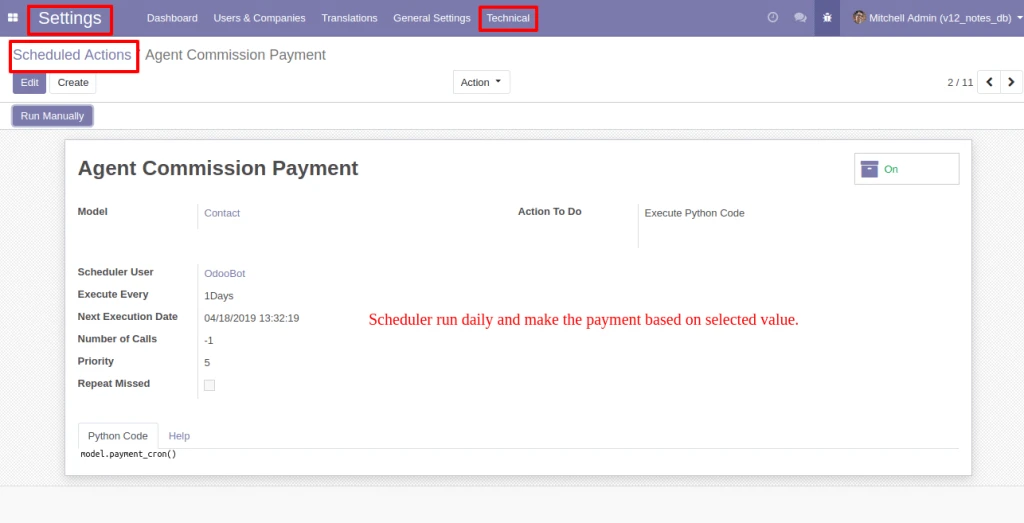
Schedular will run everyday and make the payment based on selected Payment Method(Monthly/Quarterly/Bi-Yearly/Yearly) in Agent form view.
Scheduler Run Daily
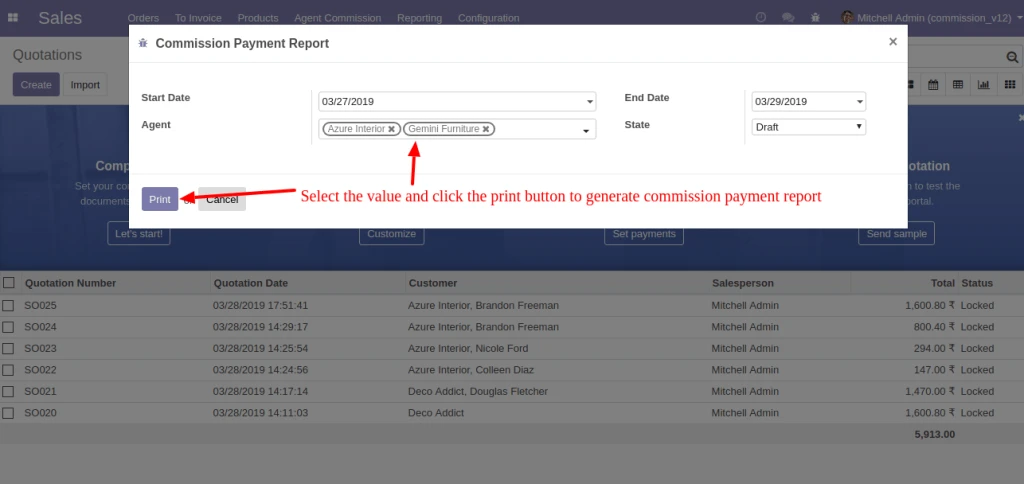
By clicking in Report menu, Commission Payment Report can be generated with having different filters as shown in image.
Commission Payment Report
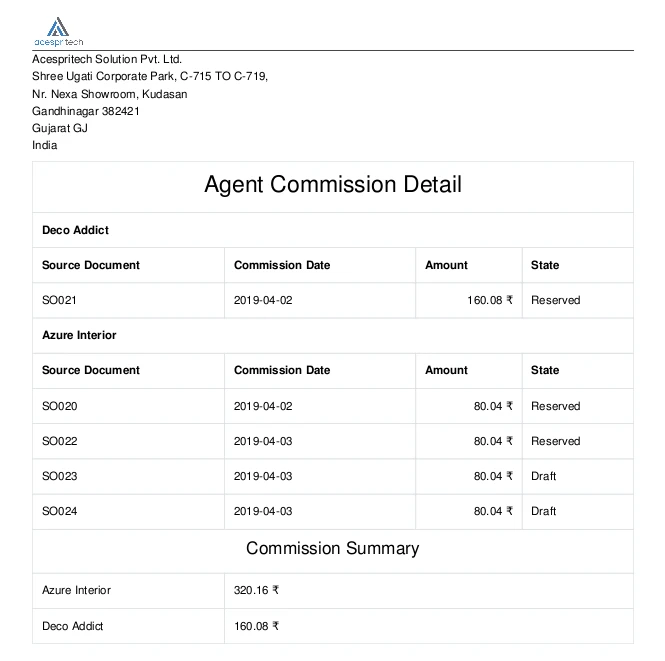
Here below is the Commission Report for selected Agent(s).
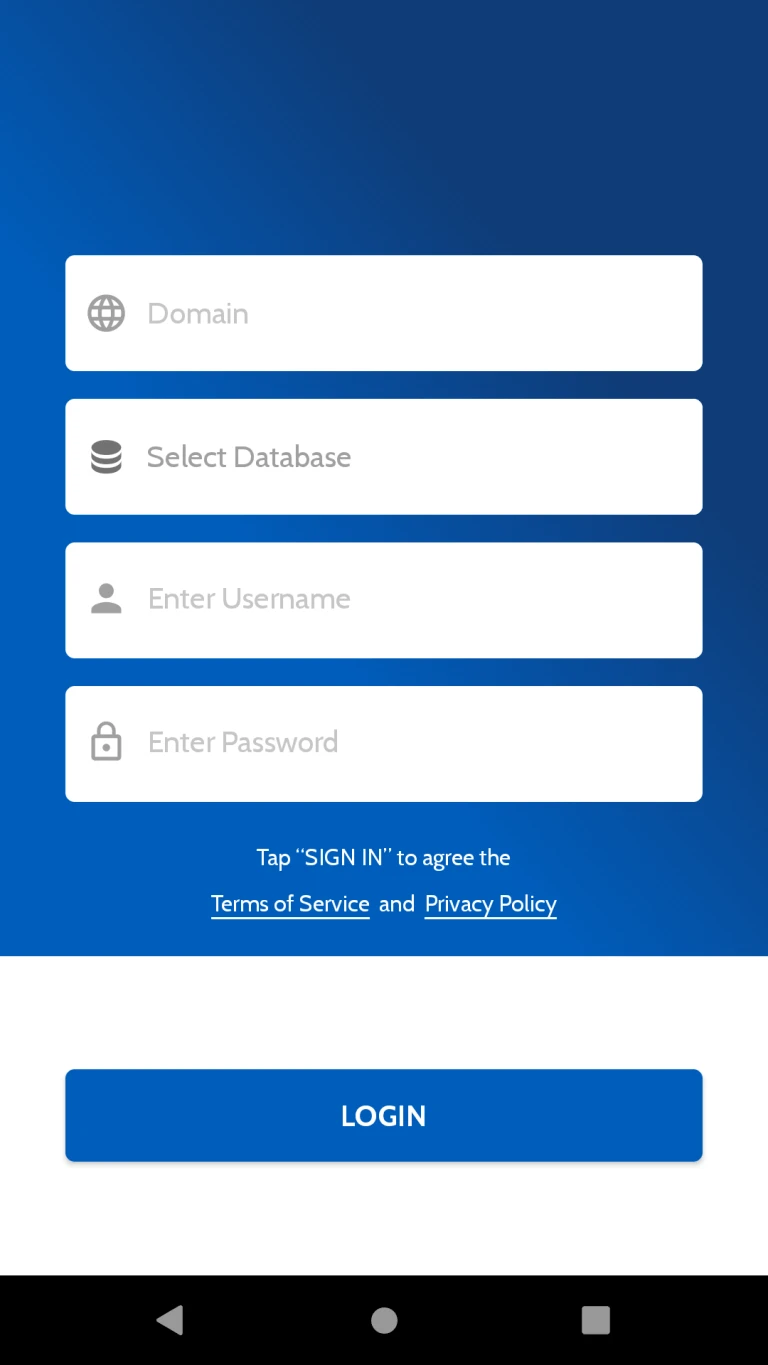
User can login in app with Self hosted URL, Username, Password and Database. Odoo V12 Enterprise Instance is required.
Login
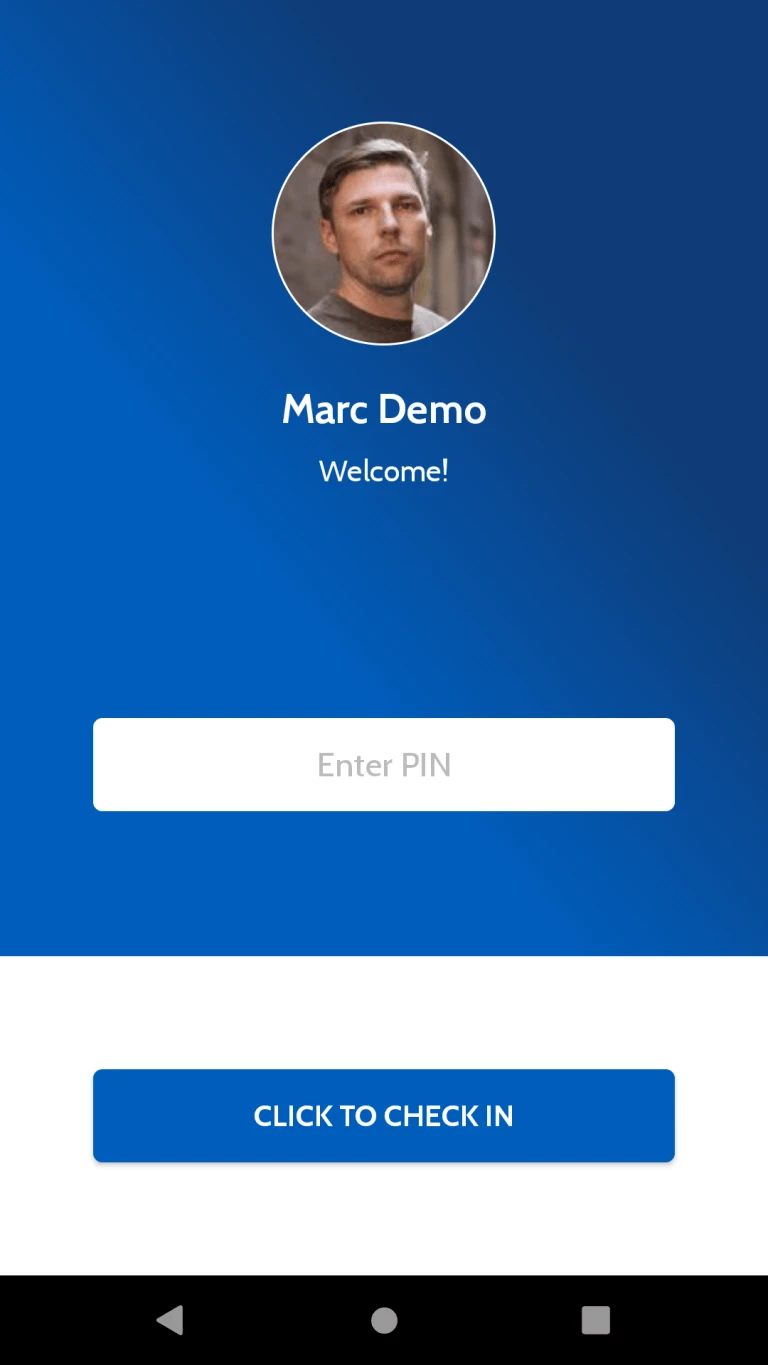
User can check in with PIN number into the Application. Attendance Entry will be calculated to server once user will check in from Application.
Once check in app will store user location latitude and longitude into odoo server.(Custom module is Required)
Check In
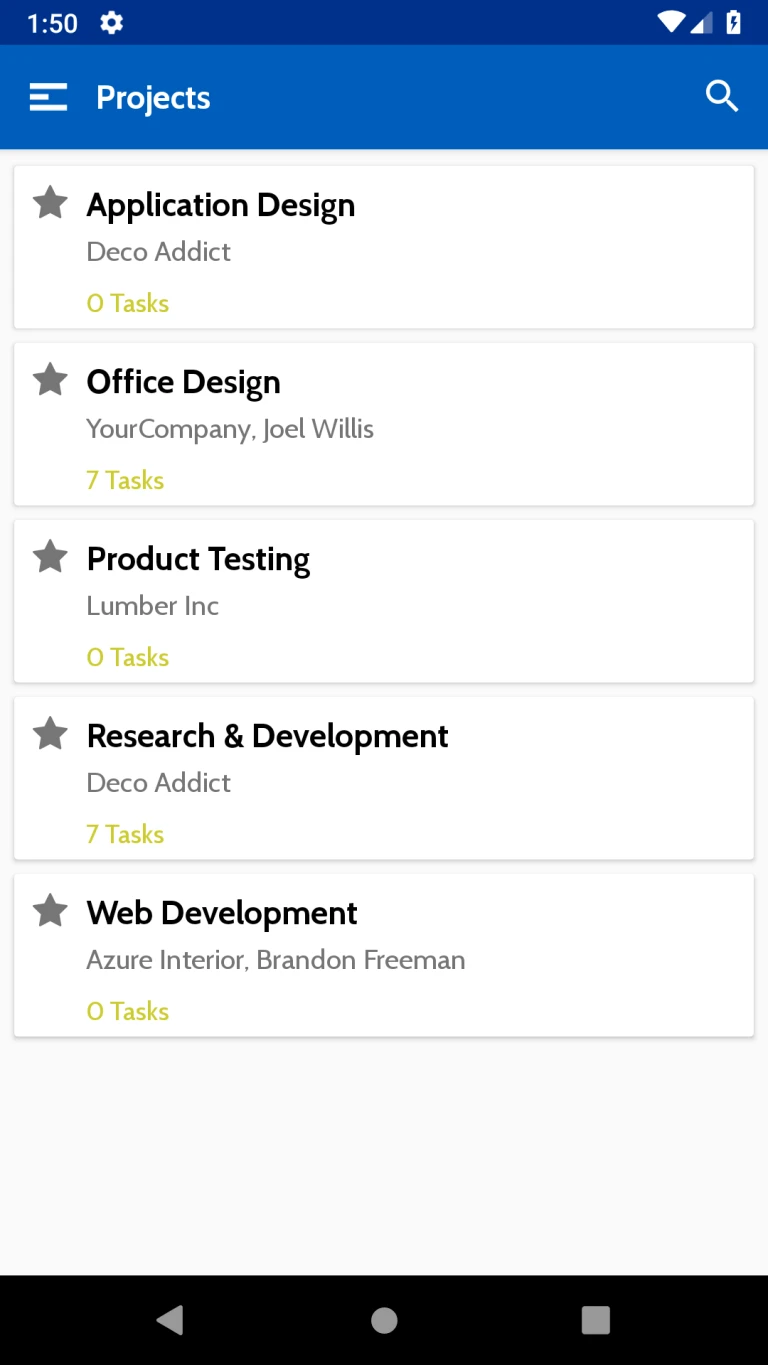
This page will show all Projects which are assigned to User.
Projects
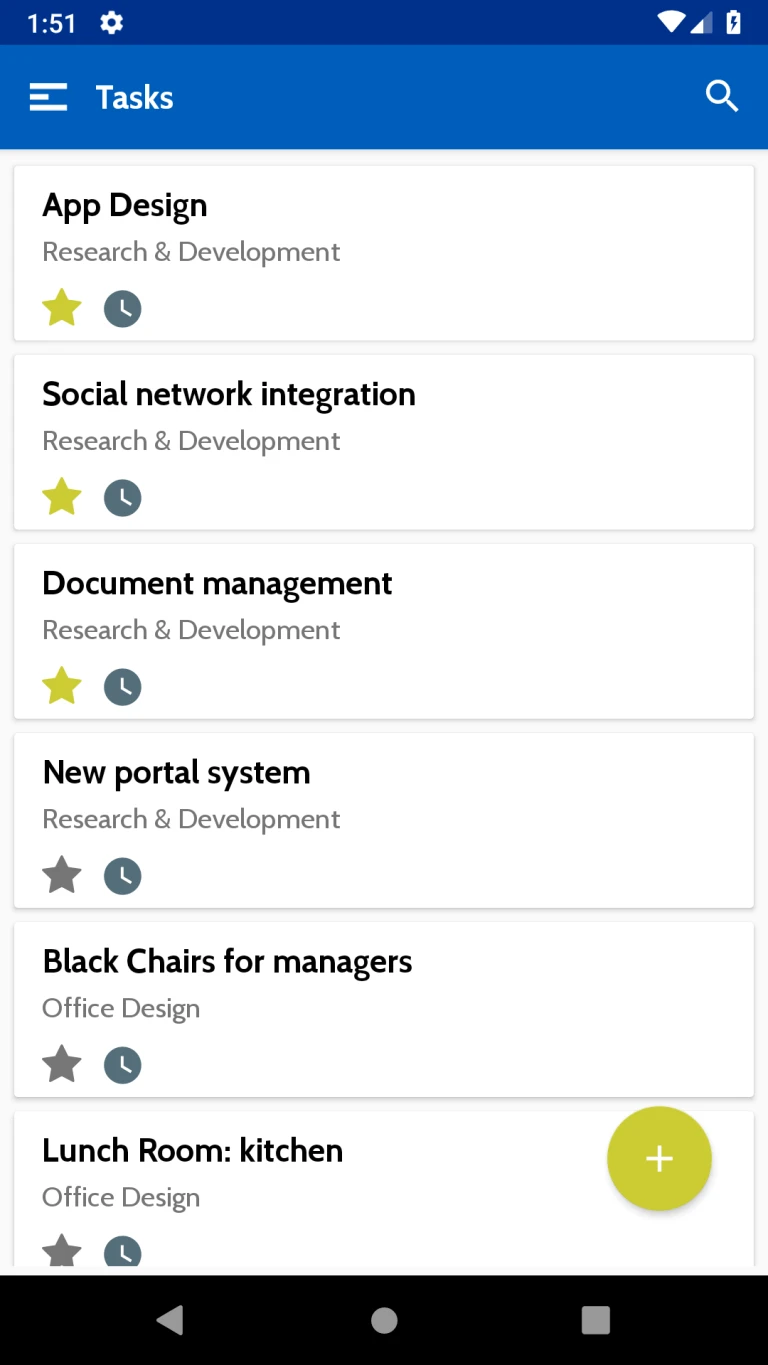
This page will show all Task which are assigned to User.
Tasks
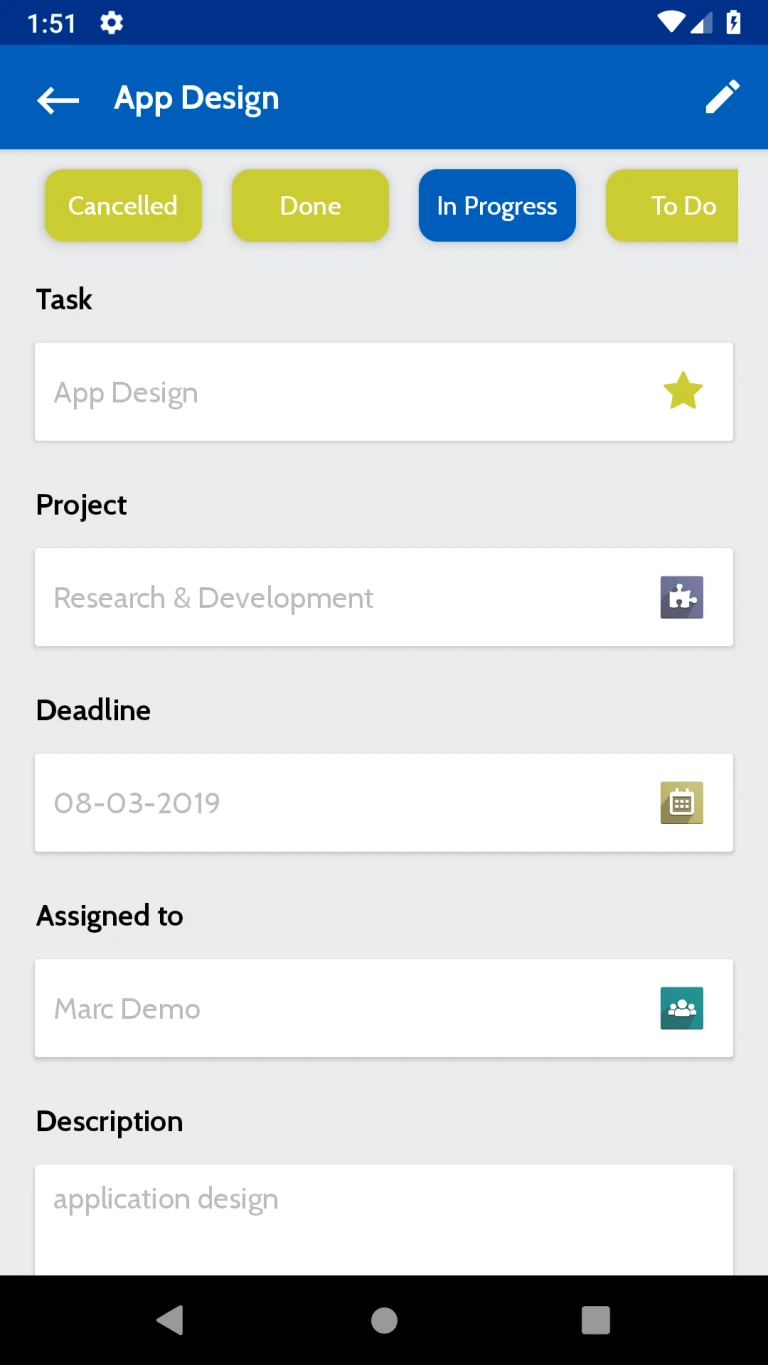
Here Task related infomation will be displayed. Like Task status, Related project, Deadline etc.
Task Details
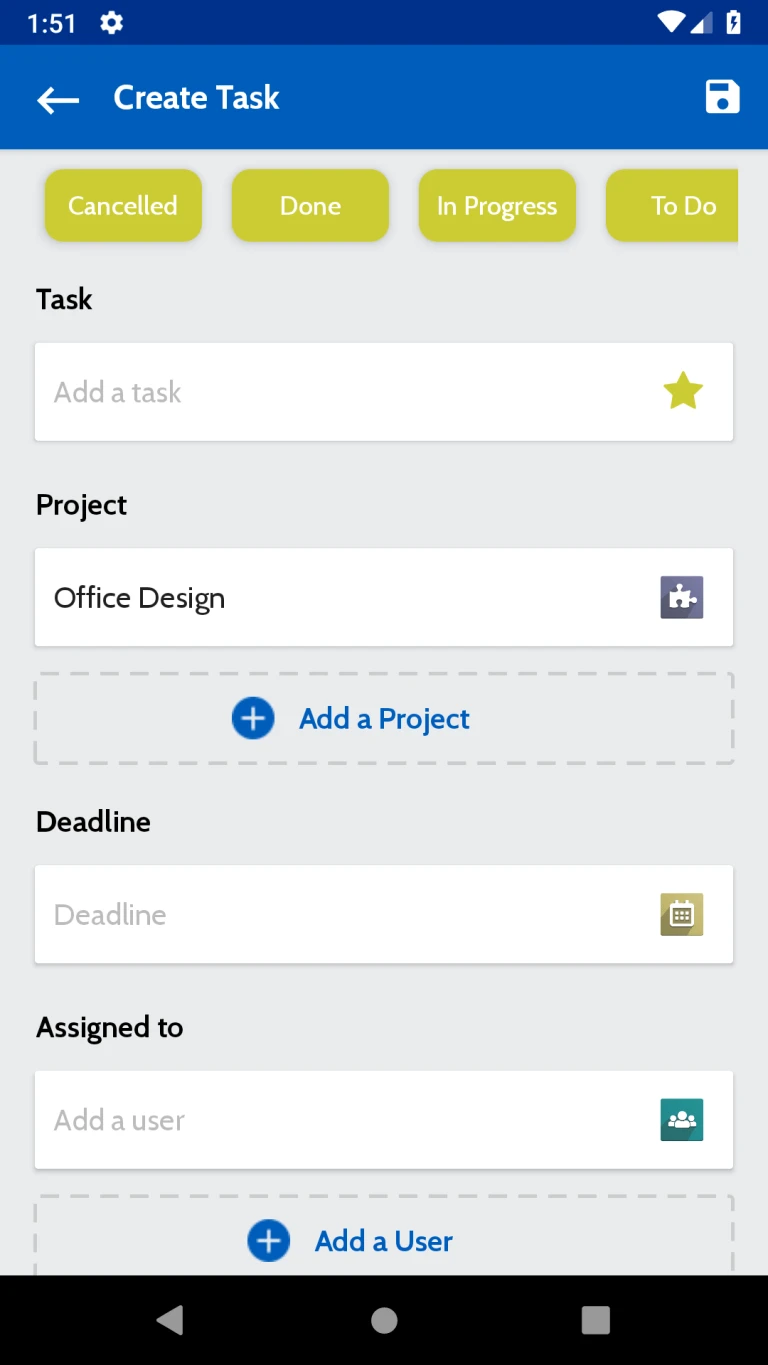
From here User can create new Tasks
Task Create
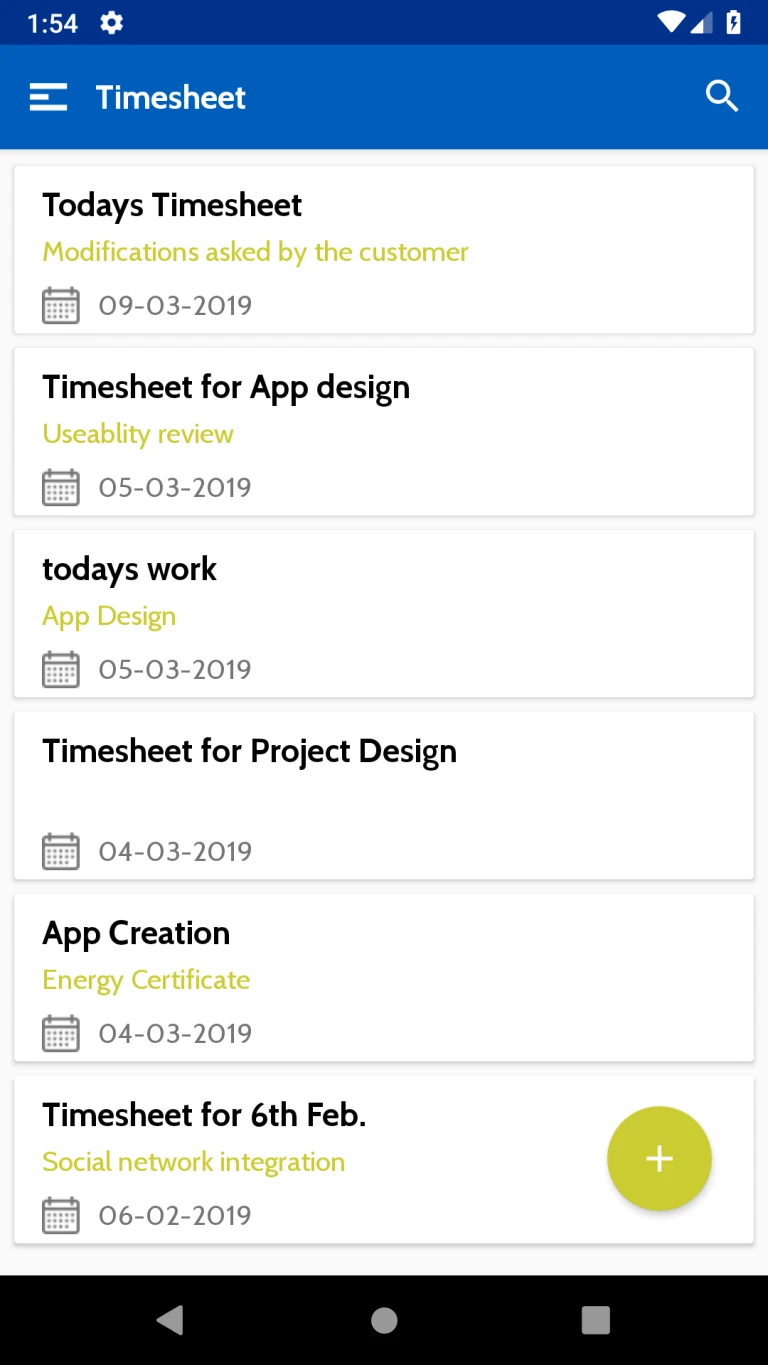
All timesheets related to user will be loaded in this page.
Timesheet
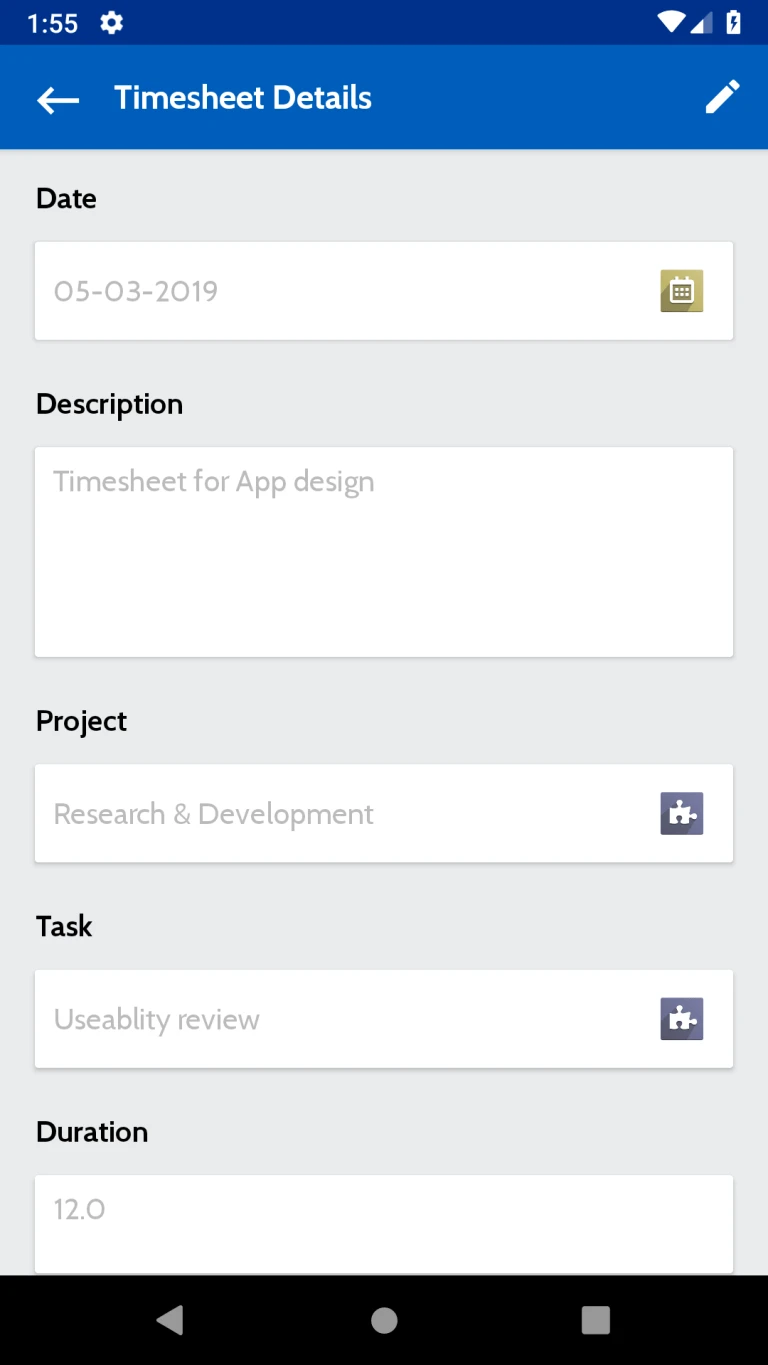
Details of the timesheet will be displayed in this page. Here user can view timesheet related information Like Date, Description, Project, Task etc.
Timesheet Details
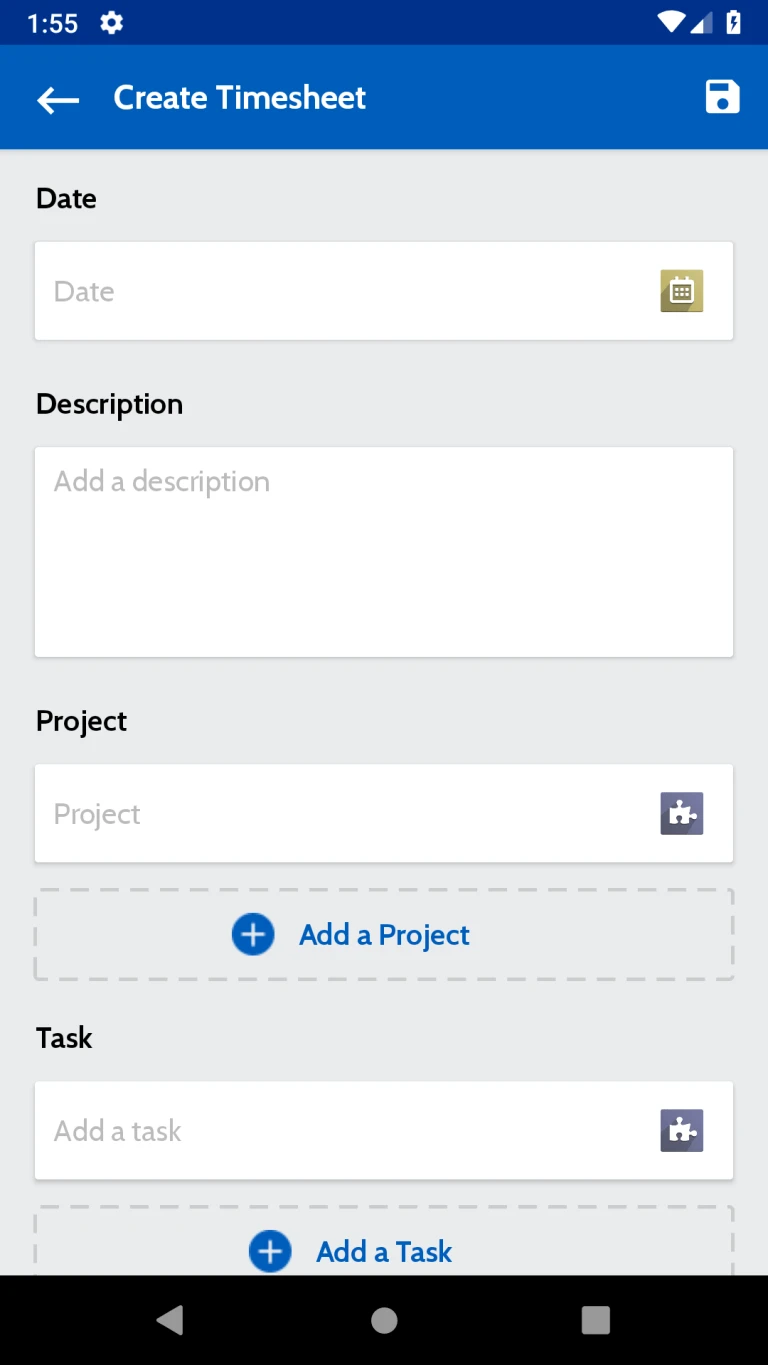
User can new create timesheet from here.
Create Timesheet
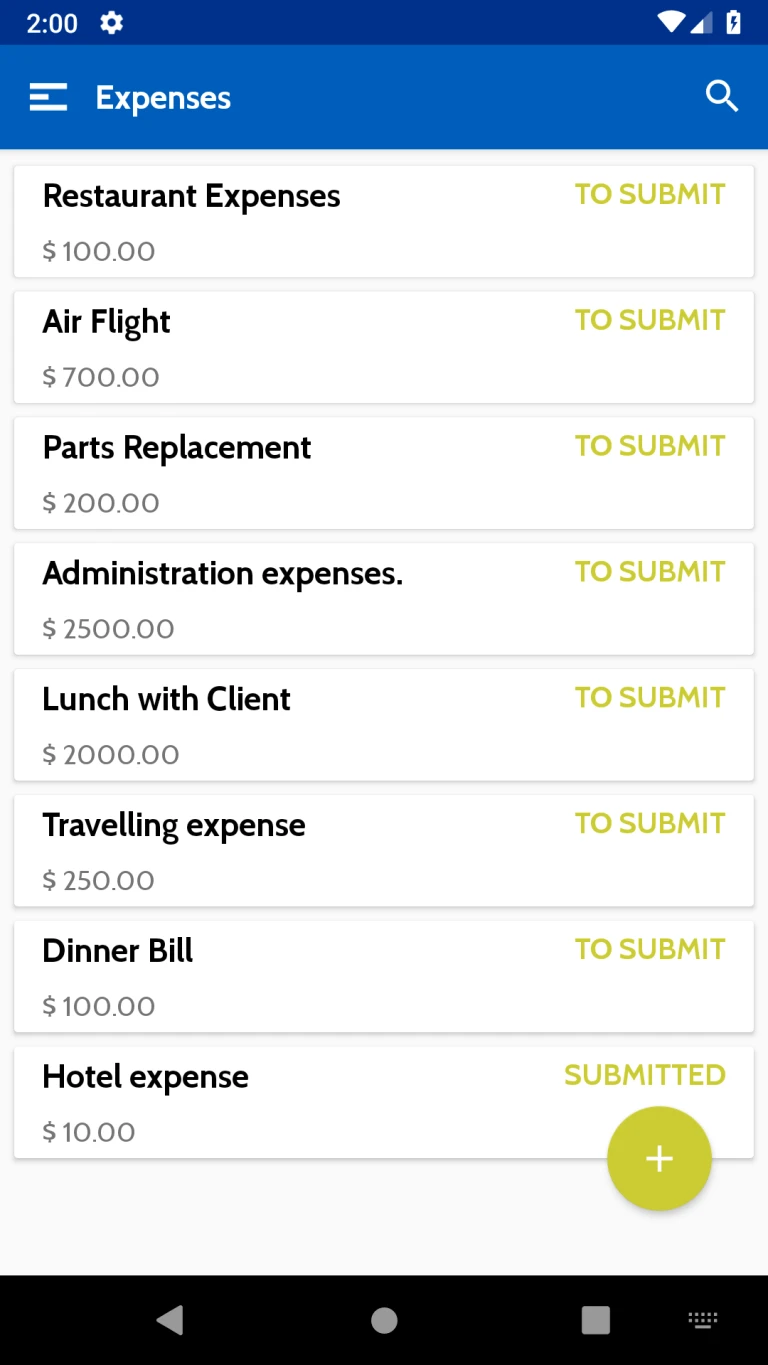
Employee Expenses will be displayed in this page.
Expenses
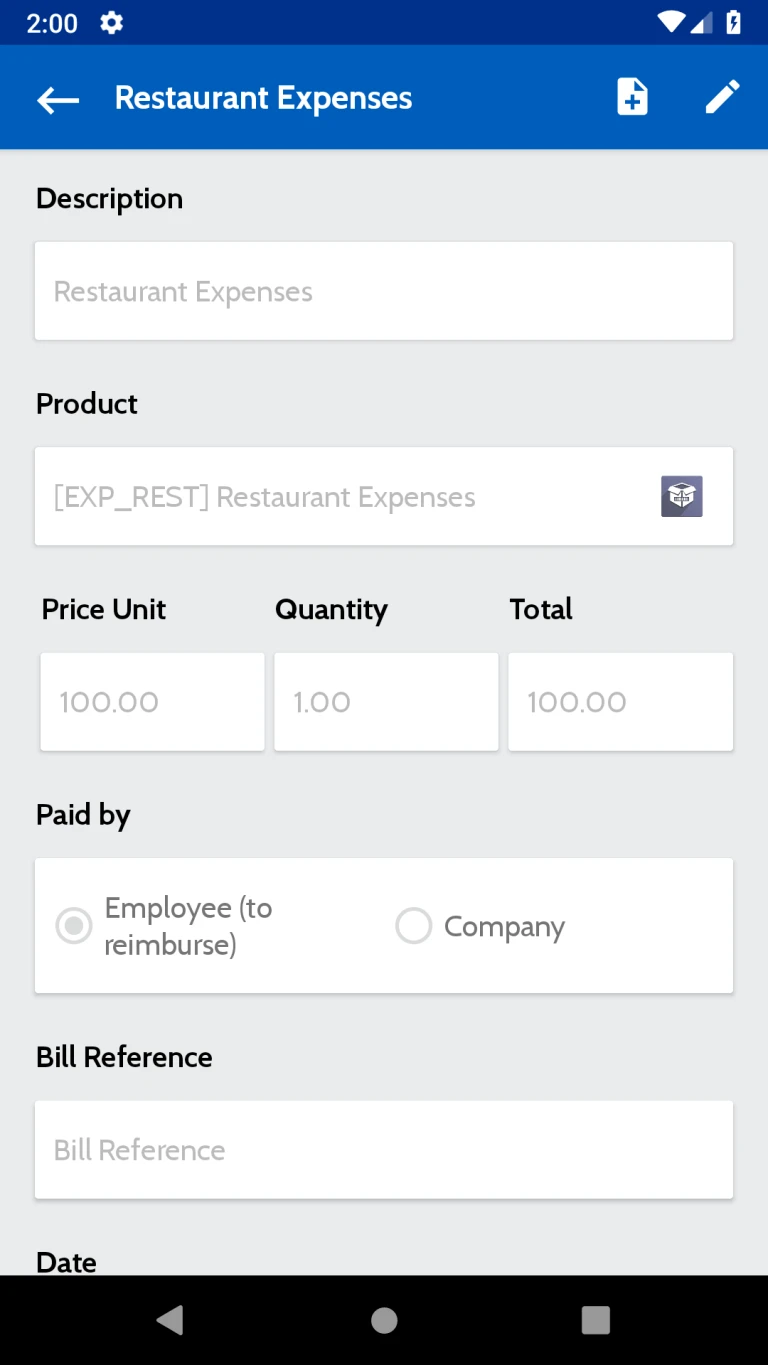
Details of the Expenses like Description, Products, Paid by etc will be displayed in this page. User can generate expense report from this page
Expense Details
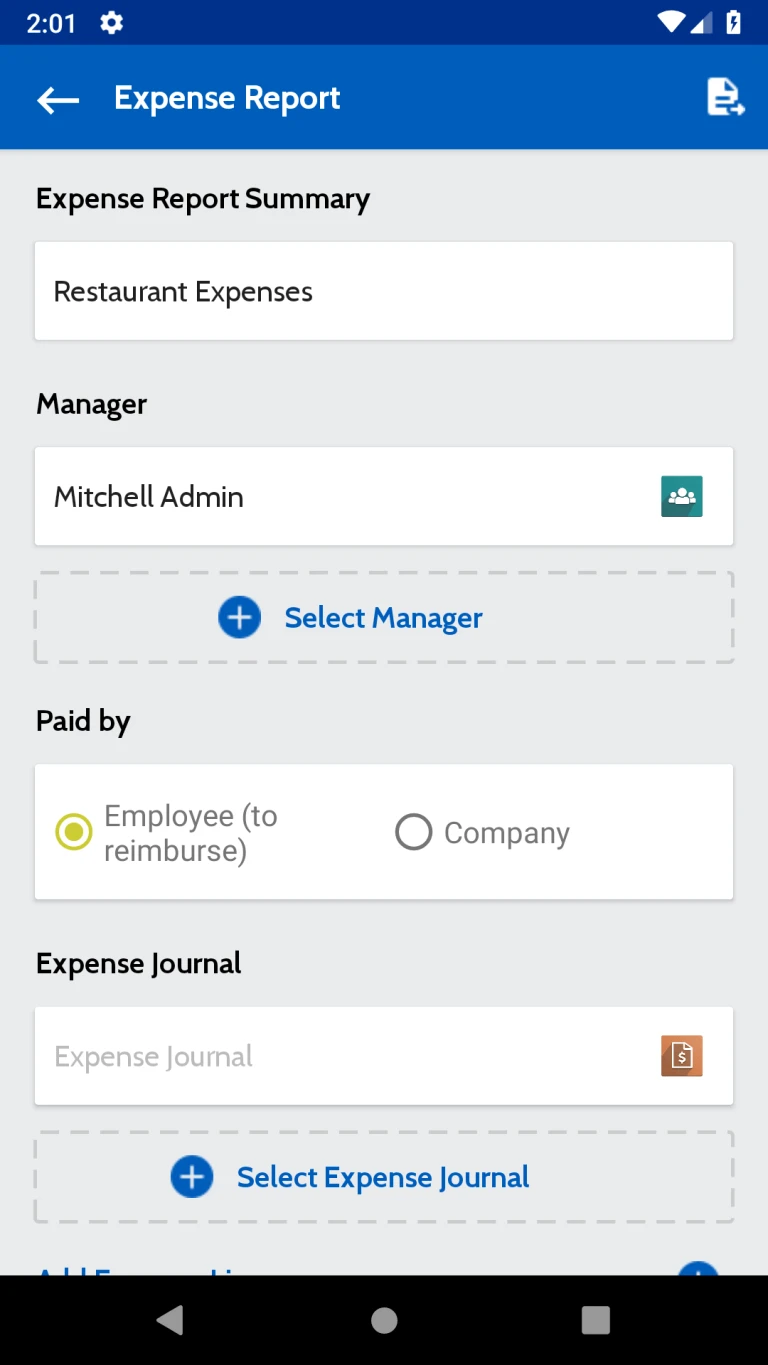
Expense report will be display in this page.
Expense Report
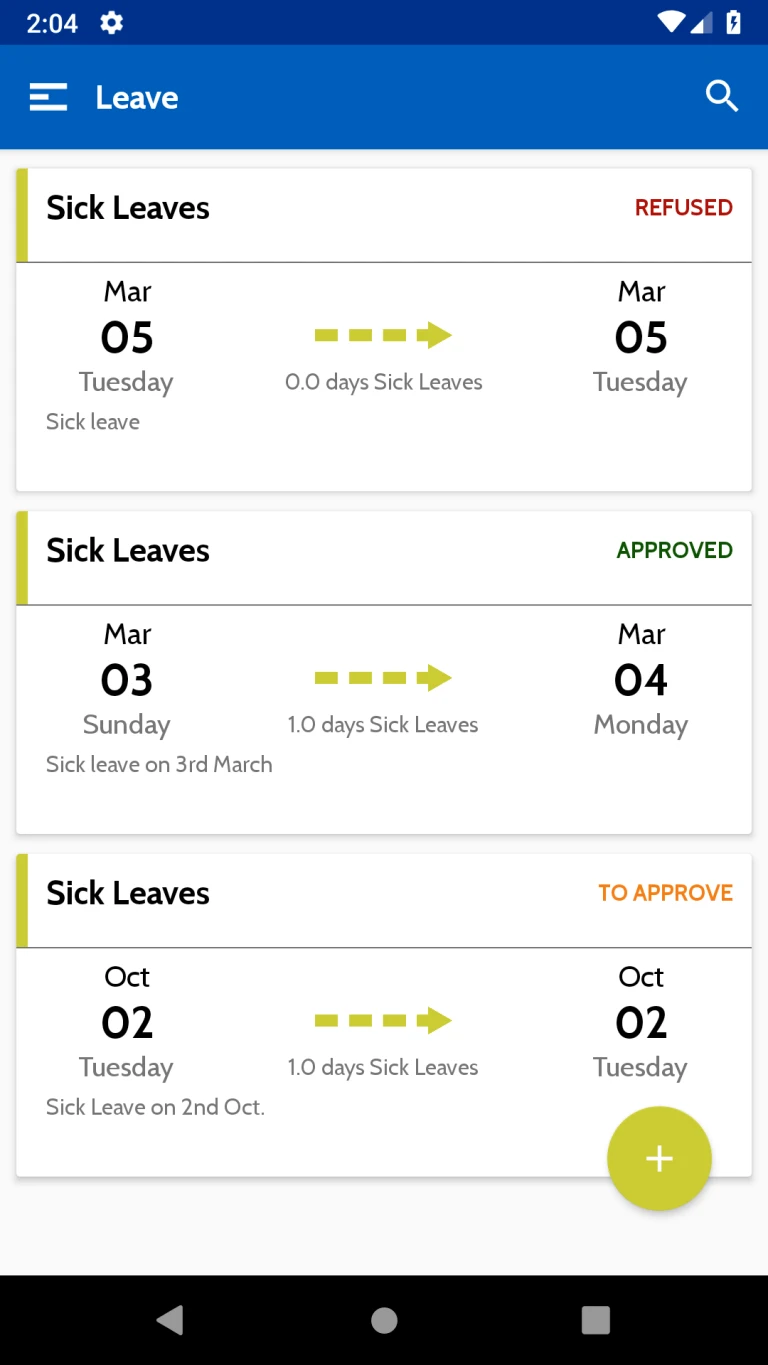
Here all requested leave from the User will be displayed.
Leave
Detailed information of the Leave will be displayed in this page. Like Type of Leave, Duration, Leave description etc.
Leave Details
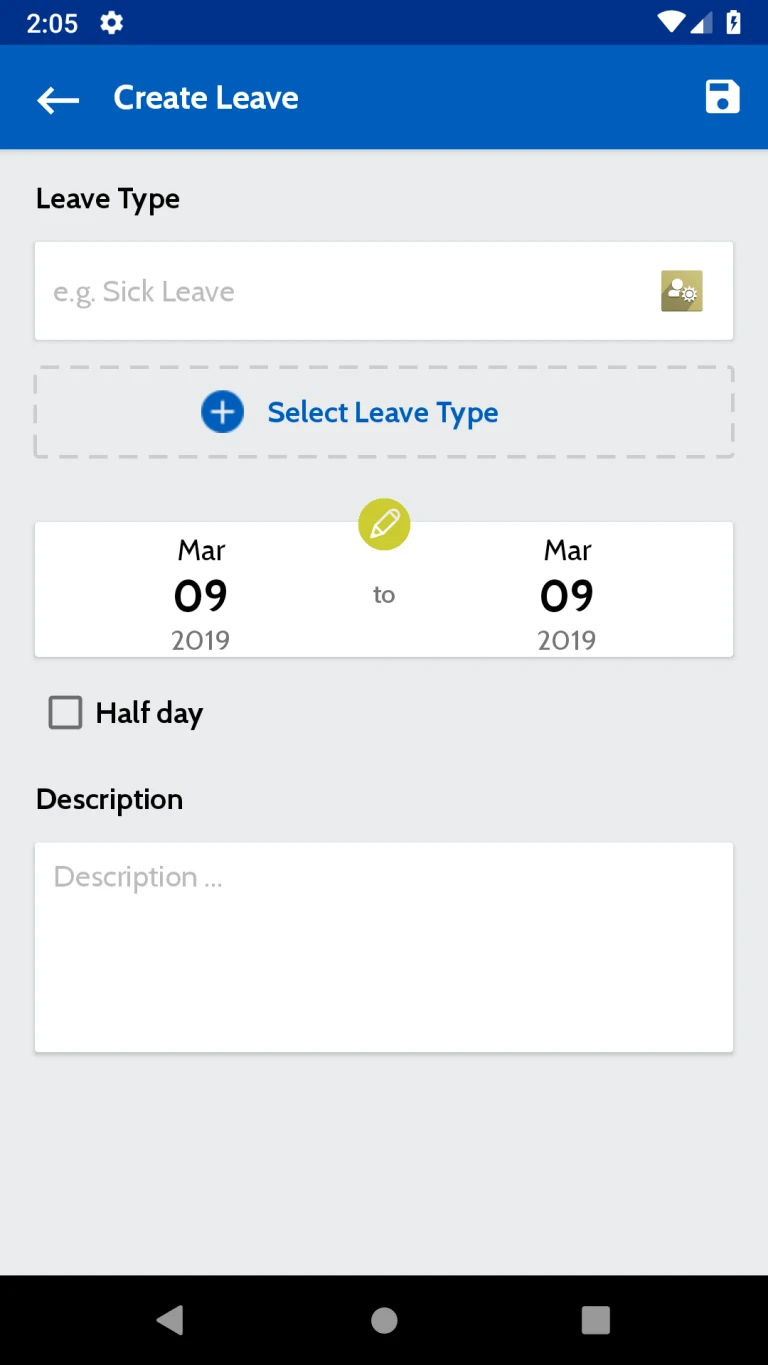
User can request for the Leave from this page
Create Leave
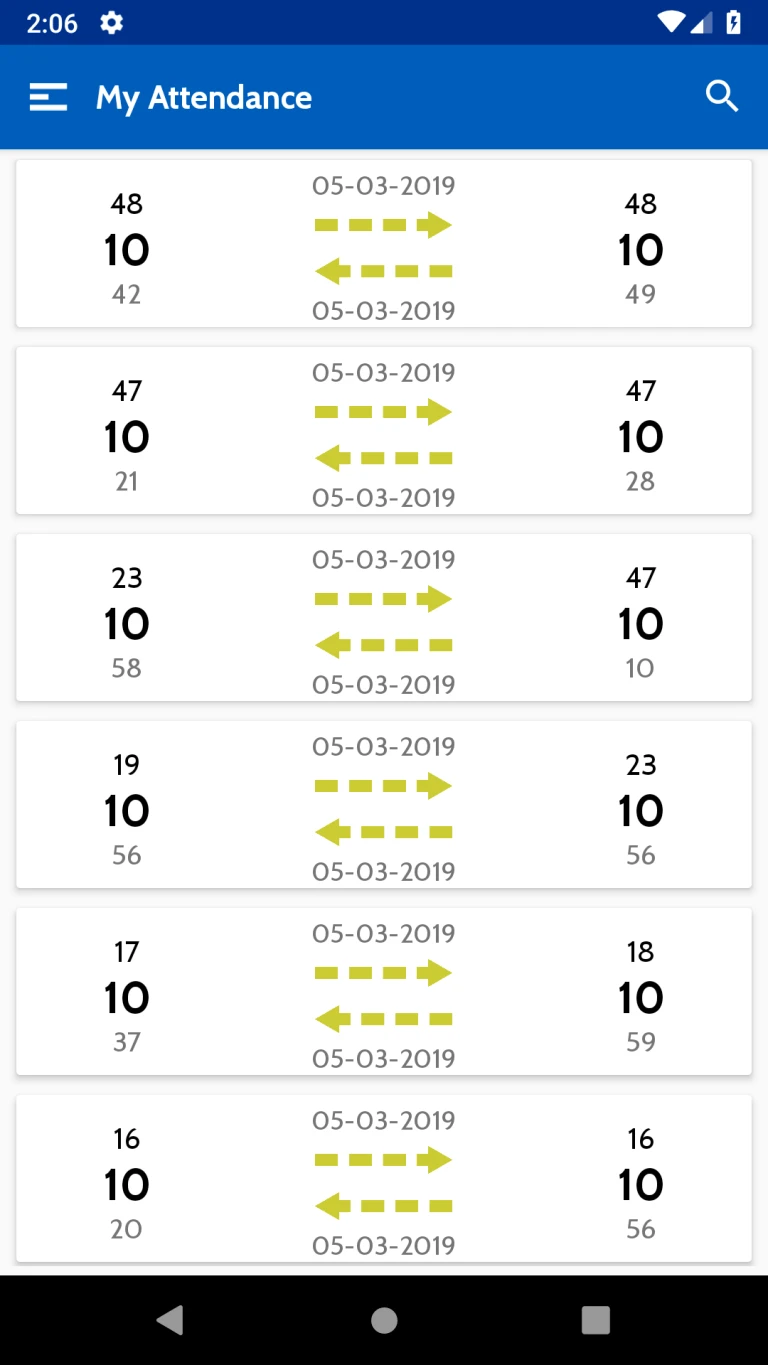
All Attendance record will be listed here. this list includes Attendance date, Sign-in time , Sign-out time etc.
My Attendance
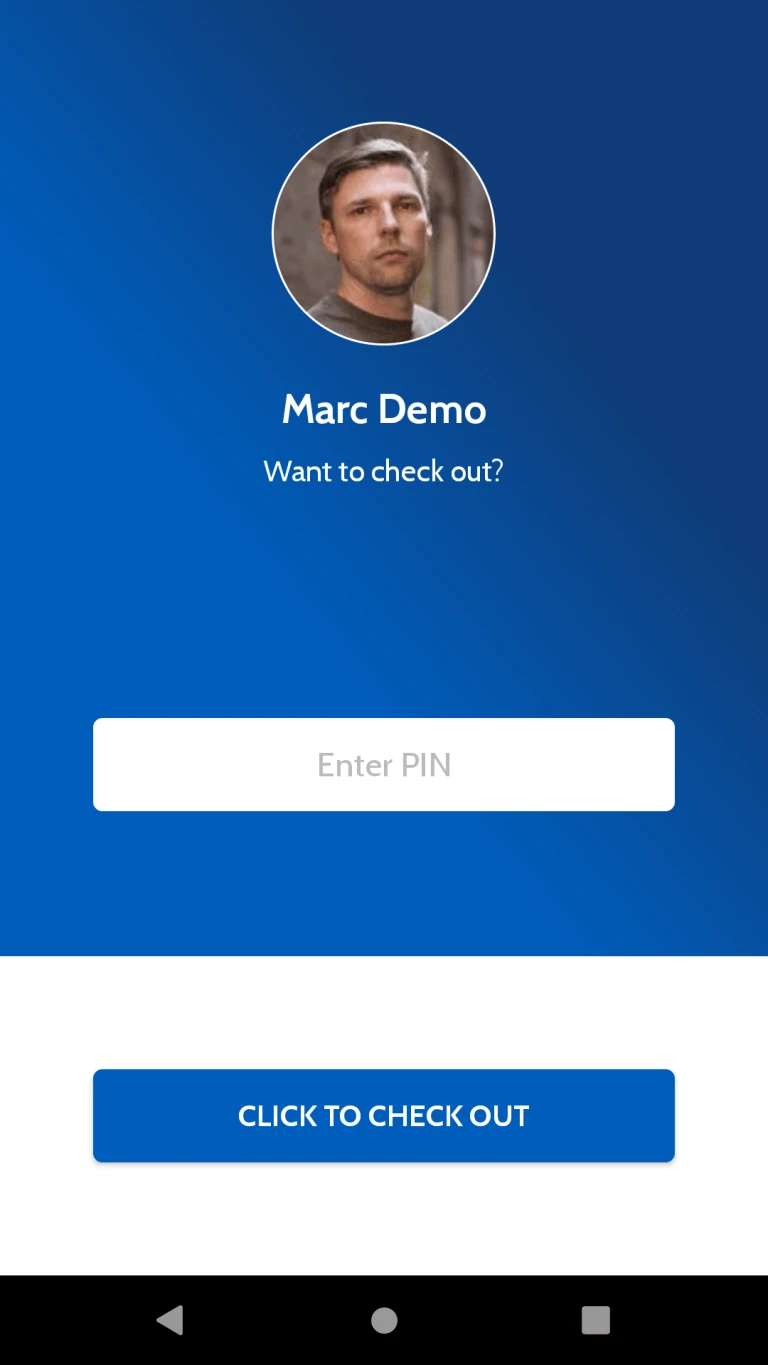
User can check out from Application using this page. Attendance Entry will be calculated to server once user will Check out from Application.