Click here to download from Odoo Apps
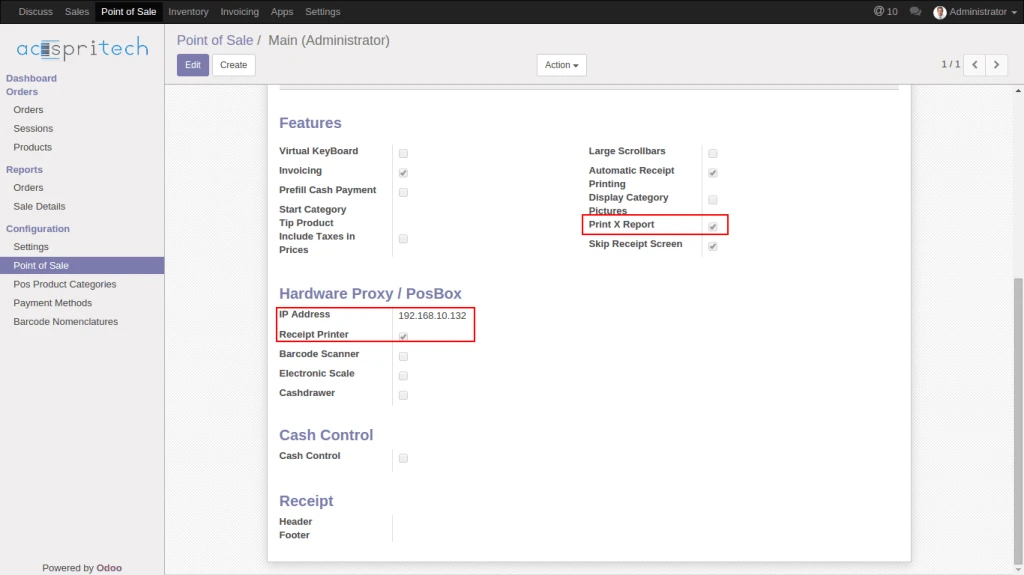
Configure Hardware Proxy / PosBox for the printer, If hardware is not connected or not configure then it will print in PDF format
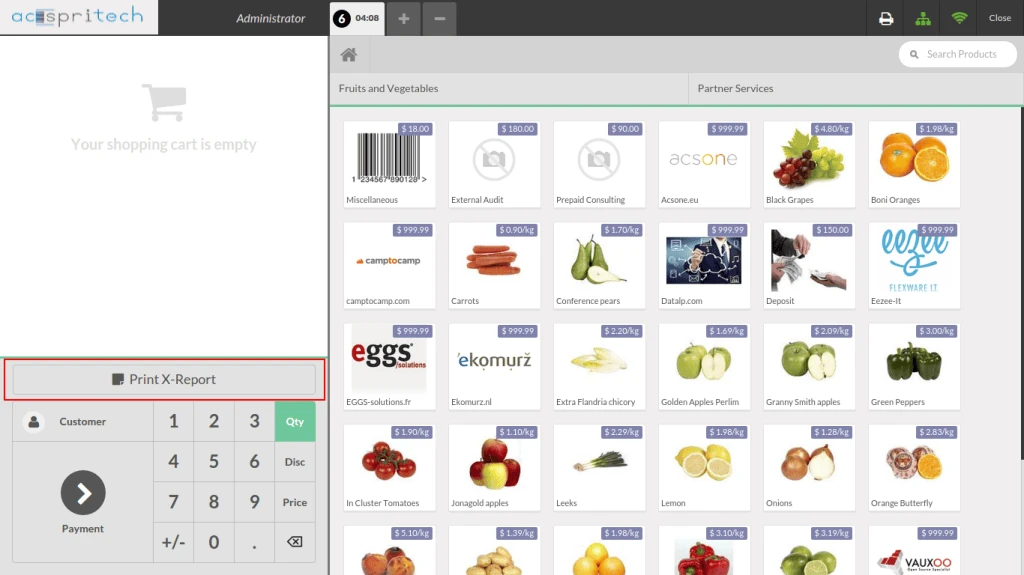
Print X-Report from below button
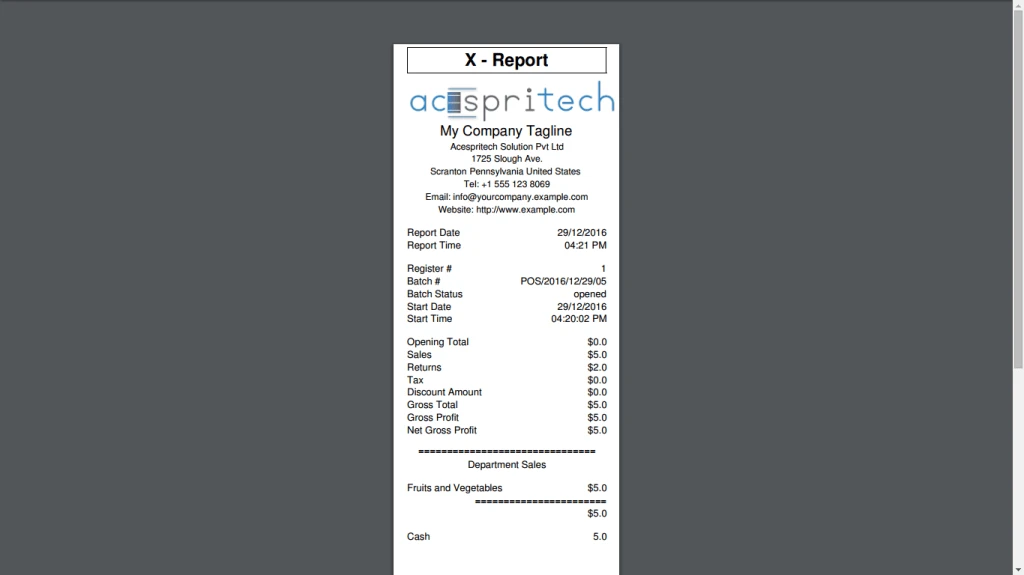
Here is the printed X-Report
Advertisements
Click here to download from Odoo Apps
Configure Hardware Proxy / PosBox for the printer, If hardware is not connected or not configure then it will print in PDF format
Print X-Report from below button
Here is the printed X-Report
Click here to download from Odoo Apps
POS Reorder module allow user to view past pos orders, reorder the particular draft order and make a order as draft from POS. It is also possible to re-print receipt and view products of order from pos order list. There are some filter based on state, date of order and also searching functionality.
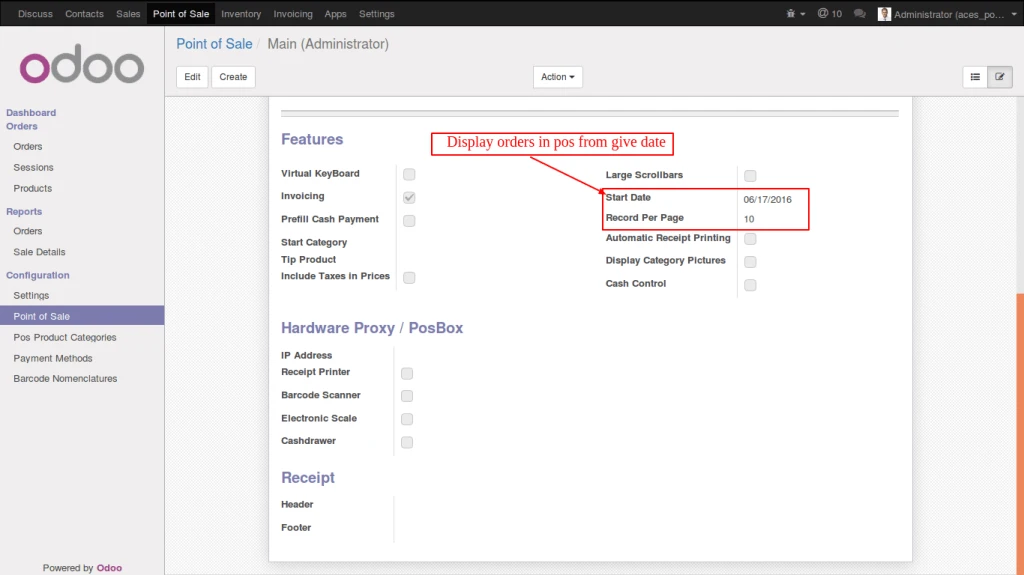
Here you can set configuration for order list in POS.
As per below image you can set start date that is used for display POS orders from start date to till date in order list.
Record per page is used to display number of records per page in order list.
Then create a button on home screen of pos as given in the below image.
Create another button on home screen to make a pos order as draft.
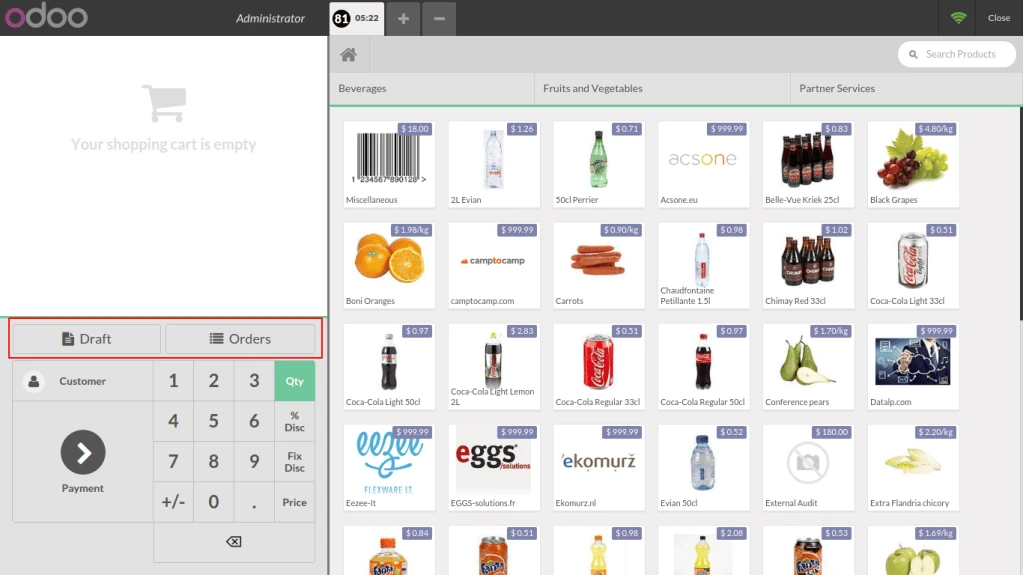
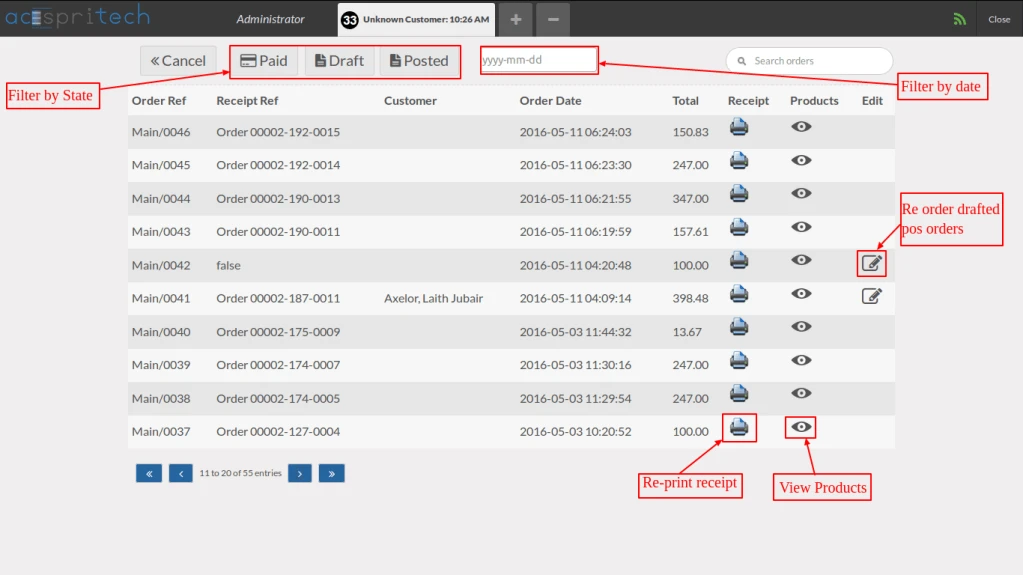
Now here is the list of past pos orders in tabular format.
On this orders table you can do filtration, re-print receipt, re-order the order, view products of order as given in the below image.
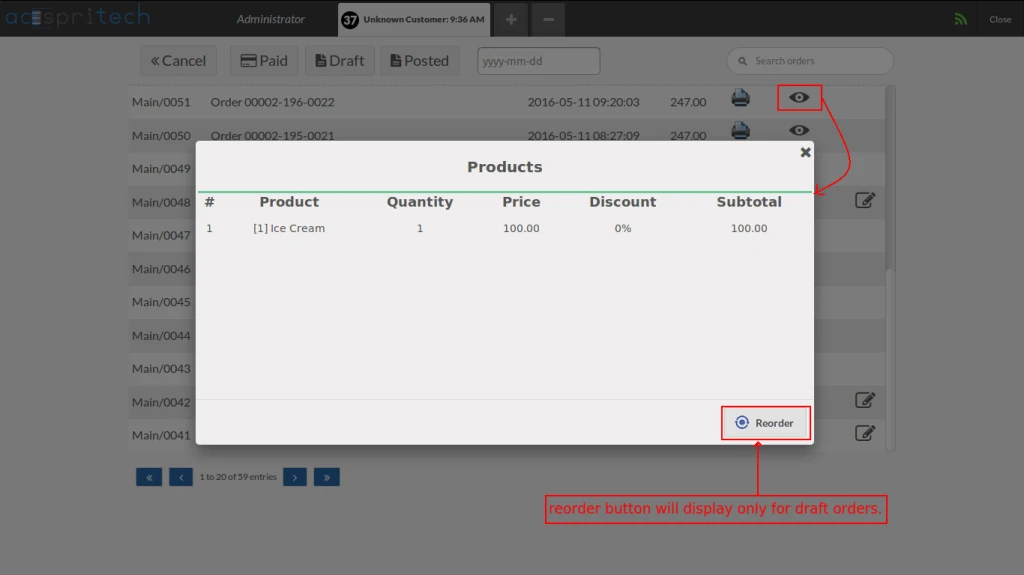
Here is the product popup that contains list of products of particular order.
Whenever you click on product icon it will show order details. You can also re-order from this popup.
Do you want to drop database in OpenERp using Web Client? Here we provide step by step menthod to drop the PostgreSQL.
Click on the Manage Databases Link to drop Database (PostgreSQL).
Before you create any database, you need to install OpenERP.To install OpenERP 6.1 and OpenERP 6.0 on Windows Vista and Windows 7 in 10 Minutes, You may like to visit How to install OpenERP 6.1 and OpenERP 6.0 on Windows Vista and Windows 7 in 10 Minutes.
Once you finish the installation process, Open WebClient by using the URL: http://localhost:8069/web/webclient/home
Next step is to create the database,
Please visit our post on How to create database in OpenERP?
Once you have the database and in case you want to drop it then follow the steps given below:
Open WebClient by using the URL: http://localhost:8069/web/webclient/home
Click on the Manage Databases Link to drop Database (PostgreSQL).
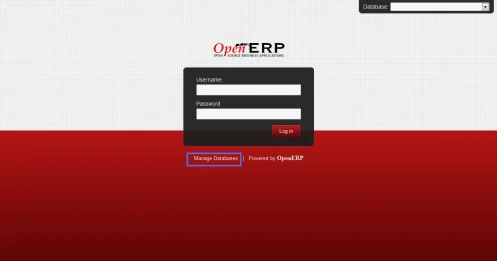
Click on the Drop Link
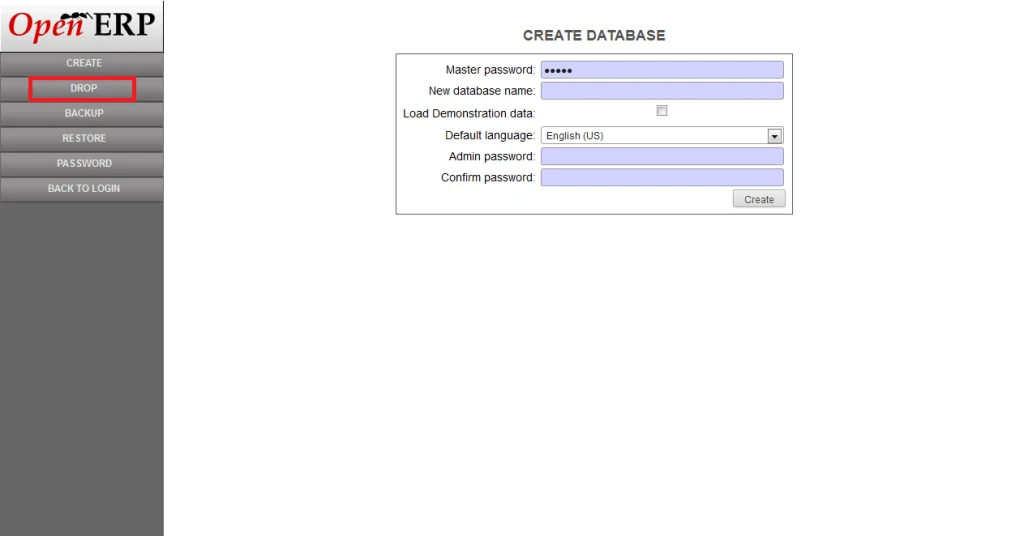
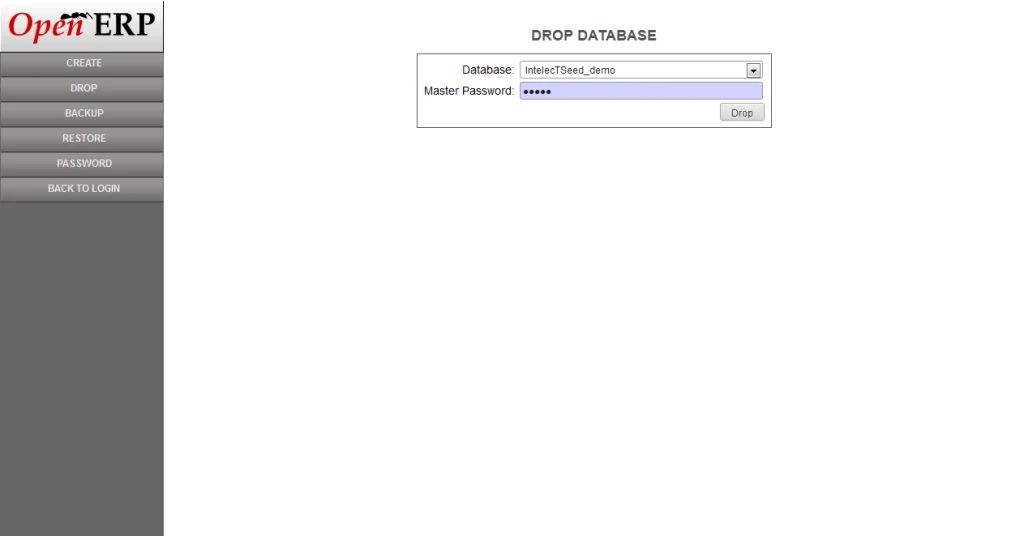
Select the database to drop and provide the master password, in our case “admin” 🙂
It will ask for the confirmation to drop the postgreSQL database.
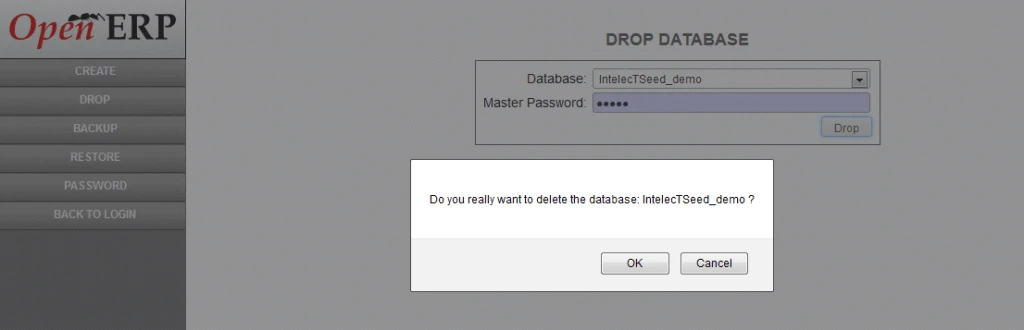
Click on Ok.
Done!!! 🙂
How to install OpenERP 6.1 and OpenERP 6.0 on Windows Vista and Windows 7 in 10 Minutes
Download Windows Auto-Installer from http://www.openerp.com/downloads/
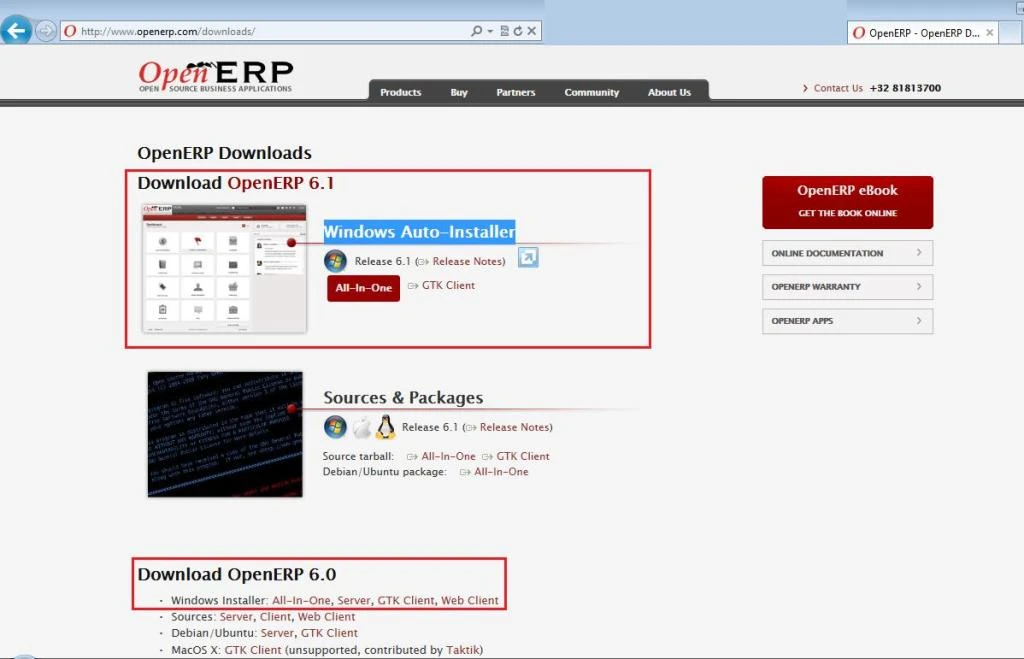
Click on the installer.
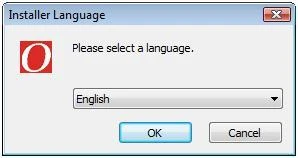
Select a language in which you want to install Open ERP.
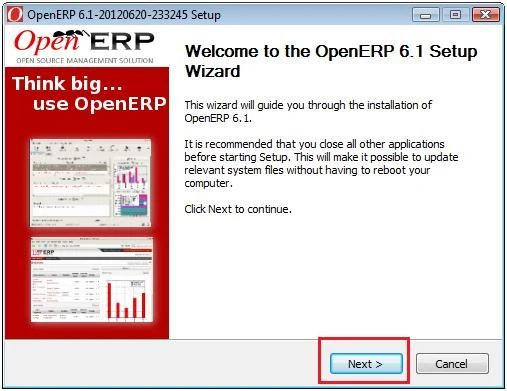
Click next in the following wizard.
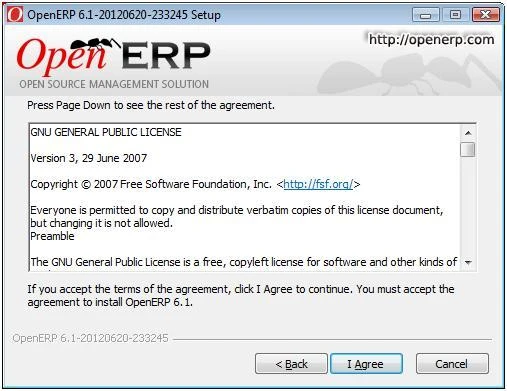
Accept the Terms of Agreement to install OpenERP 6.1 / 6.0
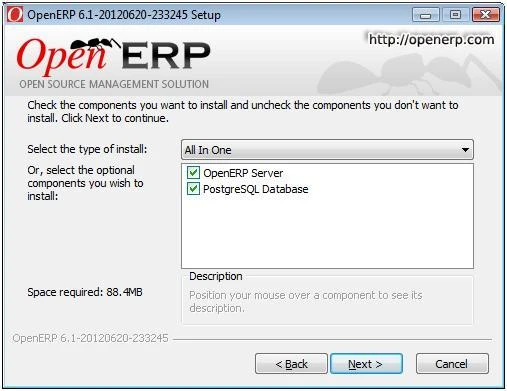
There are three types of installation are available to install OpenERP 6.1
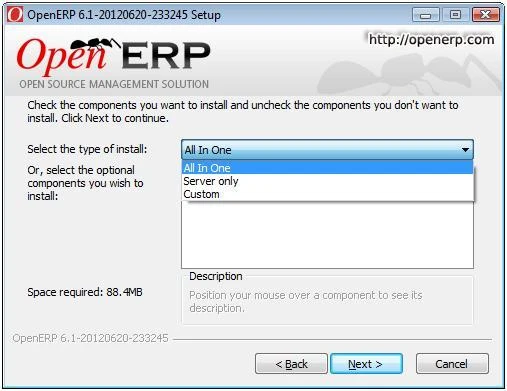
We select All in One installation.
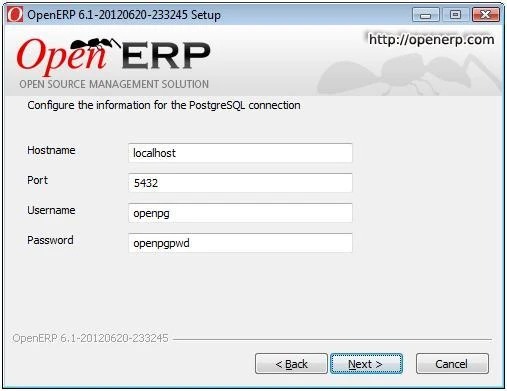
Keep the default values for Hostname, Port, Username and Password.
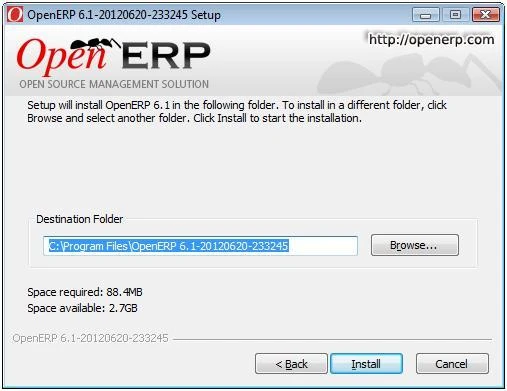
Select the destination folder where you want to keep all modules related to OpenERP 6.1 and click Install.
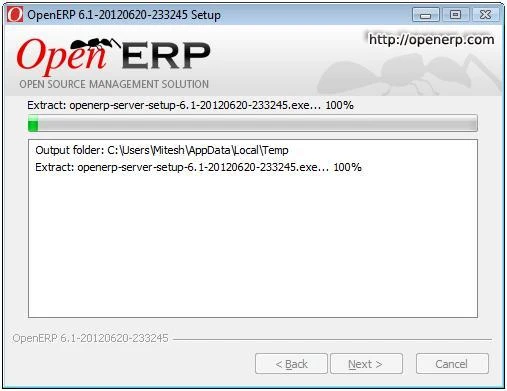
It will take 5-10 minutes to complete the installation.
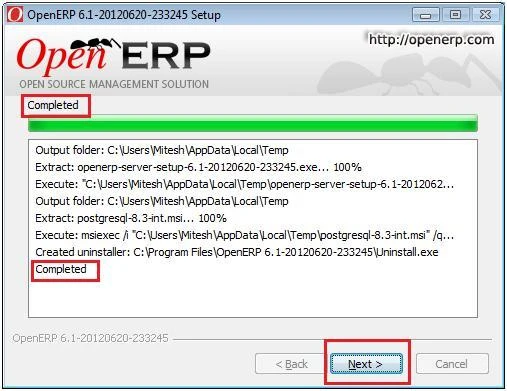
Finish the installation.
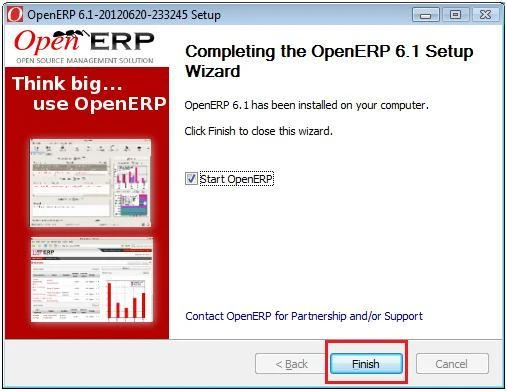
We are ready to go…
http://localhost:8069/web/webclient/home
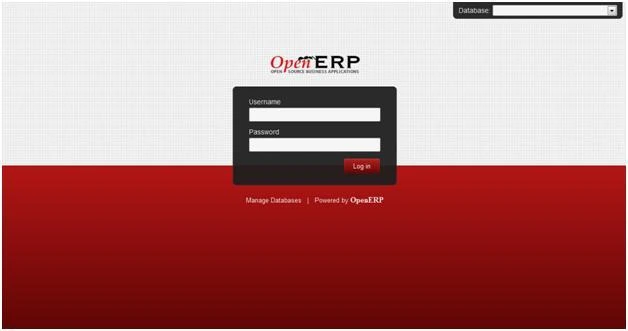
Done!!!
🙂
Assume that we are running our business in OpenERP and managing all our processes in good way. We are selling products to our customers and update product price according to market. When we have started our business, we were sell product X in 10 USD but now we are selling the same product in 50 USD. It shows that our business is going good way and also getting new customers.
But we have one big question in our mind is that how this price has been changed from 10 USD to 50 USD means at what time we have changed price of our product. We have no track for this change. Just to overcome from this situation we have implemented a solution.
After installing module, you will see “Product Rate” menu at this location : “Configuration/Products”
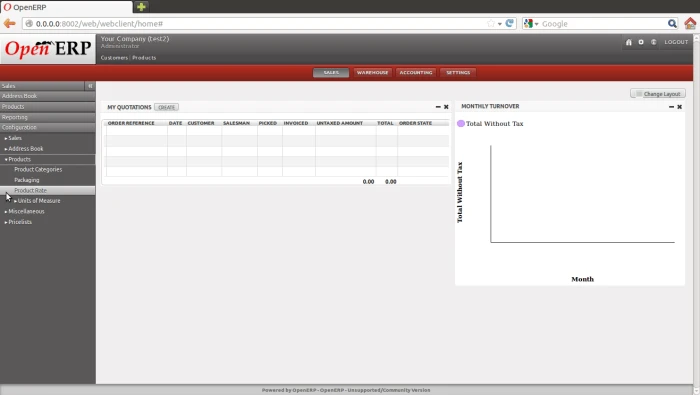
Now select product that you want to configure. We have just added some prices as per date.
Latest price is selected according to last date.
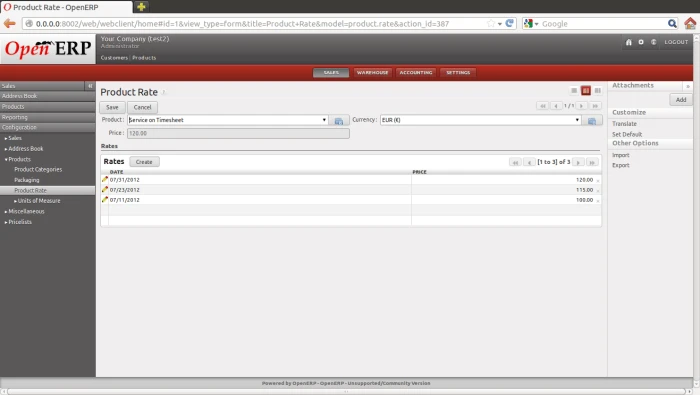
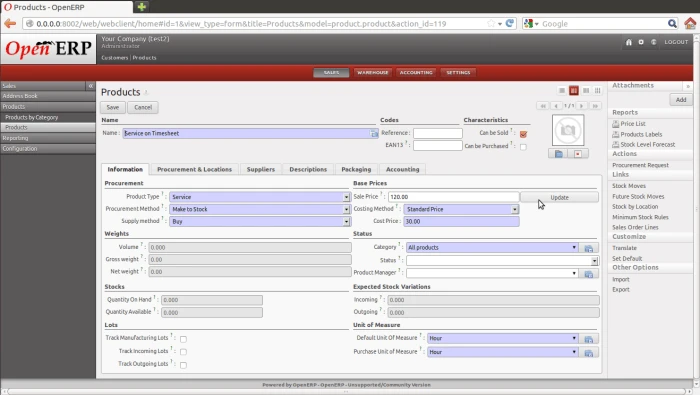
Now just open product form. You will see “Update” button besides Sale Price field. User can also enter price manually. Sale Price will update from configuration table after click on “Update” button.
Now it’s turn to install another eCommerce ‘Magento‘ which is feature-rich eCommerce platform built on open-source technology. Magento is available in two editions: Community and Enterprise.
Installing and Configuring Apache
$ sudo apt-get install apache2
You may see following message during installation:
apache2: Could not reliably determine the server’s fully qualified domain name, using 127.0.1.1 for ServerName
To fix that problem, you need to edit the httpd.conf file. Open the terminal and type
$ sudo gedit /etc/apache2/httpd.conf
By default httpd.conf file will be blank. Now, simply add the following line to the file.
ServerName localhost
Save the file and exit from gEdit.
Finally restart the server.
$ sudo /etc/init.d/apache2 restart
* Restarting web server apache2
…. waiting [ OK ]
sudo a2enmod rewrite
Installing PHP
sudo apt-get install php5 php5-curl php5-gd php5-mcrypt php5-mysql
Installing MySQL
sudo apt-get install mysql-server
To know more system requirements click on following link :
http://www.magentocommerce.com/system-requirements
Now create directory for magento
mkdir /home/magento


chgrp www-data /home/magento


mkdir -p /home/magento/{public,log}
Configuring Apache Virtual Host
Now we are going to create simple virtual host configuration file that will help Apache to display the data of directory /home/ubuntu/magento for any HTTP request to localhost.magento.com
Create “magento.com” file in this location “/etc/apache2/sites-available/” with following content.
<VirtualHost *:80>
ServerName localhost.magento.com
ServerAlias http://www.localhost.magento.com
DocumentRoot /home/ubuntu/magento/public
LogLevel warn
ErrorLog /home/ubuntu/magento/log/error.log
CustomLog /home/ubuntu/magento/log/access.log combined
</VirtualHost>
Use a2ensite command and restart Apache to load the new configuration file.
sudo a2ensite magento.com


sudo service apache2 restart
To ensure that the domain localhost.magento.com resolves locally to the computer require entries to /etc/hosts file.
# For magento
127.0.0.1 localhost.magento.com
127.0.0.1 http://www.localhost.magento.com
Now hit localhost.magento.com in your browser to check working status after completion of above entries.
Now we will execute installation steps of main topic.
Type following command on prompt. It will ask for root user password.
mysql -u root -p
Now lets create database for Magento.
CREATE DATABASE magento;
INSERT INTO mysql.user (User,Host,Password) VALUES(‘magento’,’localhost’,PASSWORD(‘magento’));
GRANT ALL PRIVILEGES ON magento.* TO magento@localhost;
Now download latest stable Magento from
http://www.magentocommerce.com/download
and put zip file into /home/ubuntu/magento/public
If error: ERROR 1133 (42000): Can’t find any matching row in the user table
FLUSH PRIVILEGES;
For testing Magento, you can download it from
http://www.magentocommerce.com/downloads/assets/1.6.1.0/magento-sample-data-1.6.1.0.tar.gz
mv magento-sample-data-1.6.1.0/media/* media/
mv magento-sample-data-1.6.1.0/magento_sample_data_for_1.6.1.0.sql sample_data.sql
Now we have to insert sample data into database that we earlier created for Magento.
mysql -u magento -p
USE magento;
SOURCE sample_data.sql;
Now everything is setup so open your browser and type localhost.magento.com and follow installation steps. You will find following screen.
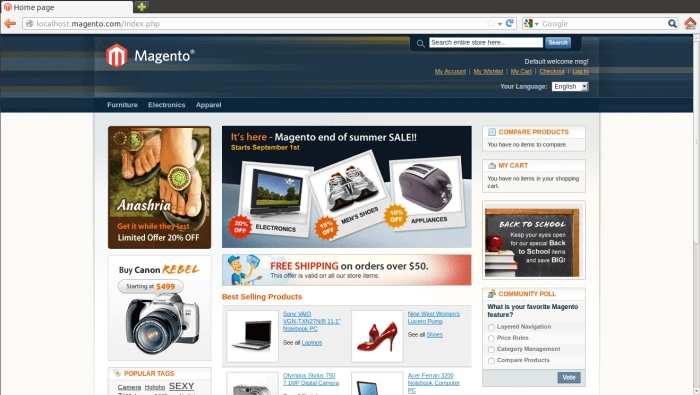
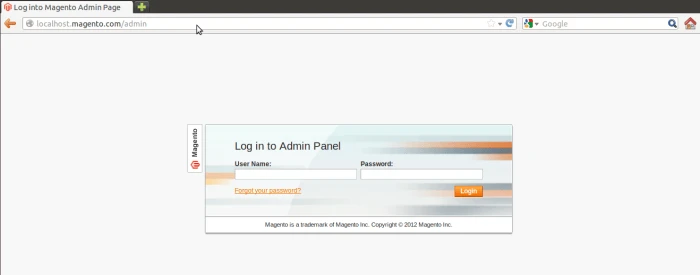
Here is your Magento is working.
Today I am going to post a new OpenERP functional video.
My topic is Request for Quotation.
For each business deal, we need to have sales, purchase, quotation and all these things in matter.
OpenERP provides all these facilities to manage our business easily.