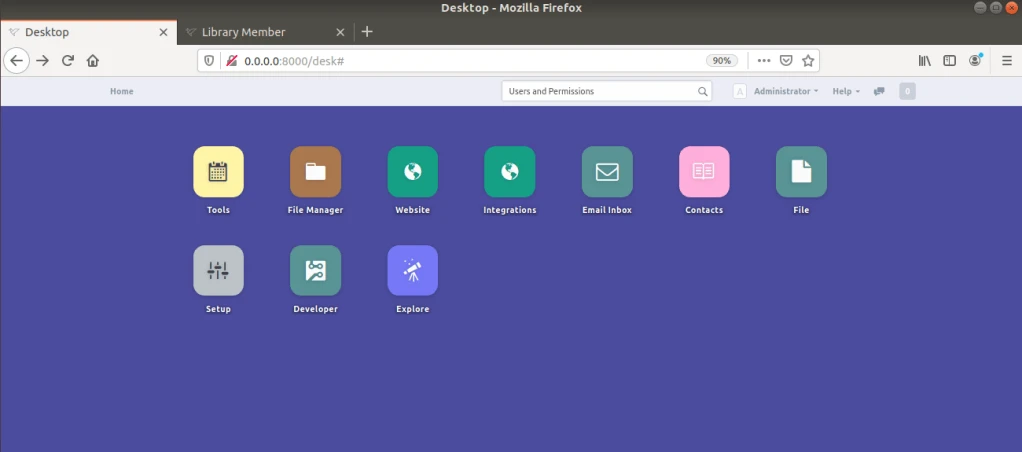
Install ERPNext :-
Step1: Use upgrade command to actually installs newer versions of the packages.
sudo apt-get update && sudo apt-get upgrade
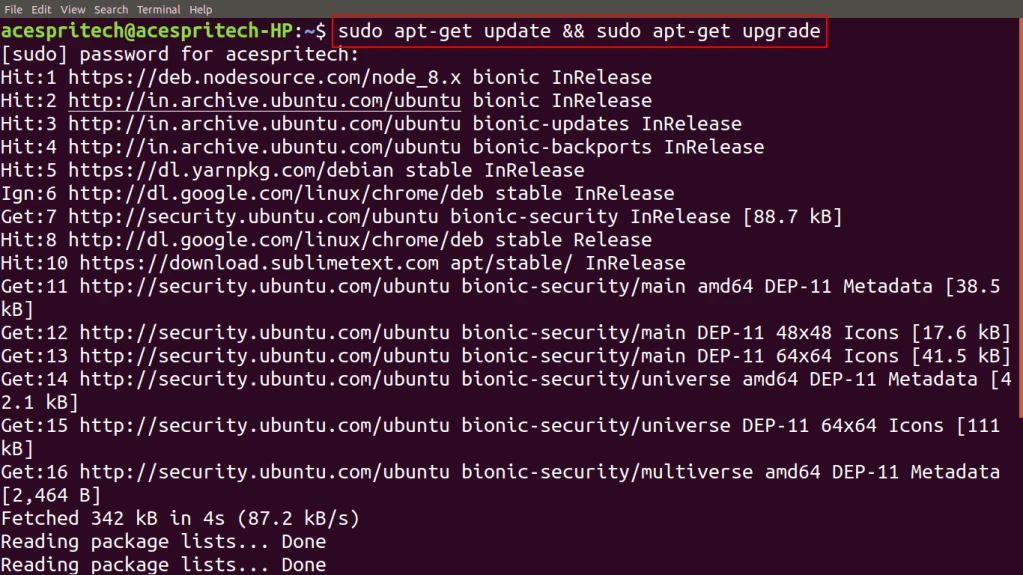
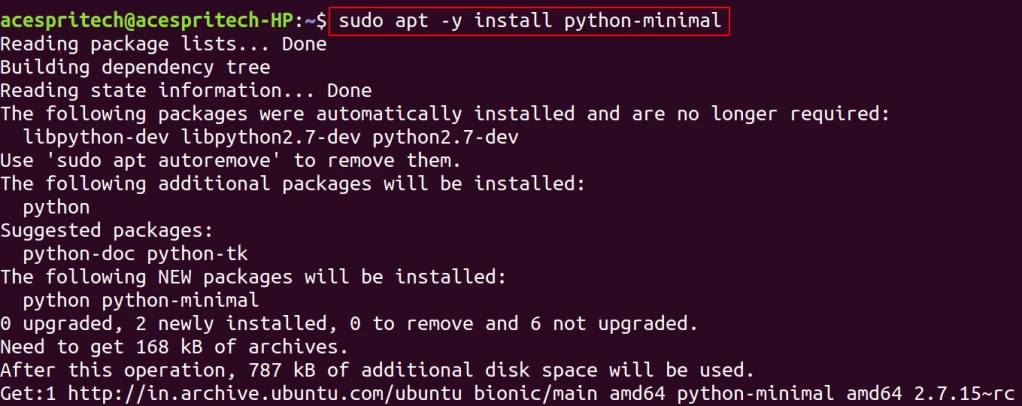
Step2: You have to install the following package.
sudo apt -y install python-minimal
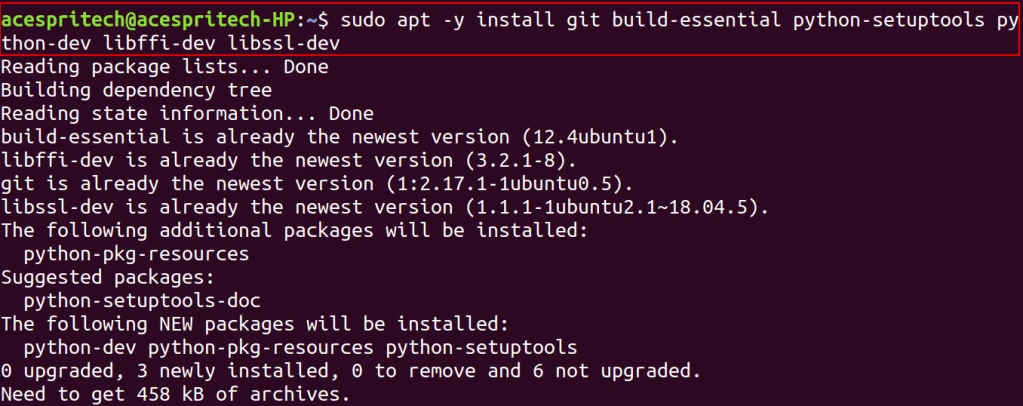
Step3 : You have to install the following dependancy.
sudo apt -y install git build-essential python-setuptools python-dev libffi-dev libssl-dev
Step4: Now The next step is install pip3 package for python
wget https://bootstrap.pypa.io/get-pip.py
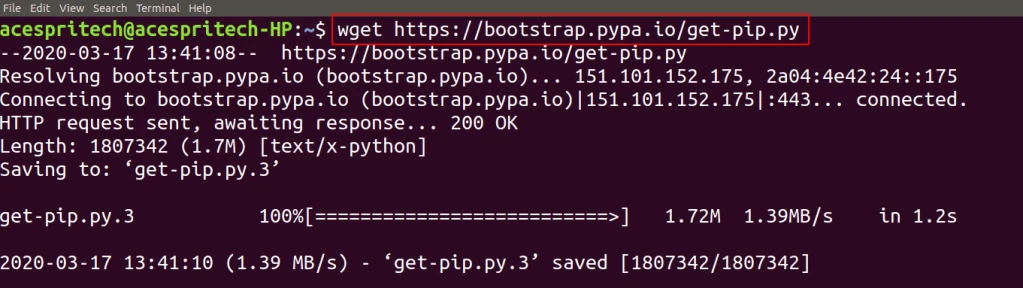
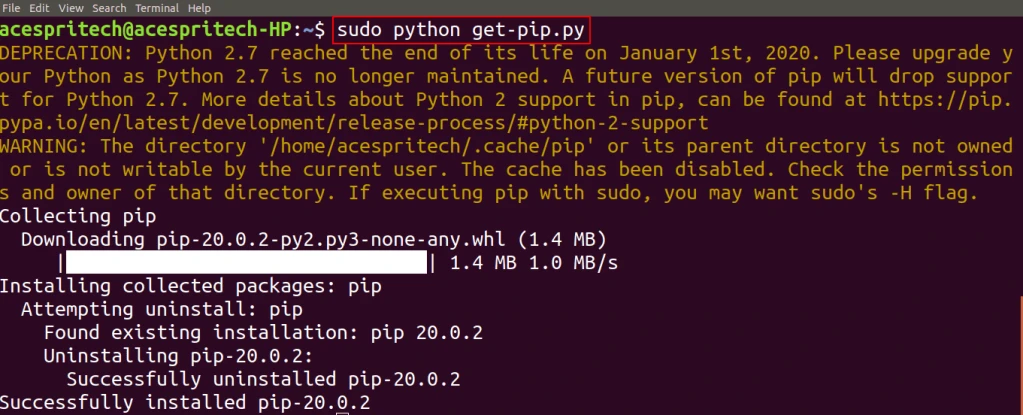
sudo python get-pip.py
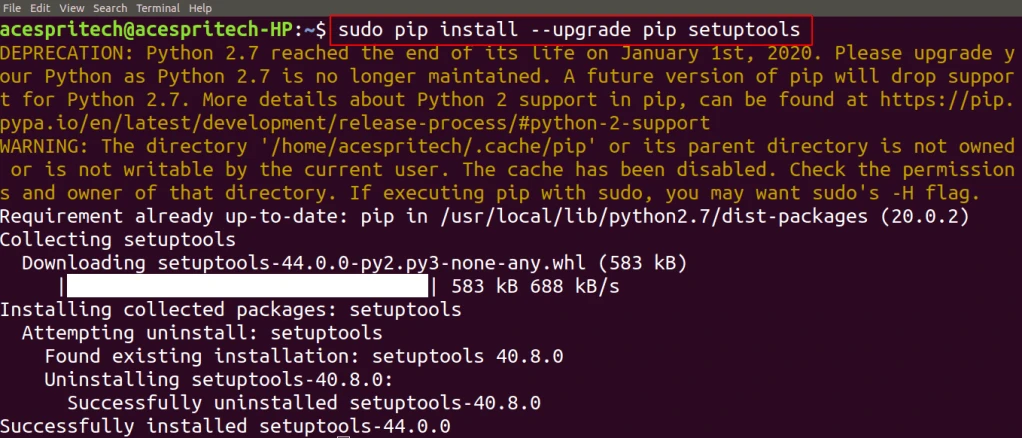
sudo pip install –upgrade pip setuptools
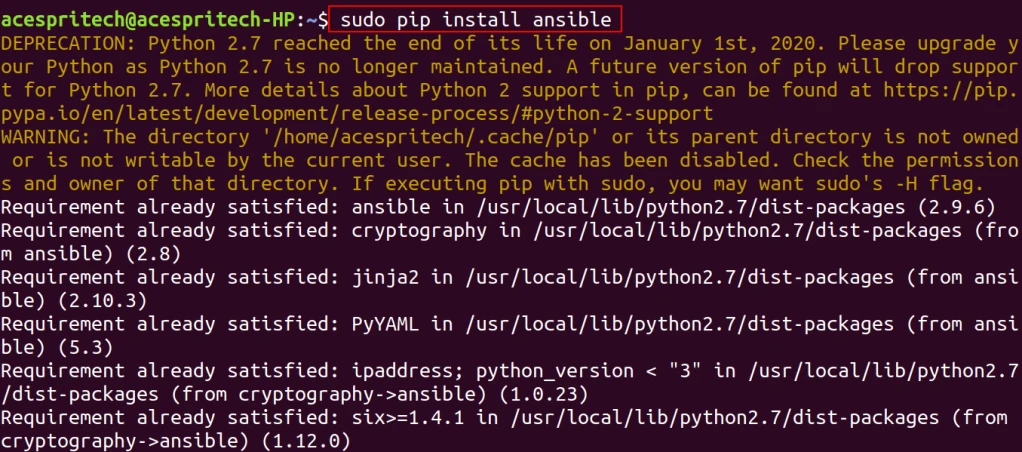
sudo pip install ansible
Step 5: Next to install python3
sudo apt install python3-pip
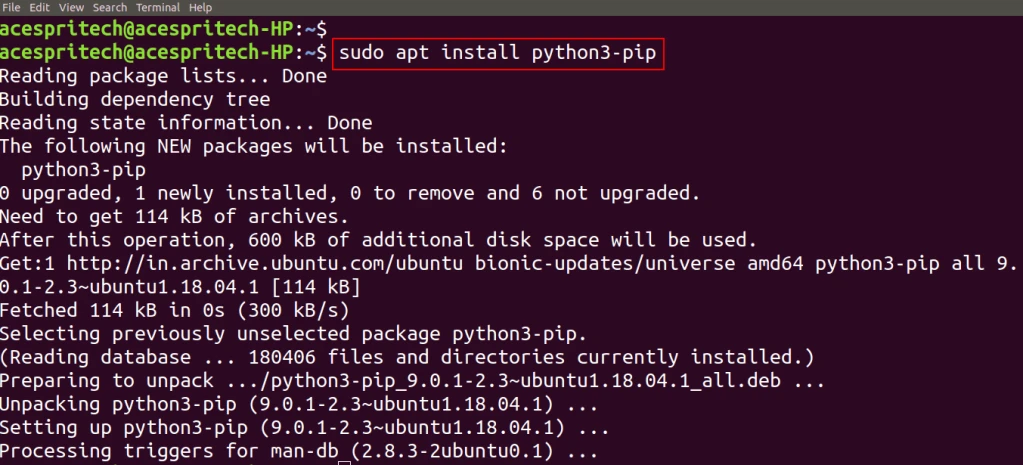
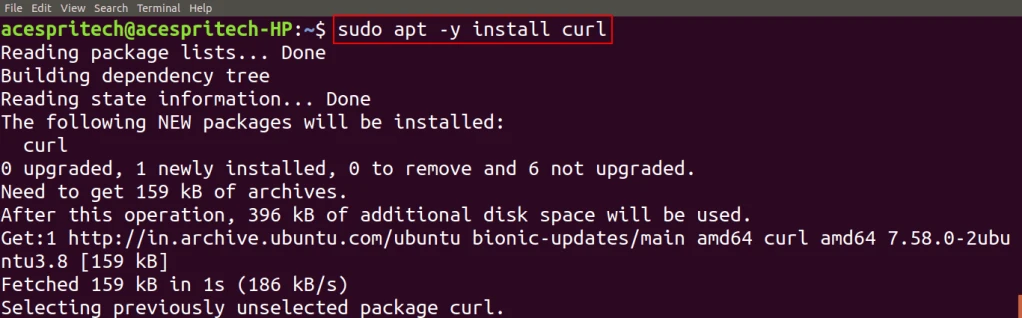
Step 6: Next step is to install curl
sudo apt -y install curl
Step 7: Next you have to configure the yarn package repository.
curl -sS https://dl.yarnpkg.com/debian/pubkey.gpg | sudo apt-key add –

echo “deb https://dl.yarnpkg.com/debian/ stable main” | sudo tee /etc/apt/sources.list.d/yarn.list

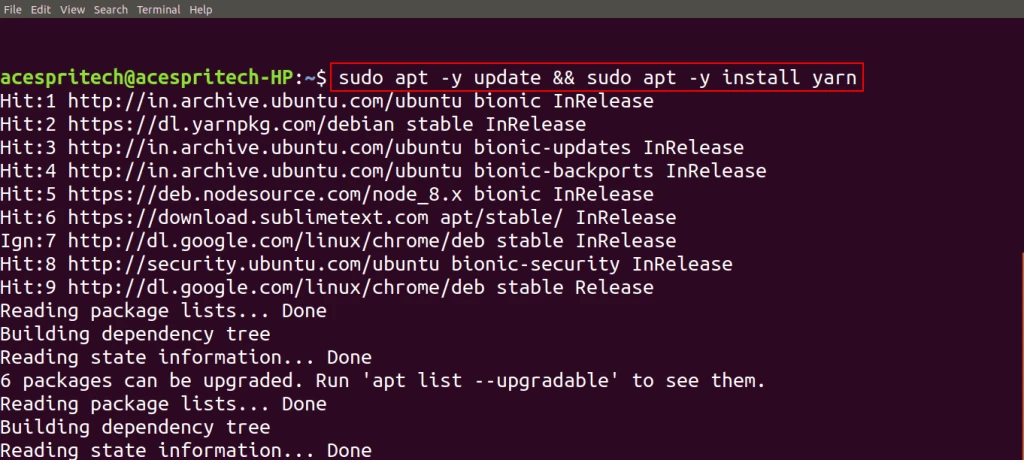
Step 8: Next following command to install yarn.
sudo apt -y update && sudo apt -y install yarn
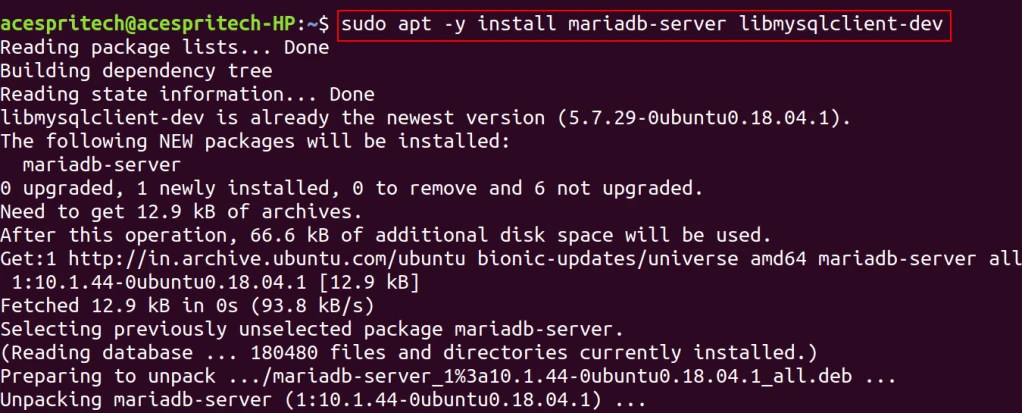
Step 9: Now next For install mariaDB you have to run following command
sudo apt -y install mariadb-server libmysqlclient-dev
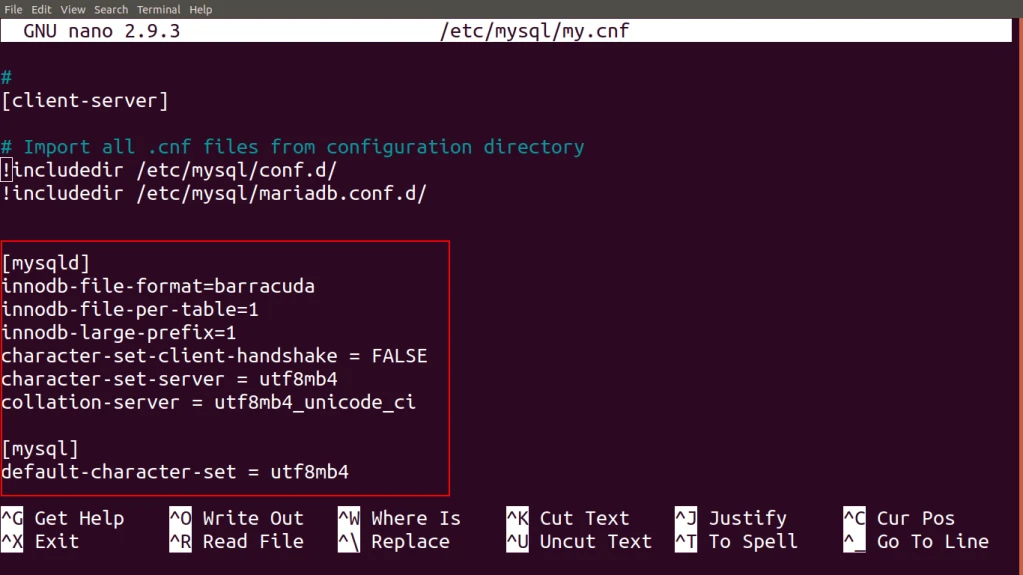
Step 10: Now next step is to update “my.conf” file for database.
For that to open file in command prompt in edit mode enter below command.
sudo nano /etc/mysql/my.cnf

Add the following lines in config file
[mysqld]
innodb-file-format=barracuda
innodb-file-per-table=1
innodb-large-prefix=1
character-set-client-handshake = FALSE
character-set-server = utf8mb4
collation-server = utf8mb4_unicode_ci
[mysql]
default-character-set = utf8mb4
Step 11: Next, you have to restart MariaDB and enable it to auto start MariaDB at boot time.
sudo systemctl restart mariaDB

sudo systemctl enable mariaDB

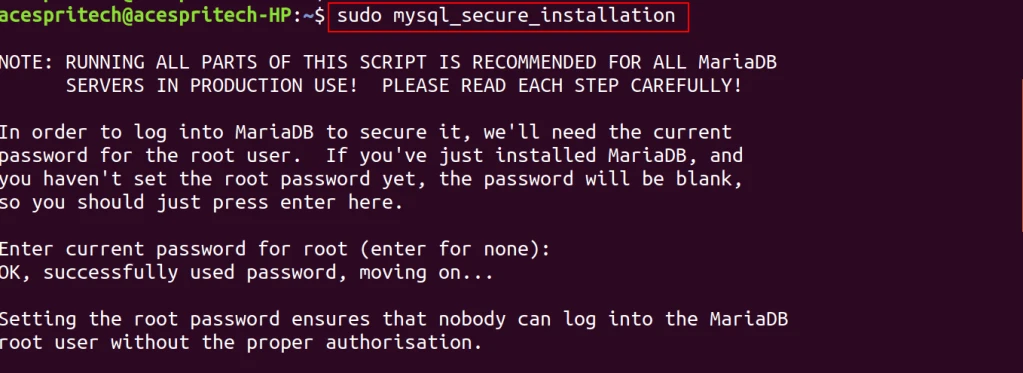
Step 12: Next, the mysql_secure_installation tool to configure additional security options.
sudo mysql_secure_installation
Enter current password for root (enter for none): xxxxxx
Change the root password? [Y/n] n
Remove anonymous users? [Y/n] y
Disallow root login remotely? [Y/n] y
Remove test database and access to it? [Y/n] y
Reload privilege tables now? [Y/n] y
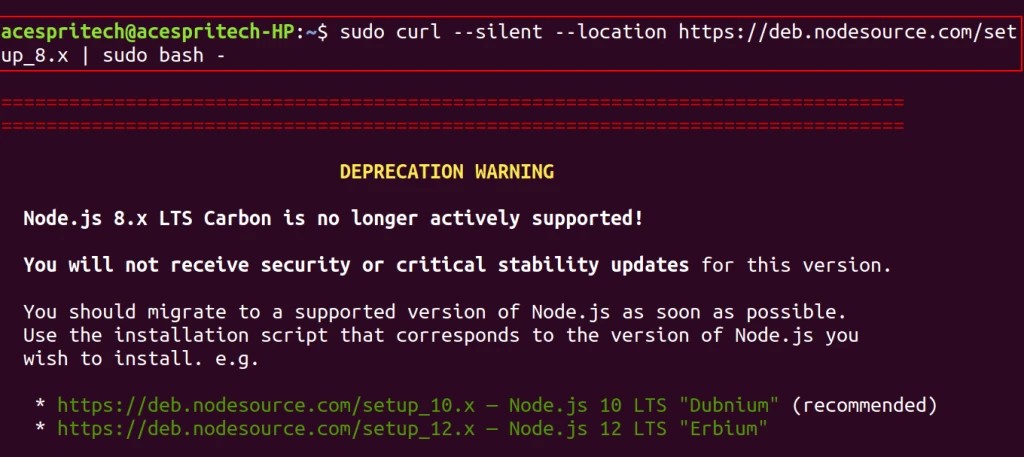
Step 13:you have to add the Node source Node.js 8.x respository.
sudo curl –silent –location https://deb.nodesource.com/setup_8.x | sudo bash –
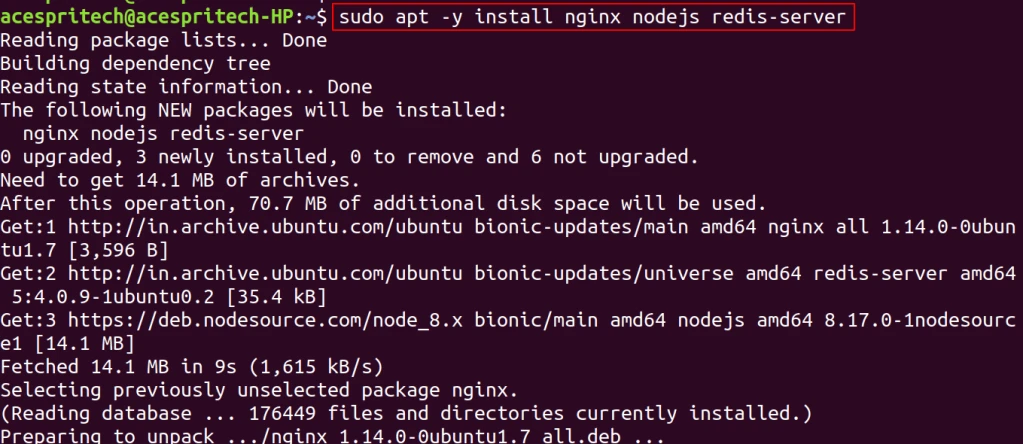
Step 14: To install Nginx, Node.js and Redis on Ubuntu, run the commands below.
sudo apt -y install nginx nodejs redis-server
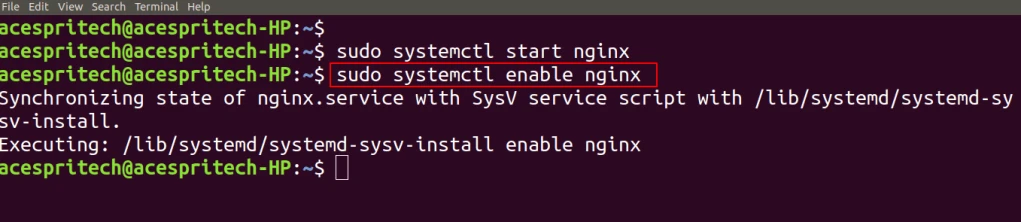
Step 15: Next step is to start and enable Nginx service to always start up with the boots.
sudo systemctl start nginx

sudo systemctl enable nginx
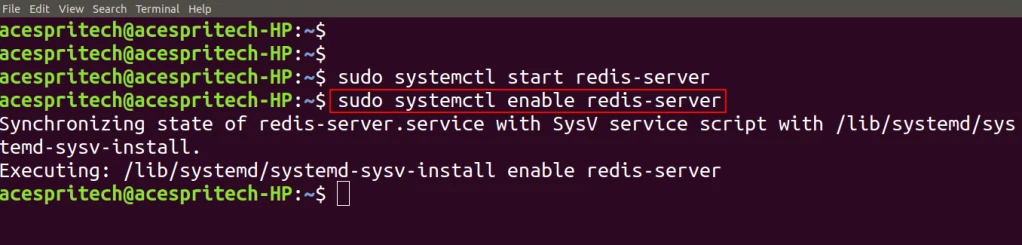
Step 16: Start and enable Redis service to always start up with the boots.
sudo systemctl start redis-server

sudo systemctl enable redis-server
Step 17: For installation and activation of virtual environment.
sudo systemctl enable redis-server

cd erpnext

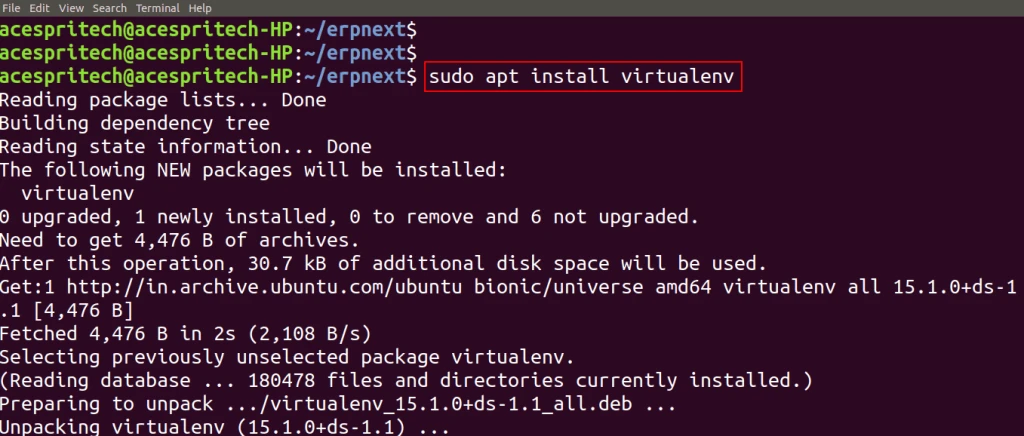
Run below command to install virtual environment
sudo apt install virtualenv
you need to create virtual environment on “erpnext” directory using the following command
virtualenv .

For activation of virtual environment.
source ./bin/activate

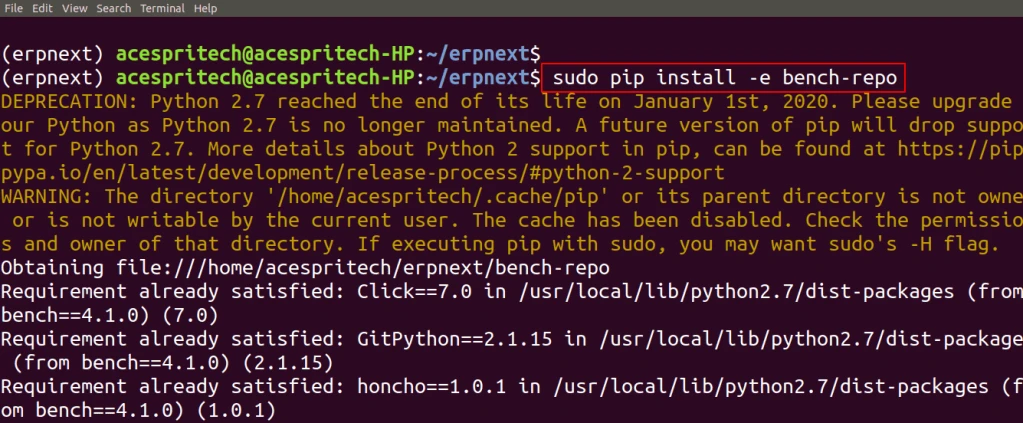
Step 18: Now Next step is to install bench and there dependencies.
git clone https://github.com/frappe/bench bench-repo

sudo pip install -e bench-repo
Step 19: The next step is to init command will create a bench directory with frappe framework installed.
bench init –frappe-branch master –frappe-path https://github.com/frappe/frappe.git frappe-bench
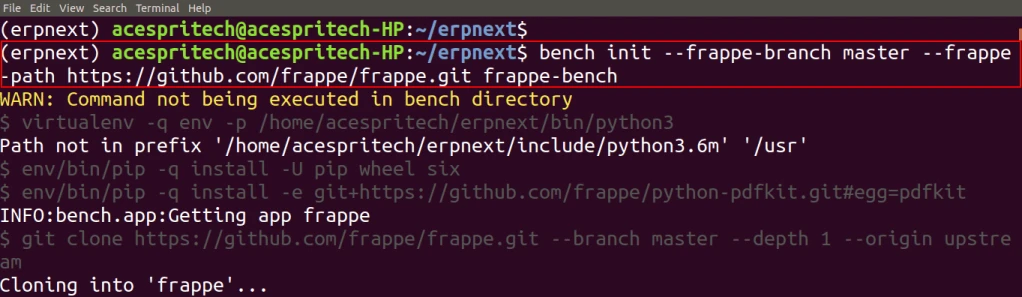
Step 20: Next go in frappe-bench directory
cd frappe-bench

Step 21: Next step is to get-app for bench from remote frappe apps which is from remote git respository and install it.
bench get-app –branch master erpnexthttps://github.com/frappe/erpnext.git
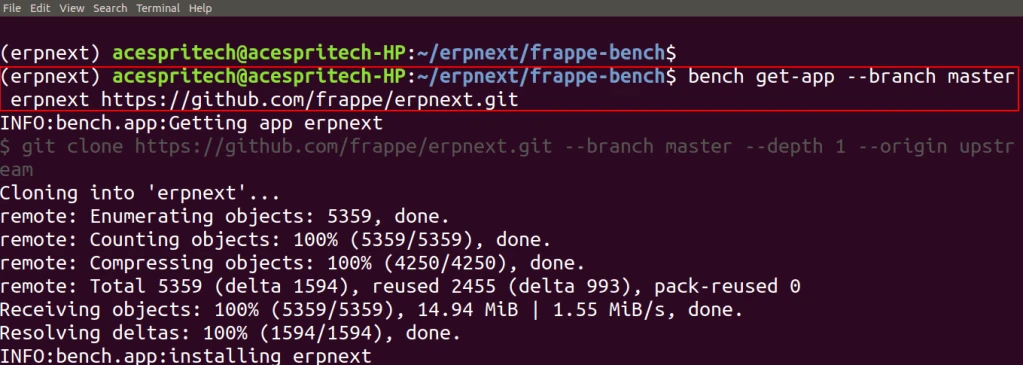
Step 22: Now For running the frappe site you have at least one site. For that create a new site.
bench new-site
For Example:- bench new-site webweb
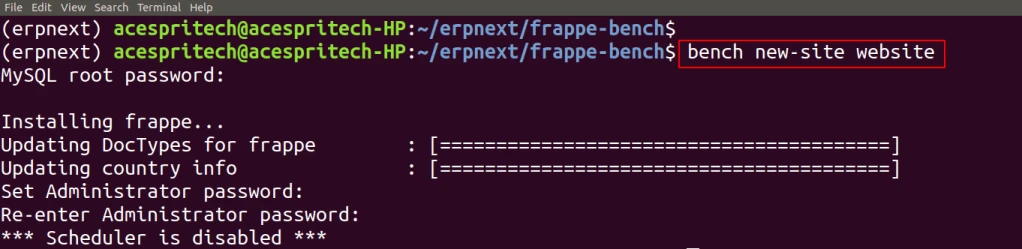
Step 23: Next is to install the app on your site.
bench –site webweb install-app erpnext.
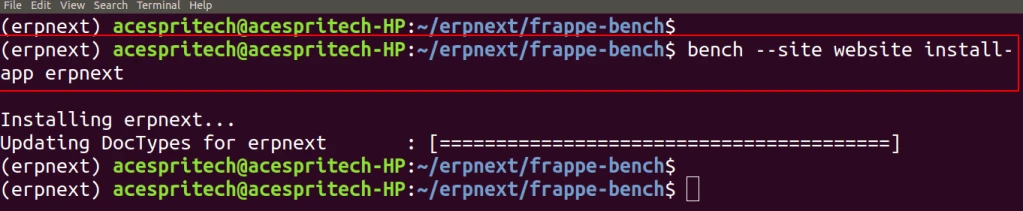
Step 24: Now the Next step is to start bench.
bench start
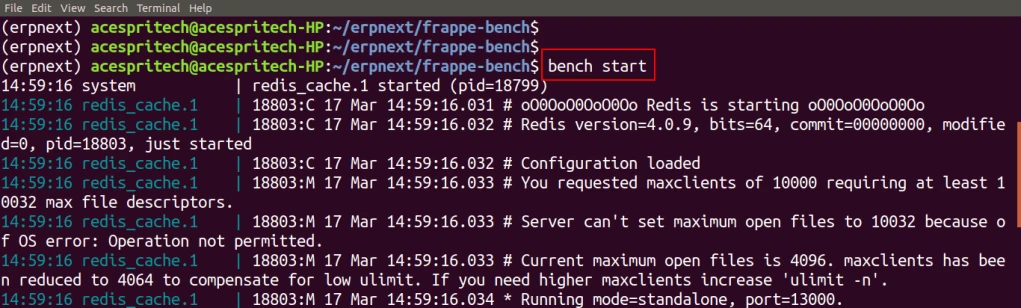
Now next Go to your web browser open your server address with 8000 port or use http://0.0.0.0:8000
Next ERPNext login screen there you have to log in with username “administrator” and password as per you have set at administrator at crating new site with command of (bench new-site ).