We have implemented solution for allowing payment process via Authorize.Net from Django. In this post we will show the payment is processed using Authorize.net. We are still improving this module by adding new functionalities. We have a feature where client must buy a plan before the post can be made on the site about the project.
First, we have created an account on Authorize.Net (https://sandbox.authorize.net/) and turn ON TEST mode. For more detail refer: http://developer.authorize.net/
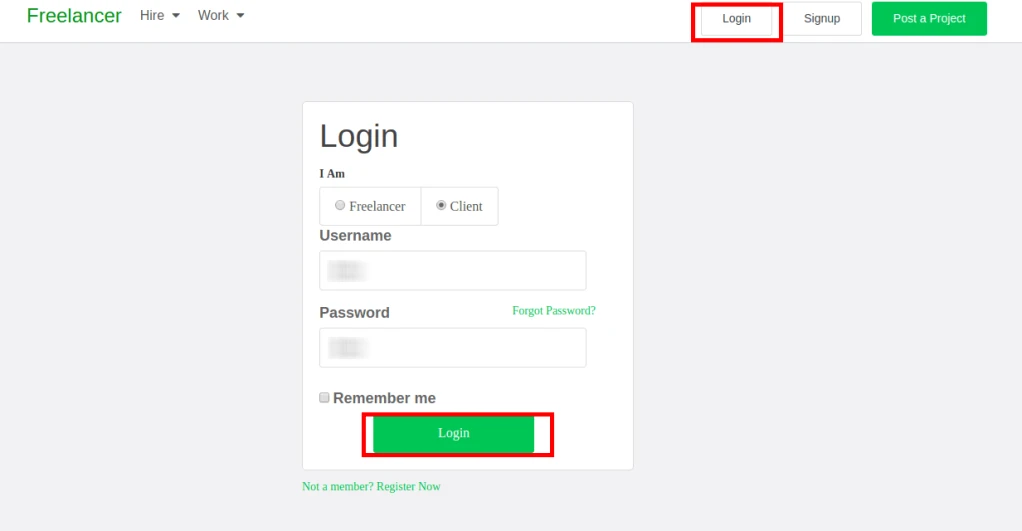
To use the application login is required. Client will login using his credentials.
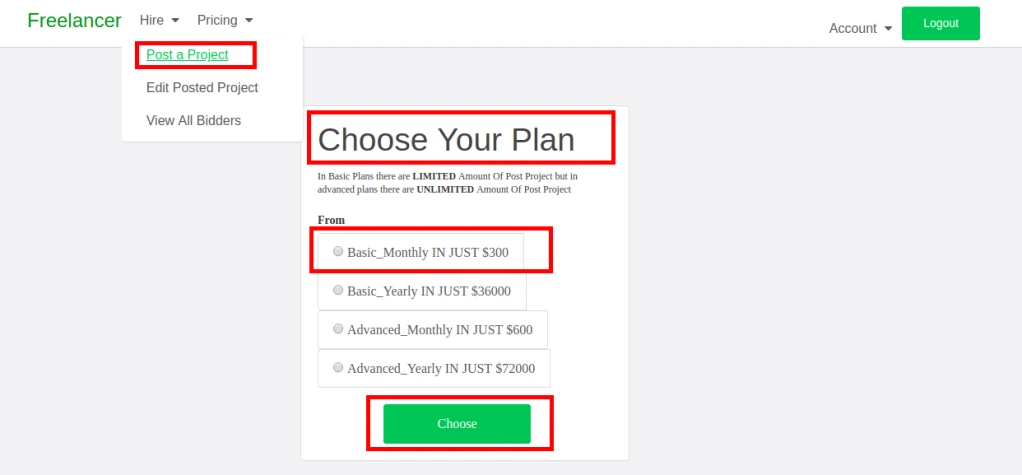
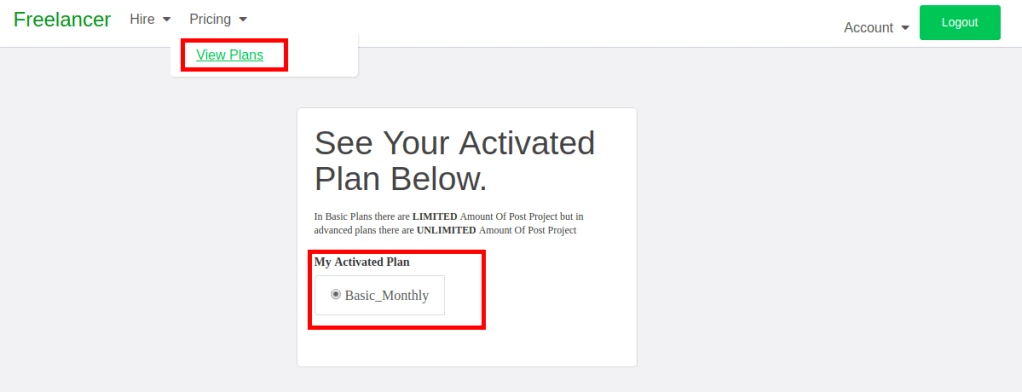
When client first sign in to the web application, plans page is displayed. To post the project client must have an active plan. It can also be accessed via View Plans option in Pricing menu.
If client already have an active plan in that case View Plans will display the Current plan.
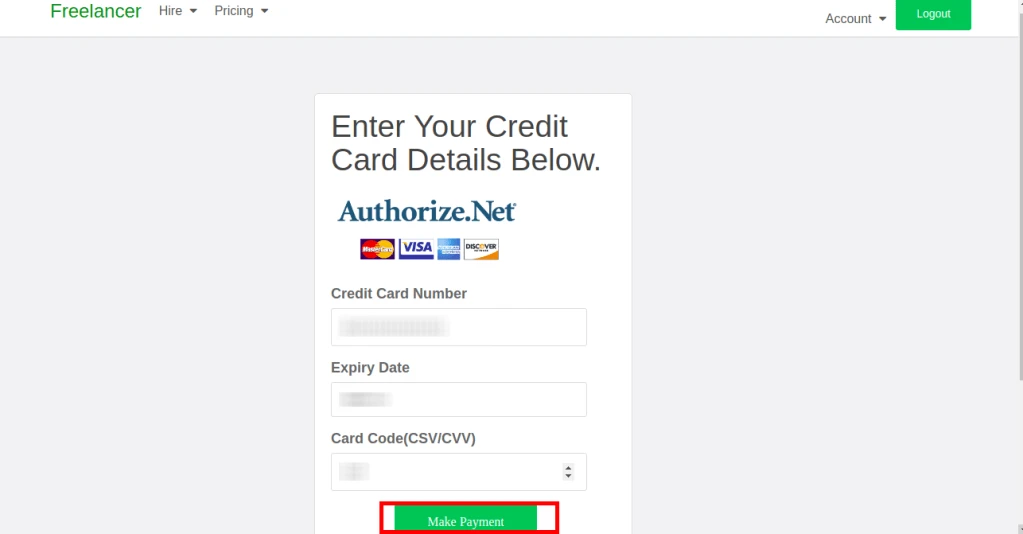
After selecting plan, client is redirected to authorize.net credit card information/checkout page for further processing. Next screen will ask for basic detail about credit card number, expiry data, CVV code. After filling the required details , Make Payment button is pressed which will do all the work of Django.
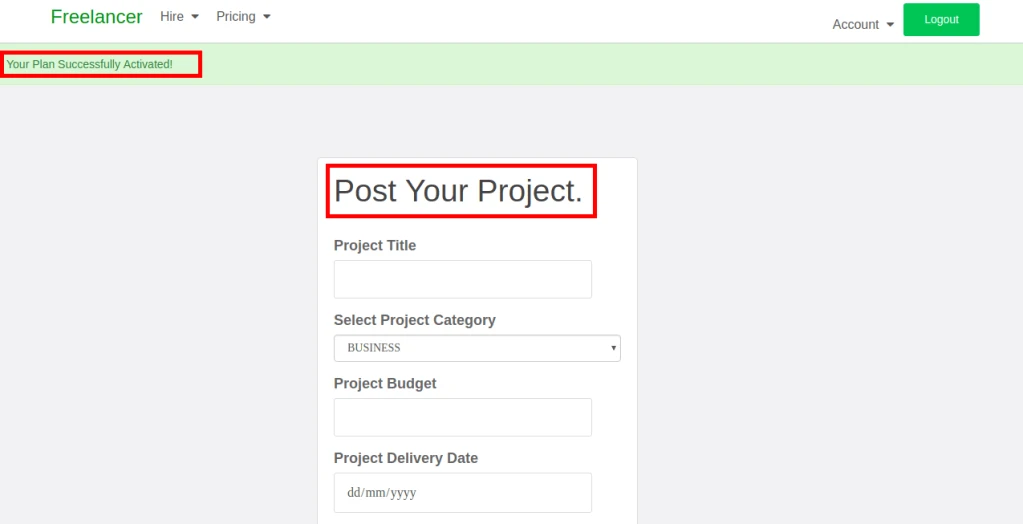
Once the payment is successful, the message will be displayed saying Your Plan Successfully Activated. Now client can post the project details.
‘View Plans’ option can be used to see the activated plan.
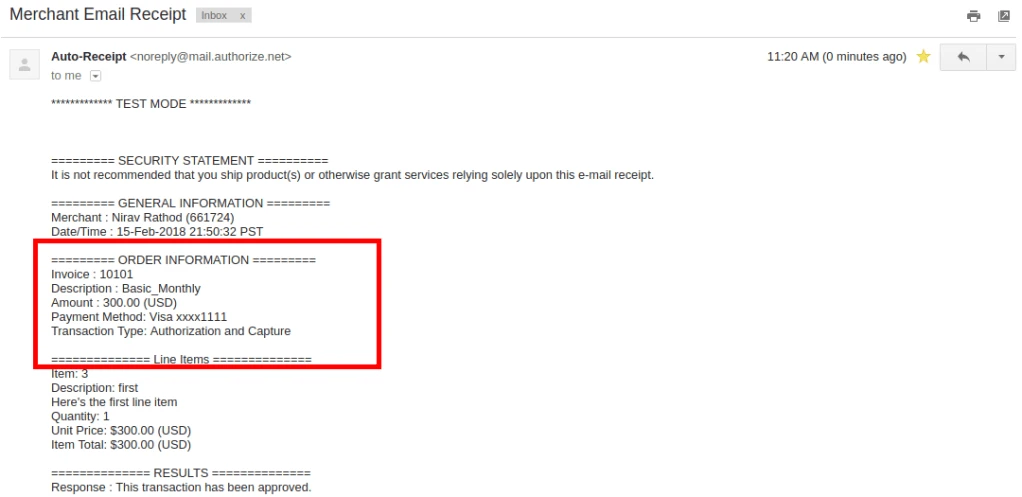
Merchant will receive email notification from authorize.net contains transaction information.